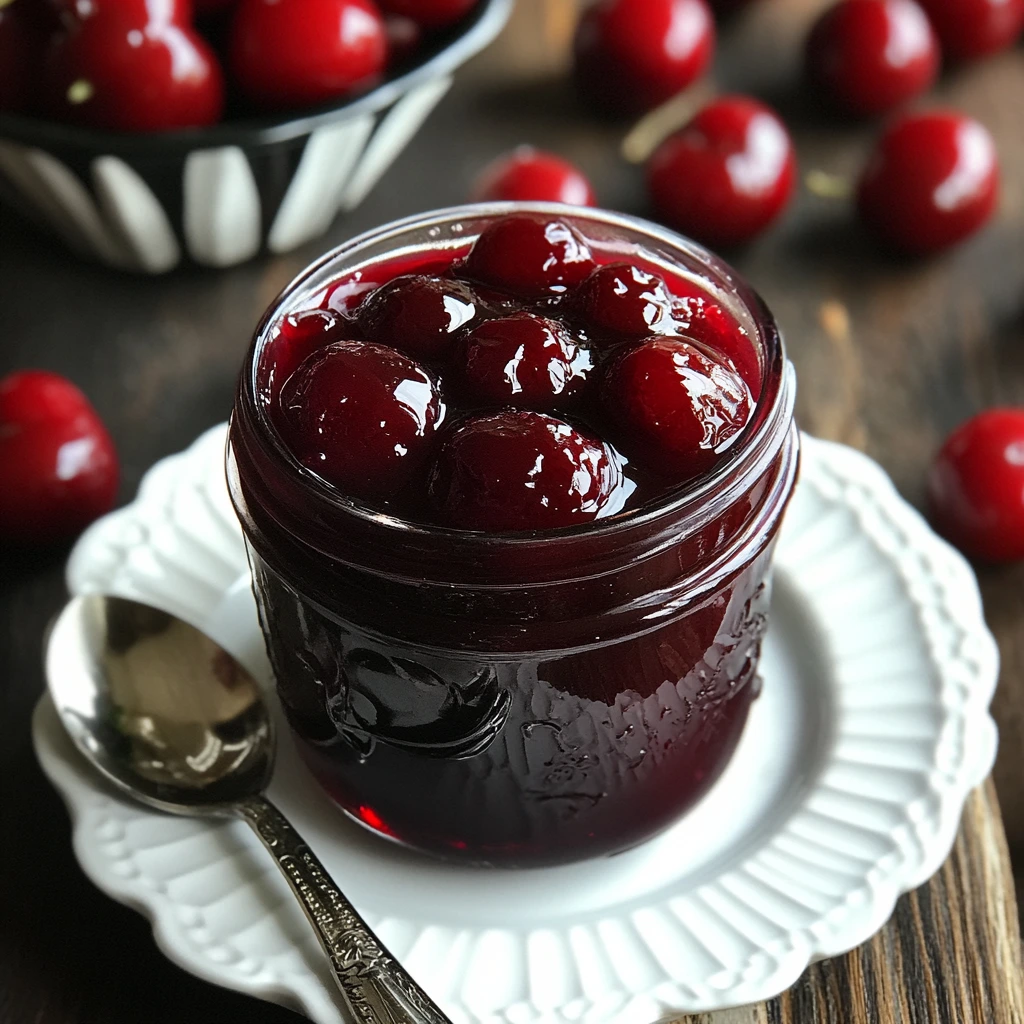
If you love homemade preserves, this cherry jelly recipe is a must-try! Made with fresh cherries and without the need for pectin, this jelly is naturally sweet, full of rich flavor, and incredibly easy to prepare. Whether you’re spreading it on toast, pairing it with cheese, or adding it to your favorite desserts, this recipe will bring a burst of fruity goodness to your kitchen. Follow along to learn how to make the perfect cherry jelly with just a few simple ingredients!
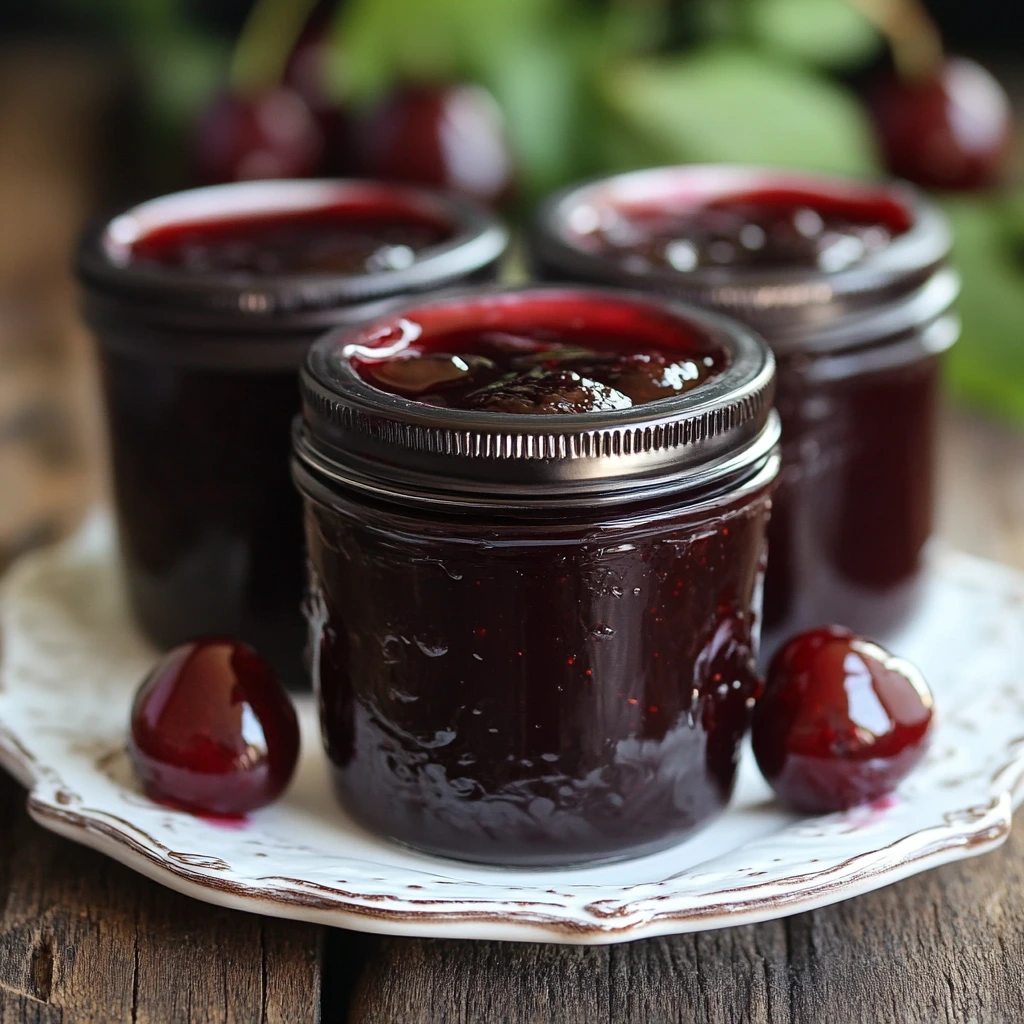
Why Make Cherry Jelly Without Pectin?
When it comes to making homemade jelly, the inclusion of pectin is often seen as a shortcut to achieving the desired texture and consistency. However, opting to make cherry jelly without pectin can bring a range of benefits that many home cooks appreciate. Here’s why you might consider skipping the pectin:
- Natural Sweetness and Flavor Without pectin, you’re allowing the natural flavors of the cherries to shine through without any interference from additional ingredients. Cherry jelly made without pectin has a more authentic, fresh fruit taste. The natural sugars and pectin that the cherries contain will work together to give you a soft, spreadable consistency, allowing you to enjoy the fruit’s true flavor.
- Healthier Option Pectin is derived from fruits, but commercially produced pectin often involves extra chemicals or sugar, which some people prefer to avoid. By making cherry jelly without added pectin, you can control the ingredients more closely and ensure the recipe is as wholesome and natural as possible. You can also adjust the amount of sugar to suit your taste, creating a jelly that’s lower in added sugars.
- A Simpler, More Traditional Method For many, making jelly without pectin is a nostalgic, hands-on way to connect with old-fashioned cooking techniques. This method allows you to experience the traditional process of preserving fruit using just fruit, sugar, and time, mimicking the way jelly was made long before modern commercial pectins were available.
- Fewer Ingredients, Fewer Additives By avoiding pectin, you’re simplifying the recipe to just fruit, sugar, and lemon juice, making it a clean and straightforward process. This means fewer chances of introducing artificial additives or preservatives, and fewer ingredients to buy and store.
- Improved Texture with Longer Cooking Time While pectin can speed up the gelling process, making jelly without it requires more time and patience. However, this slower cooking method allows the natural pectin in the fruit to develop and result in a more delicate and smooth texture. With careful attention, you can achieve a perfect consistency that’s just as satisfying as jelly made with added pectin.
- Ideal for Small Batches If you’re making cherry jelly in small batches, omitting pectin can often be easier and more manageable. Without the need to purchase or measure out pectin, you can focus solely on the cherries and adjust your recipe based on the fruit’s natural properties, which works well for smaller quantities or when experimenting with unique flavors.
- Great for People with Dietary Restrictions Many commercially available pectin products contain traces of allergens, preservatives, or gluten, making it an unsuitable option for people with dietary restrictions. Making cherry jelly without pectin ensures that your jelly is naturally gluten-free, dairy-free, and free from any added preservatives, making it safer for those with sensitivities.
- Environmental Impact By choosing to make jelly without pectin, you are also reducing your consumption of processed foods and packaging materials that often come with store-bought pectin. It’s a more sustainable way to enjoy homemade jelly, especially if you’re using locally sourced, seasonal cherries.
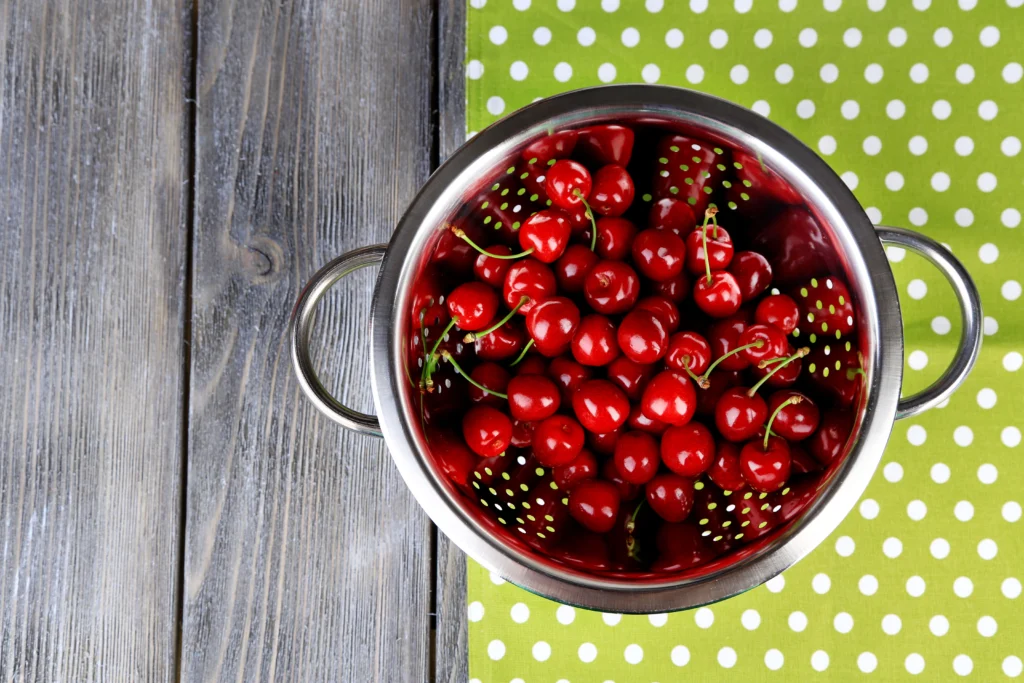
Ingredients You’ll Need
Making homemade cherry jelly without pectin is a straightforward process that relies on a few key ingredients. While the list is short, each one plays an important role in achieving the perfect jelly. Here’s a detailed look at the ingredients you’ll need to get started:
- Fresh or Frozen Cherries The star ingredient of your cherry jelly! You’ll need about 4 cups of fresh or frozen cherries, which will provide the natural sweetness and vibrant flavor. Fresh cherries, when in season, are perfect for jelly-making as they tend to have a rich and intense flavor. However, if cherries are out of season, frozen cherries can work just as well. Be sure to pit and chop the cherries before cooking them down to release their juice.
- Granulated Sugar Sugar is essential for the sweet taste and to help achieve the jelly’s perfect texture. It helps to balance the tartness of the cherries and assists in the natural gelling process. For this recipe, you’ll need about 3 cups of granulated sugar, though the amount can be adjusted based on your personal taste and the sweetness of your cherries. You can also experiment with other types of sugar, such as honey or maple syrup, but keep in mind these may alter the flavor slightly.
- Fresh Lemon Juice Fresh lemon juice is crucial for two main reasons: it adds a tangy brightness to the jelly, balancing out the sweetness of the sugar, and it helps to activate the natural pectin in the fruit. This ingredient also contributes acidity, which assists in the jelly’s gelling process. You’ll need about 2 tablespoons of freshly squeezed lemon juice. It’s best to use freshly squeezed juice rather than bottled lemon juice, as it contains more natural flavor and acidity.
- Water A small amount of water is needed to help cook down the cherries and extract their juice. Typically, you’ll need around 1/2 cup to 1 cup of water, depending on how juicy your cherries are. This liquid helps prevent the fruit from burning while it’s simmering, and it allows the fruit to break down evenly.
- Optional: A Pinch of Salt While not absolutely necessary, adding a pinch of salt can help bring out the flavors and enhance the sweetness of the cherries. The salt acts as a flavor booster, making the overall taste of the jelly more complex and balanced.
- Optional: A Dash of Vanilla Extract If you want to add an extra layer of flavor, a teaspoon of vanilla extract can bring a lovely depth to your jelly. This is particularly good if you prefer a slightly more complex or rich flavor profile, though it’s entirely optional. Make sure to use pure vanilla extract for the best taste.
These ingredients come together to create a simple yet delicious cherry jelly that highlights the fruit’s natural flavor. With minimal ingredients, this recipe gives you full control over the taste and texture, while allowing the cherries to take center stage. Feel free to adjust sugar and lemon levels to suit your preferences, or experiment with additional flavors like cinnamon or almond extract for a creative twist.
Step-by-Step Guide to Making Cherry Jelly
Making homemade cherry jelly from scratch is easier than you might think, especially when you skip the pectin and let the natural pectin in the cherries do the work. This guide will walk you through each step to create a perfect batch of sweet, flavorful cherry jelly.
Step 1: Prepare Your Ingredients
Gather all your ingredients to ensure you have everything on hand before you start cooking:
- 4 cups of fresh or frozen cherries
- 3 cups of granulated sugar
- 2 tablespoons of fresh lemon juice
- 1/2 to 1 cup of water (depending on the juiciness of your cherries)
- Optional: A pinch of salt and 1 teaspoon of vanilla extract for extra flavor
Step 2: Wash and Pit the Cherries
If you’re using fresh cherries, wash them thoroughly to remove any dirt or pesticides. After washing, pit the cherries and cut them in half. For frozen cherries, there’s no need to pit them beforehand, but make sure they’re thawed before use.
Step 3: Cook the Cherries
Place the prepared cherries into a large saucepan or pot. Add 1/2 to 1 cup of water (depending on how juicy the cherries are) to help them cook down and release their natural juices. Over medium heat, bring the cherries to a simmer. Stir occasionally, and cook for about 10-15 minutes, or until the cherries begin to break down and soften.
Step 4: Extract the Juice
Once the cherries have softened, it’s time to extract the juice. You can either:
- Use a potato masher to gently mash the cherries and release more juice.
- Or strain the mixture using a fine mesh strainer or cheesecloth. Place the strainer over a bowl and press the cherries gently to squeeze out as much juice as possible. Discard the solid cherry pulp, or save it for making jam or another recipe.
You should have around 3 cups of cherry juice after straining.
Step 5: Add Sugar and Lemon Juice
Return the cherry juice to the pot. Stir in 3 cups of granulated sugar and 2 tablespoons of fresh lemon juice. The sugar will dissolve into the juice, creating a sweet syrup. Stir the mixture thoroughly, ensuring the sugar is completely dissolved.
Step 6: Boil the Mixture
Place the pot over medium-high heat and bring the cherry mixture to a boil. Once it begins boiling, lower the heat to a simmer and cook for about 15-20 minutes, stirring occasionally. You’ll notice that the mixture will start to thicken as it reduces. Keep an eye on it, as it can easily bubble over.
Step 7: Test the Jelly
To test the jelly’s consistency, use the “cold plate test.” Place a small plate in the freezer before you begin cooking. Once the jelly has boiled for 15-20 minutes, take a teaspoon of the mixture and place it on the chilled plate. Let it sit for 1-2 minutes, then run your finger through the jelly. If it wrinkles and holds its shape, it’s ready to be removed from the heat. If not, continue simmering for a few more minutes and test again.
Step 8: Skim Off Foam
As your cherry jelly simmers, it may produce some foam on the top. Use a spoon to skim off the foam and discard it, as it can make the jelly less clear. Skimming will give you a beautiful, clean jelly texture.
Step 9: Jar the Jelly
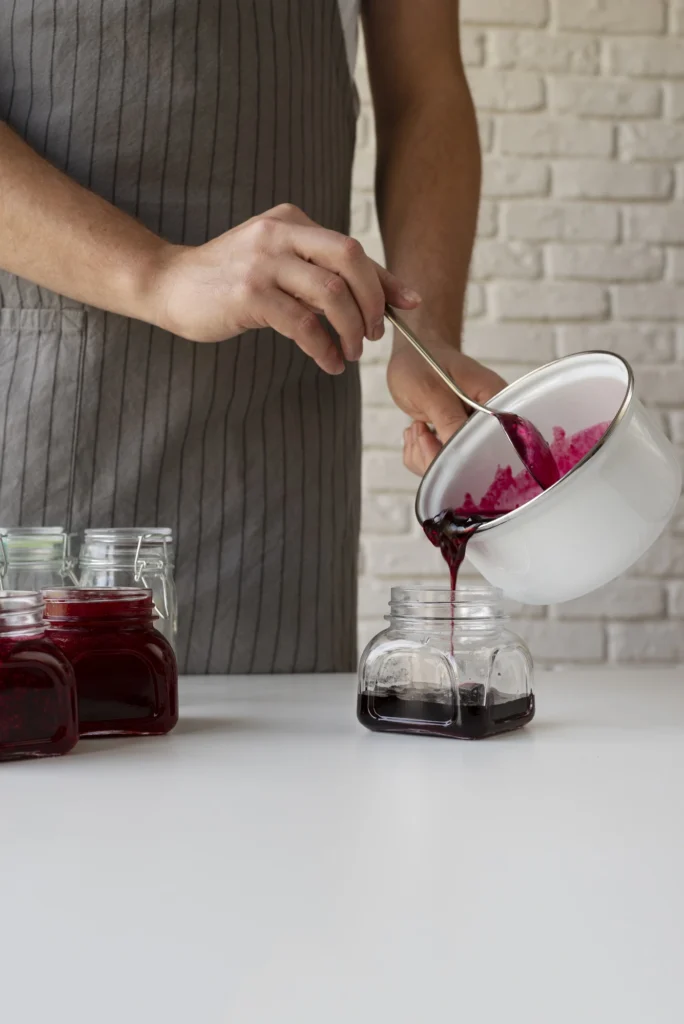
Once the jelly has reached the desired consistency, remove it from the heat. Carefully ladle the hot jelly into sterilized jars, leaving about 1/4 inch of headspace at the top. Wipe the rims of the jars clean with a damp cloth to remove any residue. Seal the jars with sterilized lids.
Step 10: Process the Jars (Optional)
If you plan on storing your cherry jelly for a long time, you can process the jars to ensure they are sealed properly. To do this, place the sealed jars in a large pot of boiling water for 5-10 minutes, making sure the jars are fully submerged. This will create a vacuum seal, preserving the jelly for several months. If you’re only making a small batch for immediate use, you can skip this step and store the jelly in the fridge.
Step 11: Let the Jelly Set
Allow the jars of jelly to cool completely at room temperature. Once cooled, store them in a cool, dark place. If you’ve processed the jars, they should be good for up to a year. If you skipped the processing step, keep the jelly in the refrigerator for up to 2-3 weeks.
Tips for Success:
- Consistency Check: If the jelly isn’t thickening as you like, you can simmer it for a few more minutes to achieve the desired texture. Just be sure not to overcook, as it can become too thick or hard.
- Flavor Variations: Experiment with adding a small amount of other fruit juices, such as raspberry or blackberry, for a unique twist on your cherry jelly.
- Sterilizing Jars: Always sterilize your jars before use to prevent any bacteria growth. Simply wash them in hot, soapy water or run them through the dishwasher, then heat them in the oven to sterilize.
This step-by-step guide ensures you’ll make delicious cherry jelly with natural ingredients and no pectin, allowing the cherries’ natural flavors and pectin to shine through. Enjoy your homemade jelly spread on toast, swirled into yogurt, or as a topping for desserts!
Tips for the Best Cherry Jelly
Tips for the Best Cherry Jelly
- Choose the Right Cherries The quality of your jelly depends on the cherries you use. Opt for ripe, fresh cherries that are sweet and juicy. Look for cherries that are plump, firm, and deep in color. If you’re using frozen cherries, make sure they are unsweetened and thawed properly before use.
- Use Fresh Lemon Juice Fresh lemon juice not only adds a tangy balance to the sweet cherries but also helps the natural pectin in the fruit to activate, ensuring a good set. Always use fresh lemon juice, as bottled versions often contain preservatives and lack the same vibrant flavor.
- Adjust Sugar Based on Cherry Sweetness Cherries vary in sweetness depending on the season and variety. Taste your cherries before adding sugar, and adjust the amount accordingly. If your cherries are very sweet, you might not need the full 3 cups of sugar; however, keep in mind that sugar also helps with the jelly’s texture.
- Cook the Jelly Slowly When making cherry jelly without pectin, it’s important to cook it slowly over medium heat to allow the fruit’s natural pectin to gel. Avoid rushing the process by turning up the heat too high; cooking slowly will prevent burning and ensure the jelly develops the perfect consistency.
- Test for the Right Consistency Testing the jelly’s consistency is crucial to achieving the perfect set. The “cold plate test” is the most reliable method: place a small plate in the freezer, then drop a spoonful of jelly onto it. Let it sit for a minute, then run your finger through it. If it wrinkles and holds its shape, the jelly is ready. If it’s too runny, continue simmering it and test again.
- Skim Foam for a Clearer Jelly As your jelly simmers, you might notice foam forming on the surface. Skimming off this foam will not only give you a cleaner, more transparent jelly but will also prevent the foam from interfering with the texture. Use a spoon to remove the foam and discard it.
- Use a Heavy-Bottomed Pot A heavy-bottomed pot ensures even heat distribution and reduces the risk of burning the jelly, which can affect its taste and texture. It helps prevent hot spots and ensures the mixture cooks evenly.
- Avoid Overcooking Overcooking your cherry jelly can result in a thick, hard jelly, so keep an eye on it as it simmers. Once it reaches the right consistency, remove it from the heat immediately. If you cook it for too long, it will turn into candy or jam rather than jelly.
- Sterilize Your Jars Properly Sterilizing your jars is key to preventing bacterial growth and ensuring a good seal for long-term storage. To sterilize, simply wash your jars with hot, soapy water or run them through the dishwasher, then place them in a preheated oven at 250°F (120°C) for about 10 minutes before filling them with jelly.
- Cool the Jelly Before Storing Allow the jelly to cool completely at room temperature before sealing the jars. This helps the jelly set properly and prevents any condensation from forming inside the jars, which could affect the texture.
- Consider Adding a Splash of Vanilla For a unique twist, add a small splash (about 1 teaspoon) of vanilla extract to the jelly mixture after it’s done cooking. This subtle flavor will complement the cherries and give your jelly a depth of flavor that sets it apart from the typical cherry jelly.
- Store Properly Once your jelly is fully set and cooled, store it in a cool, dark place. If you’ve processed the jars, they’ll last up to a year. Otherwise, refrigerate the jelly and enjoy it within a few weeks. If you have leftovers, you can also freeze the jelly in freezer-safe containers.
By following these tips, you’ll be able to create a delicious cherry jelly with the perfect balance of sweetness, texture, and flavor, all without the need for pectin. Enjoy your homemade jelly spread on toast, drizzled over desserts, or stirred into yogurt for a treat!
Creative Ways to Use Cherry Jelly
Swirl It into Yogurt Add a spoonful of cherry jelly to your morning yogurt for a sweet, fruity twist. The jelly will blend beautifully into the yogurt, creating a smooth, tangy-sweet treat that’s perfect for breakfast or a snack.
- Top Off Cheesecake Cherry jelly makes a wonderful topping for cheesecake. Spread it over the top of a classic New York-style cheesecake, or swirl it into a no-bake cheesecake for added color and flavor. The vibrant red jelly adds a pop of brightness and a delicious fruity contrast to the creamy cheesecake.
- Make Cherry Jelly Filled Donuts For a fun twist on a classic favorite, use cherry jelly as a filling for homemade or store-bought donuts. Simply inject the jelly into the center of the donut for a sweet surprise in every bite.
- Glaze Meats or Poultry Cherry jelly works great as a glaze for meats like chicken, pork, or duck. Combine it with a bit of balsamic vinegar or soy sauce for a savory-sweet glaze that adds depth and shine to roasted or grilled meats. It’s particularly delicious on grilled chicken or pork chops.
- Create a Fruit Tart Use cherry jelly as a topping for a fruit tart, adding a layer of sweetness that complements the tartness of fresh fruit. It also works well as a glaze to give the tart a beautiful, glossy finish.
- Mix into Cocktails Add a spoonful of cherry jelly to cocktails for a fruity, sweet kick. Try stirring it into whiskey, vodka, or rum-based cocktails. It works particularly well in cocktails like a whiskey sour, margarita, or a cherry spritzer.
- Cherry Jelly Thumbprint Cookies Use cherry jelly as the filling in thumbprint cookies. After baking your cookie dough, make small indentations in the center of each cookie and fill them with cherry jelly before baking. The result is a sweet, jam-filled treat that’s perfect for any occasion.
- Spread on Biscuit or Scones Cherry jelly is a perfect spread for freshly baked biscuits or scones. The sweetness of the jelly complements the buttery, flaky texture of the scone, making for a delightful breakfast or afternoon tea snack.
- Mix into Oatmeal or Porridge Stir a spoonful of cherry jelly into your morning oatmeal or porridge for a sweet, fruity kick. It’s an easy way to add flavor and sweetness without the need for additional sugar or syrups.
- Use in Baking Cherry jelly can be incorporated into baked goods such as cakes, muffins, and pies. Swirl it into cake batter for a fruity surprise or use it as a filling for a layer cake or pie. It can also be drizzled over warm cobblers and crisps for a delicious finish.
- Pair with Cheese Pair cherry jelly with a cheese platter for a sophisticated, flavorful pairing. The sweetness of the jelly balances well with tangy cheeses like goat cheese, brie, or cream cheese. It can also be used as a topping for cheese-stuffed pastries.
- Make Cherry Jelly Ice Cream Create your own ice cream by mixing cherry jelly into homemade vanilla ice cream or swirl it through store-bought ice cream. The jelly will freeze into pockets of sweetness, adding a burst of cherry flavor to each bite.
- Cherry Jelly Sorbet Make a simple cherry jelly sorbet by mixing the jelly with a bit of water and freezing the mixture in an ice cream maker. The result is a refreshing, fruity frozen treat that’s perfect for a summer day.
- Drizzle Over Pancakes or Waffles Instead of maple syrup, drizzle warm cherry jelly over your pancakes or waffles for a sweet, fruity alternative. It pairs well with a dollop of whipped cream and fresh berries for a decadent breakfast.
- Stuff French Toast Spread a thin layer of cherry jelly between slices of French toast before grilling for a delicious stuffed French toast. Top with powdered sugar and whipped cream for a brunch treat that’s sure to impress.
These creative ways to use cherry jelly will not only help you enjoy it in more dishes but also add a burst of cherry flavor to everyday meals and desserts. Whether you’re using it as a glaze, spread, or filling, cherry jelly can easily elevate the flavor of many dishes.
Table of Contents
Lychee Martini Recipe: A Refreshing and Elegant Cocktail – labelrecipes.com
🍒How To Make Cherry Jelly With Fresh Cherries • Simple At Home 🍒
