
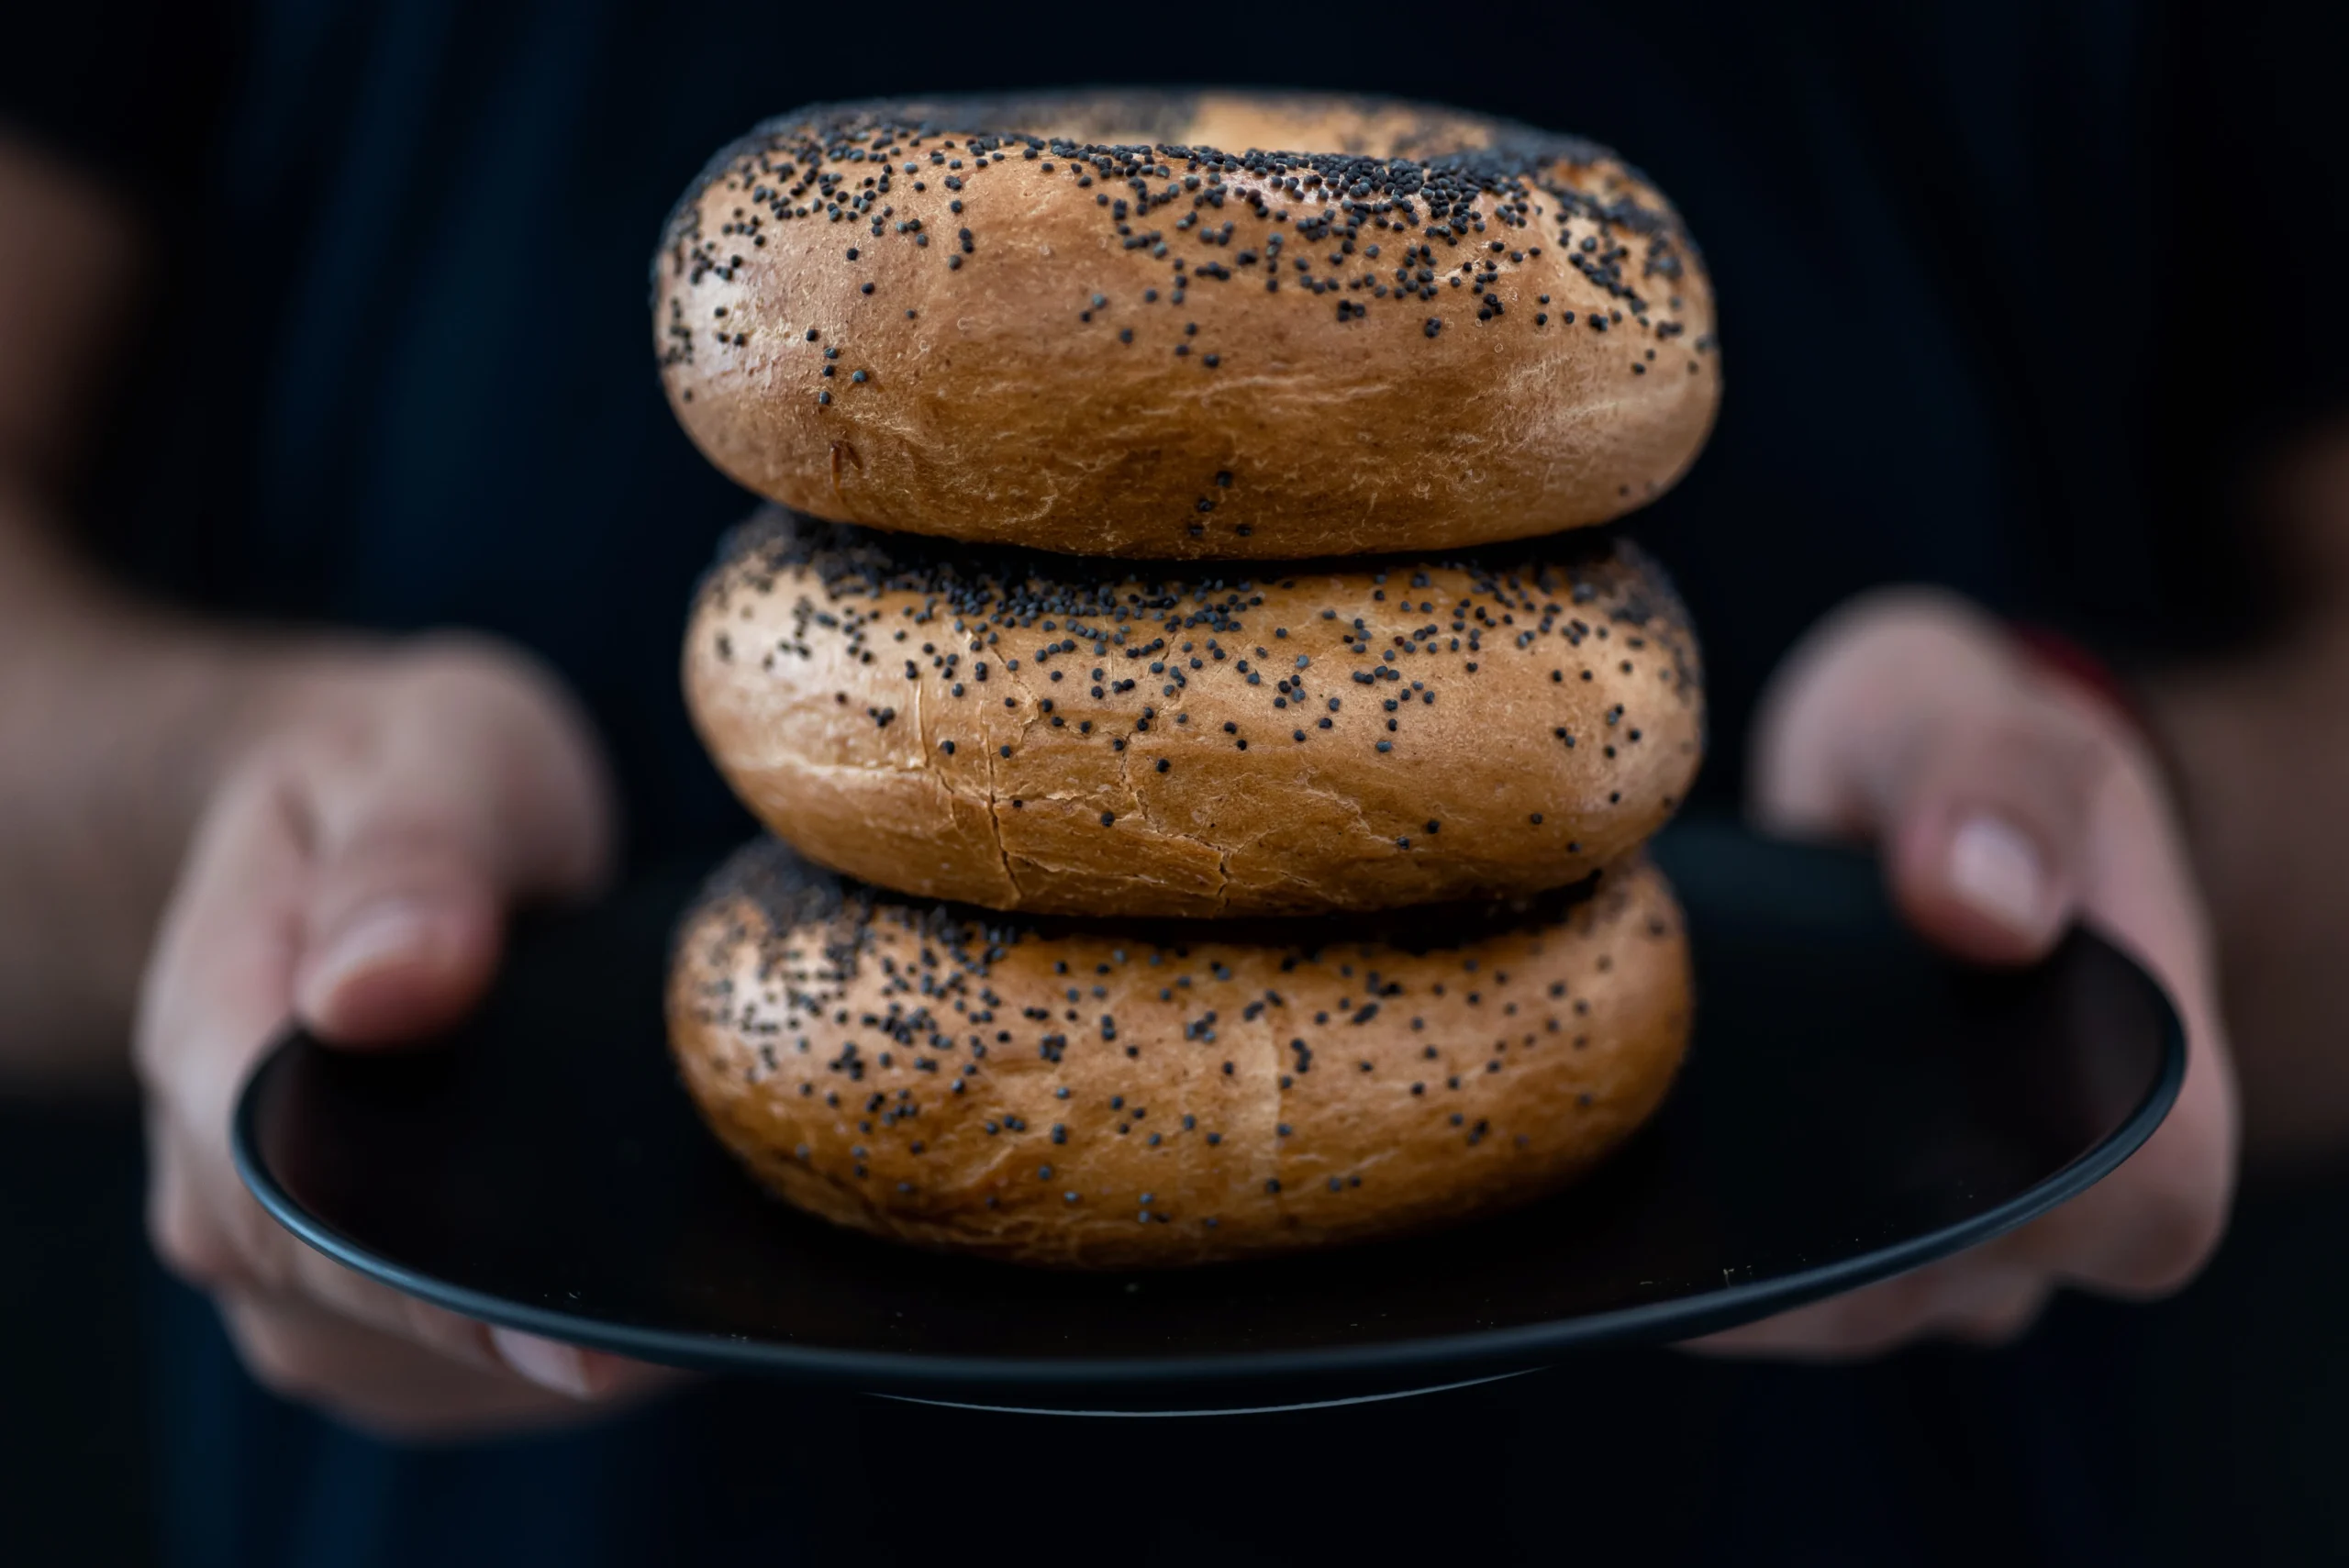
Few baking projects feel as satisfying as making homemade bagels. You mix a simple dough, shape each ring by hand, lower them into bubbling water, and watch them transform into glossy, golden rounds in the oven.
Then you cut one open.
Instead of the chewy, bakery-style crumb you expected, you may find a dense center, a soft bread-like texture, or a gummy strip of dough. Your bagels might spread, wrinkle, lose their holes, or refuse to brown.
The good news is that most homemade bagel problems come from a small number of preventable mistakes. Once you understand how flour, hydration, kneading, proofing, boiling, and baking work together, you can produce better results with every batch.
This guide explains the 10 most common mistakes to avoid when making homemade bagels, along with practical fixes you can use immediately.
What Makes Great Homemade Bagels Different?
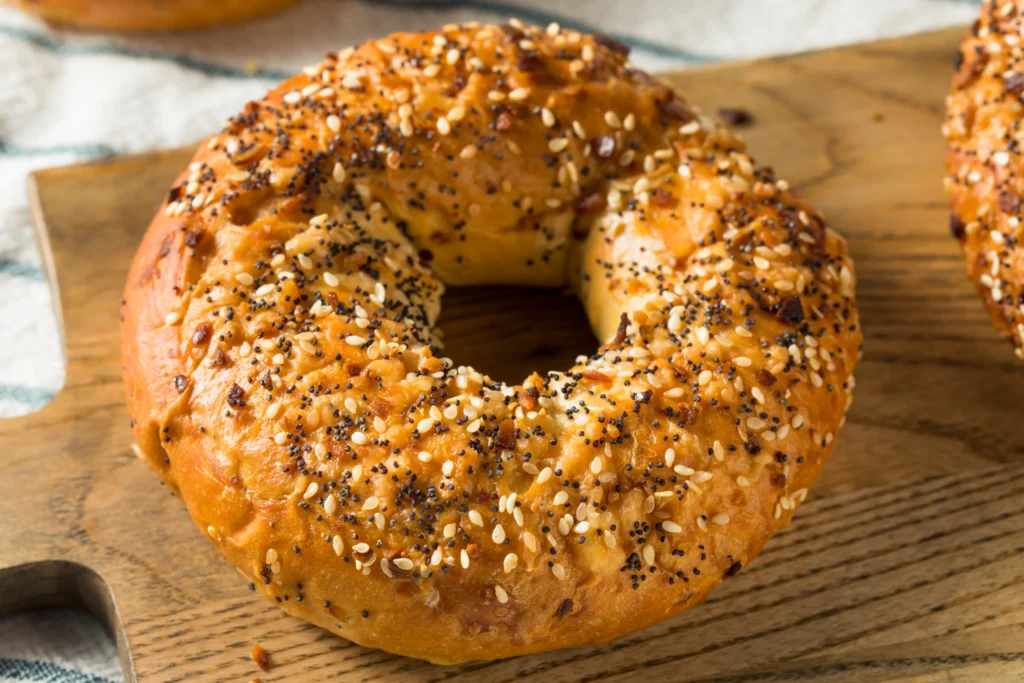
A traditional bagel is not simply a bread roll shaped like a ring. Its distinctive character comes from a stiff dough, strong gluten development, controlled fermentation, and a brief boil before baking.
A well-made bagel should have:
- A firm, lightly glossy crust
- A dense but fully baked interior
- A noticeable chew
- A rounded shape that does not collapse
- A slightly malty flavor
- A center hole that remains visible after baking
The process is more exact than making basic sandwich bread, but it is still manageable at home. Your biggest advantage is learning what the dough should look and feel like at each stage.
Basic Homemade Bagel Ingredients
The following quantities make approximately eight medium bagels.
| Ingredient | Suggested Quantity | Purpose |
|---|---|---|
| Bread flour | 500 grams | Builds strong gluten and creates chew |
| Lukewarm water | 275–300 milliliters | Hydrates the flour and activates fermentation |
| Instant yeast | 7 grams | Raises the dough |
| Barley malt syrup | 1–2 tablespoons | Adds flavor and encourages browning |
| Fine salt | 2 teaspoons | Improves flavor and strengthens the dough |
| Water for boiling | As needed | Sets the outer crust |
| Malt syrup or honey for boiling | 1 tablespoon | Adds color and subtle sweetness |
| Egg wash, optional | 1 egg mixed with water | Adds shine and helps toppings stick |
| Toppings | As needed | Adds flavor and texture |
Why You Should Weigh Your Ingredients
Bagel dough is relatively stiff, so small changes in hydration can make a noticeable difference. A cup of flour can vary considerably depending on how tightly it is packed.
When you use a digital scale, you gain better control over:
- Dough consistency
- Yeast quantity
- Salt levels
- Batch-to-batch results
- Fermentation timing
If you plan to make homemade bagels regularly, weighing your ingredients is one of the easiest ways to improve them.
Mistake 1: Using the Wrong Flour
Flour provides the structure that allows a bagel to survive shaping, proofing, boiling, and baking. If your flour is too weak, the dough may spread, tear, or produce a soft crumb that resembles ordinary bread.
Why Bread Flour Works Best
Bread flour usually contains more protein than standard all-purpose flour. More protein allows the dough to form a stronger gluten network.
That stronger structure helps your bagels:
- Hold their rounded shape
- Develop a firm chew
- Trap fermentation gases
- Avoid collapsing in the boiling water
- Produce a dense but elastic crumb
You can make homemade bagels with all-purpose flour, but the texture may be softer. If you use it, add water cautiously and knead the dough thoroughly.
Be Careful with Flour Substitutions
Whole-wheat, rye, and gluten-free flours behave differently from white bread flour. Whole grains absorb more water and may weaken gluten when used in large amounts. Gluten-free bagels require a formula developed specifically for gluten-free baking.
Do not replace all the bread flour with another flour unless the recipe has been tested for that substitution.
Mistake 2: Adding Too Much Water
Bagel dough should feel firmer than pizza dough, sandwich dough, or many artisan bread doughs. If it is very soft and sticky, it may contain too much water.
What Proper Bagel Dough Feels Like
After kneading, your dough should be:
- Firm but workable
- Smooth on the surface
- Slightly tacky rather than wet
- Strong enough to hold a ring shape
- Elastic when stretched
A wet dough often spreads after shaping. The center holes may close, the bagels may wrinkle after boiling, and the interior may feel more like a bread roll than a traditional bagel.
How to Control Hydration
Start with the lower amount of water listed in your recipe. Add more only if the dough remains dry and cannot come together.
If your dough seems sticky, let it rest for five to ten minutes before adding flour. This pause gives the flour time to absorb moisture.
Avoid adding large handfuls of flour. Too much extra flour can make your finished bagels heavy and dry.
Mistake 3: Not Kneading Long Enough
Strong gluten development is essential for chewy homemade bagels. Mixing the ingredients until no dry flour remains is not enough.
Kneading aligns and strengthens the gluten network. Without sufficient kneading, your dough may tear during shaping, spread during proofing, or collapse in the boiling water.
How Long Should You Knead Bagel Dough?
The exact time depends on your flour, hydration, mixer, and batch size. As a general guide:
- Knead for approximately 8–12 minutes in a stand mixer.
- Knead for approximately 10–15 minutes by hand.
Because bagel dough is stiff, your mixer may work harder than it does with softer bread dough. Use a suitable speed and stop if the machine becomes excessively warm.
Use the Windowpane Test
Pinch off a small piece of dough and stretch it gently between your fingers. Properly developed dough should form a thin membrane before tearing.
Bagel dough may not stretch as delicately as a high-hydration bread dough, but it should feel elastic rather than brittle.
Mistake 4: Using Water That Is Too Hot
Warm water can encourage yeast activity, but hot water may damage or kill the yeast. If that happens, your dough may barely rise.
Use water that feels comfortably lukewarm rather than hot. Your room temperature also matters. In a warm kitchen, cooler water may help prevent the dough from fermenting too quickly.
Signs Your Yeast Is Not Working
You may have a yeast problem if:
- The dough does not expand
- The surface remains tight and lifeless
- No small gas bubbles appear
- The finished bagels are unusually dense
- The dough does not become lighter during fermentation
Check the expiration date on your yeast before starting. Store opened yeast according to the package instructions, especially if your kitchen is warm or humid.
Mistake 5: Overproofing or Underproofing the Dough
Proofing affects texture, flavor, volume, and strength. Timing alone cannot always tell you when the dough is ready because temperature changes the speed of fermentation.
Signs of Underproofed Bagels
Underproofed bagels may have:
- A tight, heavy crumb
- Very little expansion
- Dough that springs back immediately when pressed
- Thick, rigid rings
- Weak flavor
Signs of Overproofed Bagels
Overproofed bagels often:
- Spread instead of rising upward
- Feel fragile or excessively puffy
- Wrinkle after boiling
- Collapse when handled
- Develop uneven air pockets
When you press the dough gently, it should slowly recover while leaving a slight indentation. If it snaps back instantly, it may need more time. If the indentation remains deep and the dough feels weak, it may have proofed too long.
Why Cold Fermentation Helps
Refrigerating shaped bagels overnight can improve flavor and make the dough easier to handle. Cold fermentation slows the yeast, allowing more complex flavors to develop.
It can also help the rings remain firm before boiling. However, refrigeration does not correct dough that was already severely overproofed.
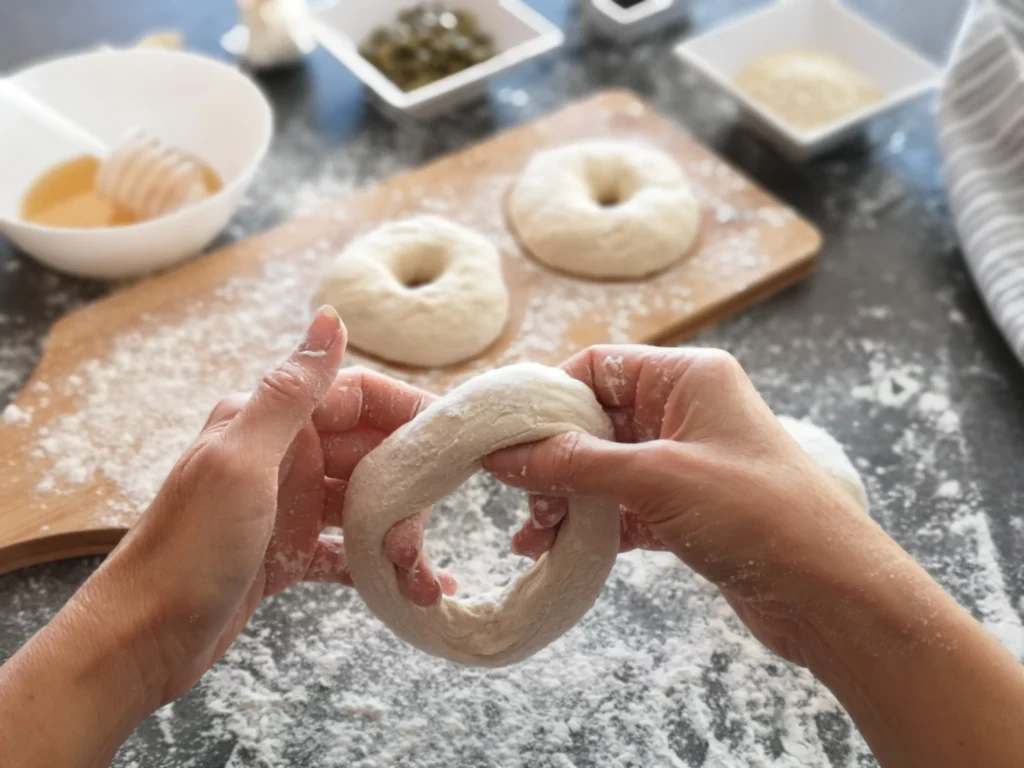
Mistake 6: Shaping the Bagels Poorly
Good shaping creates surface tension, keeps the rings even, and prevents the holes from closing.
You can use either of two common methods.
Rope-and-Loop Method
- Divide the dough into equal portions.
- Roll each piece into a rope.
- Wrap the rope around your hand.
- Overlap the ends.
- Roll the seam firmly against the counter.
This method creates a traditional appearance, but the seam can open if it is not sealed properly.
Poke-and-Stretch Method
- Shape each portion into a tight ball.
- Press your thumb through the center.
- Stretch the opening gently.
- Rotate the ring to keep the thickness even.
This method is easier for many beginners because there is no seam to seal.
Make the Center Hole Larger Than Expected
Bagel holes shrink during proofing, boiling, and baking. If you begin with a small opening, it may disappear completely.
Shape a hole that looks slightly too large. It will usually tighten into a more balanced size during baking.
Mistake 7: Skipping the Boiling Step
Boiling is one of the main features that separates a bagel from a ring-shaped bread roll.
When you boil the dough, heat gelatinizes the starches on the surface. This sets the exterior before baking and limits how much the bagel expands in the oven.
Boiling helps create:
- A firmer crust
- A chewy texture
- A glossy surface
- Better browning
- A compact shape
If you skip the boil, your homemade bagels may rise like bread rolls. They will often have a softer crust and a lighter, fluffier crumb.
What Should You Add to the Water?
Many recipes add barley malt syrup, honey, or brown sugar to the boiling water. These ingredients contribute subtle flavor and encourage browning.
Some recipes use baking soda. This creates a more alkaline bath and can produce a darker, more pretzel-like crust. Use it only when your recipe calls for it.
Mistake 8: Boiling for Too Long or Too Little Time
Boiling time affects crust thickness, chewiness, expansion, and shape.
If You Boil Too Briefly
Your bagels may:
- Have a thin, soft crust
- Expand too much in the oven
- Lack shine
- Taste like ordinary bread
- Brown unevenly
If You Boil Too Long
Your bagels may:
- Develop an unusually thick crust
- Become overly dense
- Wrinkle after draining
- Collapse if they were overproofed
- Feel tough when cooled
Many recipes use approximately 30–60 seconds per side. A shorter boil gives you a lighter crust, while a longer boil usually produces more chew.
Keep the water at a controlled boil or steady simmer. Avoid overcrowding the pot, as the bagels need room to float and turn.
Mistake 9: Adding Toppings at the Wrong Time
Toppings stick best when the bagels are still moist from boiling. If you wait until the surface dries, sesame seeds, poppy seeds, onion flakes, and seasoning blends may fall off.
Apply toppings immediately after draining the bagels.
Popular choices include:
- Sesame seeds
- Poppy seeds
- Everything seasoning
- Dried onion
- Dried garlic
- Coarse salt
- Caraway seeds
- Shredded cheese
Should You Use an Egg Wash?
An egg wash adds shine, improves color, and helps toppings adhere. It is optional rather than essential.
If you prefer a more traditional boiled finish, you can skip the egg wash and apply toppings directly to the damp surface.
Be careful with dried onion and garlic because they can burn before the bagels finish baking. You may need to rehydrate them briefly or watch the bagels closely near the end.
Mistake 10: Baking at the Wrong Temperature or Cutting Too Soon
Bagels need a fully preheated oven. If your oven is too cool, the dough may spread, remain pale, or bake unevenly.
Many homemade bagel recipes use a relatively hot oven, often between 425°F and 475°F, depending on the formula and equipment.
An oven thermometer can help you identify temperature differences between the setting and the actual heat inside the oven.
Signs Your Bagels Are Fully Baked
Look for:
- A deep golden-brown crust
- A firm, dry exterior
- A fully set bottom
- No pale or gummy line in the center
- A hollow or firm sound when tapped
Do not judge doneness by time alone. Bagel size, oven accuracy, baking surface, and dough temperature all affect the result.
Let Your Bagels Cool Before Slicing
Fresh bagels smell irresistible, but cutting them immediately can compress the crumb and release steam before the interior finishes setting.
Cool them on a wire rack for at least 20–30 minutes. This short wait gives you a cleaner cut and a better texture.
Homemade Bagel Troubleshooting Table
| Problem | Likely Cause | How to Fix It |
| Bagels are flat | Overproofing or wet dough | Shorten proofing and reduce water slightly |
| Bagels are too dense | Underproofing or weak yeast | Extend fermentation and check yeast |
| Texture resembles bread | Weak flour or skipped boiling | Use bread flour and boil before baking |
| Surface is wrinkled | Overproofing or excessive boiling | Reduce proofing or boiling time |
| Holes close completely | Opening was too small | Stretch a wider hole before proofing |
| Seams split | Ends were not sealed | Overlap and roll the seam firmly |
| Toppings fall off | Surface dried before topping | Apply toppings immediately after boiling |
| Crust is pale | Low heat or insufficient malt | Preheat fully and follow the sweetener amount |
| Interior is gummy | Underbaking or early slicing | Bake longer and cool before cutting |
| Crust is too hard | Excessive boiling or overbaking | Shorten the boil or baking time |
Step-by-Step Homemade Bagels Method
Use this sequence as a practical overview:
- Weigh the flour, water, yeast, malt, and salt.
- Mix until a stiff dough forms.
- Knead until smooth and elastic.
- Allow the dough to ferment.
- Divide it into equal portions.
- Shape each portion into a firm ring.
- Proof according to the recipe.
- Refrigerate overnight if using cold fermentation.
- Boil the bagels on both sides.
- Add toppings while the surface is damp.
- Bake in a fully preheated oven.
- Cool before slicing.
Homemade Bagel Recipe at a Glance
| Recipe Detail | Approximate Information |
| Preparation time | 30–40 minutes |
| Initial fermentation | 1–2 hours |
| Cold fermentation | Optional, usually overnight |
| Boiling time | 30–60 seconds per side |
| Baking time | 18–25 minutes |
| Yield | About 8 medium bagels |
| Difficulty | Intermediate |
| Best flour | Bread flour |
| Useful equipment | Digital scale, large pot, baking sheet, wire rack |
Your exact timing will depend on room temperature, dough temperature, bagel size, oven accuracy, and the recipe you follow.
How to Store Homemade Bagels
Allow your bagels to cool completely before storing them. Trapped warmth creates condensation, which can soften the crust and encourage spoilage.
Keep them in a sealed bag or airtight container at room temperature if you plan to eat them soon.
For longer storage, freezing is usually better than refrigeration. Refrigerated bread often becomes stale faster.
How to Freeze Bagels
- Cool the bagels completely.
- Slice them in half.
- Wrap them individually or place them in freezer bags.
- Remove as much air as possible.
- Freeze in convenient portions.
- Toast directly from frozen or thaw before reheating.
Slicing before freezing makes it easier to place the bagel directly into your toaster.
Frequently Asked Questions About Homemade Bagels
Why Are My Homemade Bagels So Dense?
Your bagels may be underproofed, under-kneaded, made with too much flour, or prepared with inactive yeast. Excessive boiling can also produce an overly dense texture.
Why Did My Homemade Bagels Go Flat?
Flat bagels often result from overproofing, wet dough, weak gluten development, or rough handling during boiling.
Do You Have to Boil Homemade Bagels?
Yes, if you want the classic chewy crust and compact texture. Skipping the boil produces a softer result that resembles bread.
Why Did My Homemade Bagels Wrinkle?
Wrinkling can happen when the dough is overproofed, boiled for too long, handled roughly, or left wet for too long before baking.
Can You Make Homemade Bagels Without Barley Malt Syrup?
Yes. You can use honey, brown sugar, or another suitable sweetener. The flavor will differ, but the bagels can still brown well.
Can You Use All-Purpose Flour?
You can, but bread flour usually produces a stronger structure and chewier crumb. Use water cautiously because all-purpose flour may absorb less.
How Long Should You Boil Homemade Bagels?
Most recipes call for roughly 30–60 seconds per side. Longer boiling generally creates a thicker, chewier crust.
Why Do the Holes Close During Baking?
The center opening was probably too small. Make it wider before proofing because the dough expands during every remaining stage.
Should Homemade Bagels Rise Overnight?
They do not have to, but an overnight cold fermentation can improve flavor and make the shaped dough easier to handle.
How Do You Make Homemade Bagels Shiny?
Boiling creates much of the traditional shine. Malt or honey in the water, strong oven heat, and an optional egg wash can make the surface even glossier.
Better Homemade Bagels Come from Better Technique
Successful homemade bagels depend less on complicated ingredients and more on careful decisions.
Use strong flour. Control the water. Knead until the dough becomes elastic. Watch the dough rather than relying only on the clock. Shape the rings firmly, boil them with purpose, and bake them in a properly heated oven.
Most importantly, treat each batch as useful practice. If your bagels spread, shorten the next proof. If they feel too soft, review your flour and boiling time. If the crumb is gummy, bake them longer and resist cutting them while hot.
Small adjustments can transform your results.
Bake your next batch using these troubleshooting tips, then share what happened. Which mistake caused your biggest bagel problem, and what change finally gave you the chewy crust and tender center you wanted?
Table of Contents
7 Secrets to the Best Smoky Shrimp with Chorizo – labelrecipes.com