
If you’ve ever felt stuck in the routine of preparing the same meals or are simply searching for something new yet comforting, onigiri might just be the answer. Picture this: a warm, soft rice ball, perfectly shaped and packed with savory fillings, all wrapped in a crispy seaweed sheet. Not only is onigiri a popular snack in Japan, but it’s also an easy and satisfying dish you can make at home for lunch or a quick snack. Whether you are looking for a traditional Japanese meal or just something simple and customizable, onigiri fits the bill.
But onigiri isn’t just about convenience; it’s about the joy of food that’s easy to prepare, fun to eat, and versatile enough to satisfy all kinds of taste preferences. If you’re tired of the usual lunchbox options or snack foods, this rice ball is the perfect balance of simplicity and flavor. Let’s explore how you can make this Japanese classic at home, bringing a slice of Japan to your kitchen.
What Is Onigiri? A Brief Overview of This Japanese Staple
Onigiri, also known as Japanese rice balls, are simple, portable meals made from steamed white rice and typically filled with savory ingredients. They’re a staple in Japanese households, packed in bento boxes, enjoyed as a snack, and even sold at convenience stores. But their popularity goes beyond convenience — onigiri is steeped in tradition.
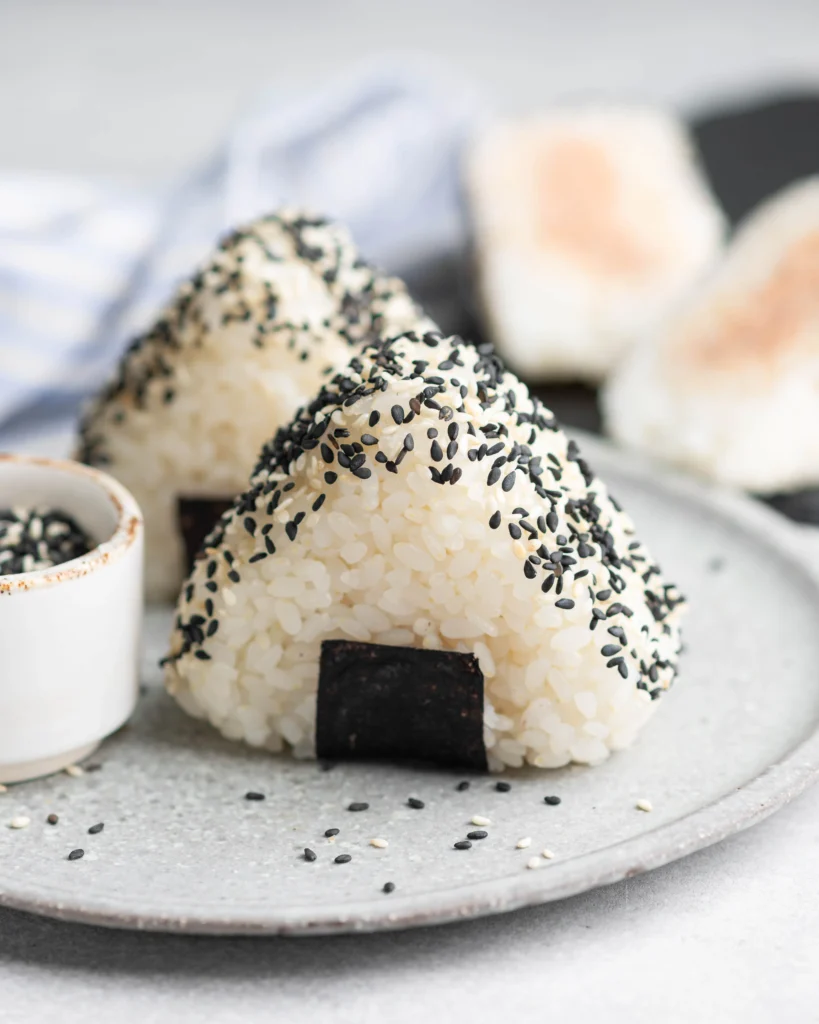
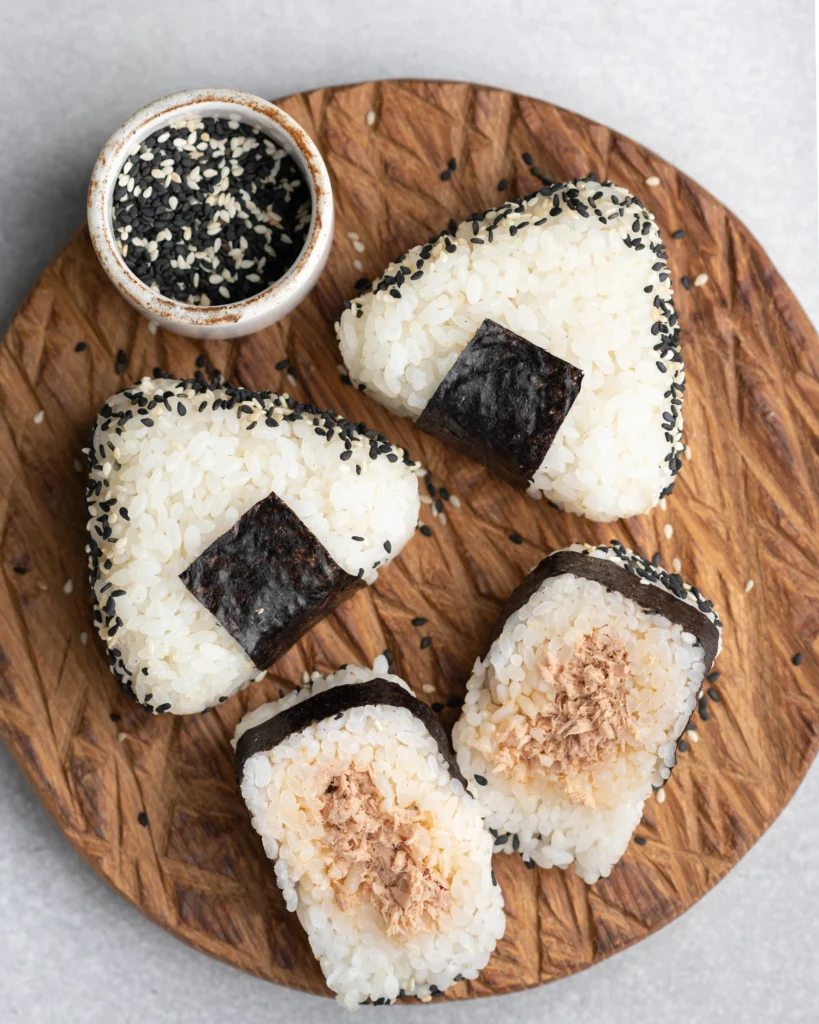
Onigiri are often shaped into triangles, rounds, or cylinders, and each type has a unique significance. The classic triangular onigiri is the most common, with its edges tightly sealed around the filling, making it easy to hold and eat with one hand.
In Japan, onigiri are symbolic of comfort and nostalgia. They’ve been a part of daily life for centuries, appearing in both casual meals and special occasions. Whether it’s a lunch packed for a busy workday or a picnic with family, onigiri is a dish that’s cherished across generations.
Why You’ll Love This Easy Onigiri Recipe
There are many reasons why onigiri should be your go-to snack or lunch option. Here are just a few:
- Convenience: No complex techniques are needed! You only need a few basic ingredients, making it a perfect recipe for those who want something quick and easy. Whether you’re running short on time or need to prep a meal ahead of time, onigiri fits seamlessly into your schedule.
- Customizable: One of the best things about onigiri is its versatility. You can choose any filling you like, from classic umeboshi (pickled plum) to grilled salmon, tuna mayo, or even vegetarian options. The fillings and flavors are endless, so you’ll never get bored.
- Perfect for Meal Prep: Onigiri is not only delicious but also keeps well for a few days in the fridge. They make an ideal addition to meal prep, providing an easy, grab-and-go lunch option. Make a batch over the weekend, and you’ll have lunches ready to go for the week.
Essential Ingredients for Making Onigiri
Making the perfect onigiri starts with selecting the right ingredients. Here’s a breakdown of what you’ll need:
1. Sushi Rice (or Short-Grain Rice)
The key to a perfect onigiri is using short-grain sushi rice. Its sticky texture helps the rice hold together without falling apart. It’s essential to rinse the rice until the water runs clear, removing excess starch, which can make the rice overly sticky.
2. Filling Options
Onigiri is traditionally filled with flavorful ingredients that balance the mildness of the rice. You can experiment with various fillings, such as:
- Umeboshi (Pickled Plum): A tangy, salty filling made from fermented plums. It’s the most traditional onigiri filling and adds a burst of flavor.
- Grilled Salmon: A classic and popular choice for a savory and rich filling.
- Tuna Mayo: A creamy filling made by mixing canned tuna with mayonnaise.
- Seaweed (Nori): Often used to wrap the onigiri for added texture and flavor.
- Pickled Vegetables: For a crunchy and tangy filling, try using pickled cucumbers or radishes.
3. Seasoning
Seasoning is essential to enhance the flavor of your rice and fillings. The most common seasoning includes:
- Salt: A pinch of salt is typically added to the rice to help balance the flavors.
- Sesame Seeds: A sprinkle of toasted sesame seeds can add an extra layer of flavor and texture.
- Soy Sauce: For an optional savory twist, drizzle a small amount of soy sauce over the rice.
Step-by-Step Guide to Making the Perfect Onigiri
Making onigiri is easy, especially when you follow this simple, foolproof guide. All you need are a few basic ingredients and some hands-on time to shape your rice balls.
Step 1: Prepare Your Ingredients
Start by cooking your sushi rice. Once it’s done, let it cool slightly, but make sure it’s still warm when you form the rice balls.
Step 2: Shape the Rice
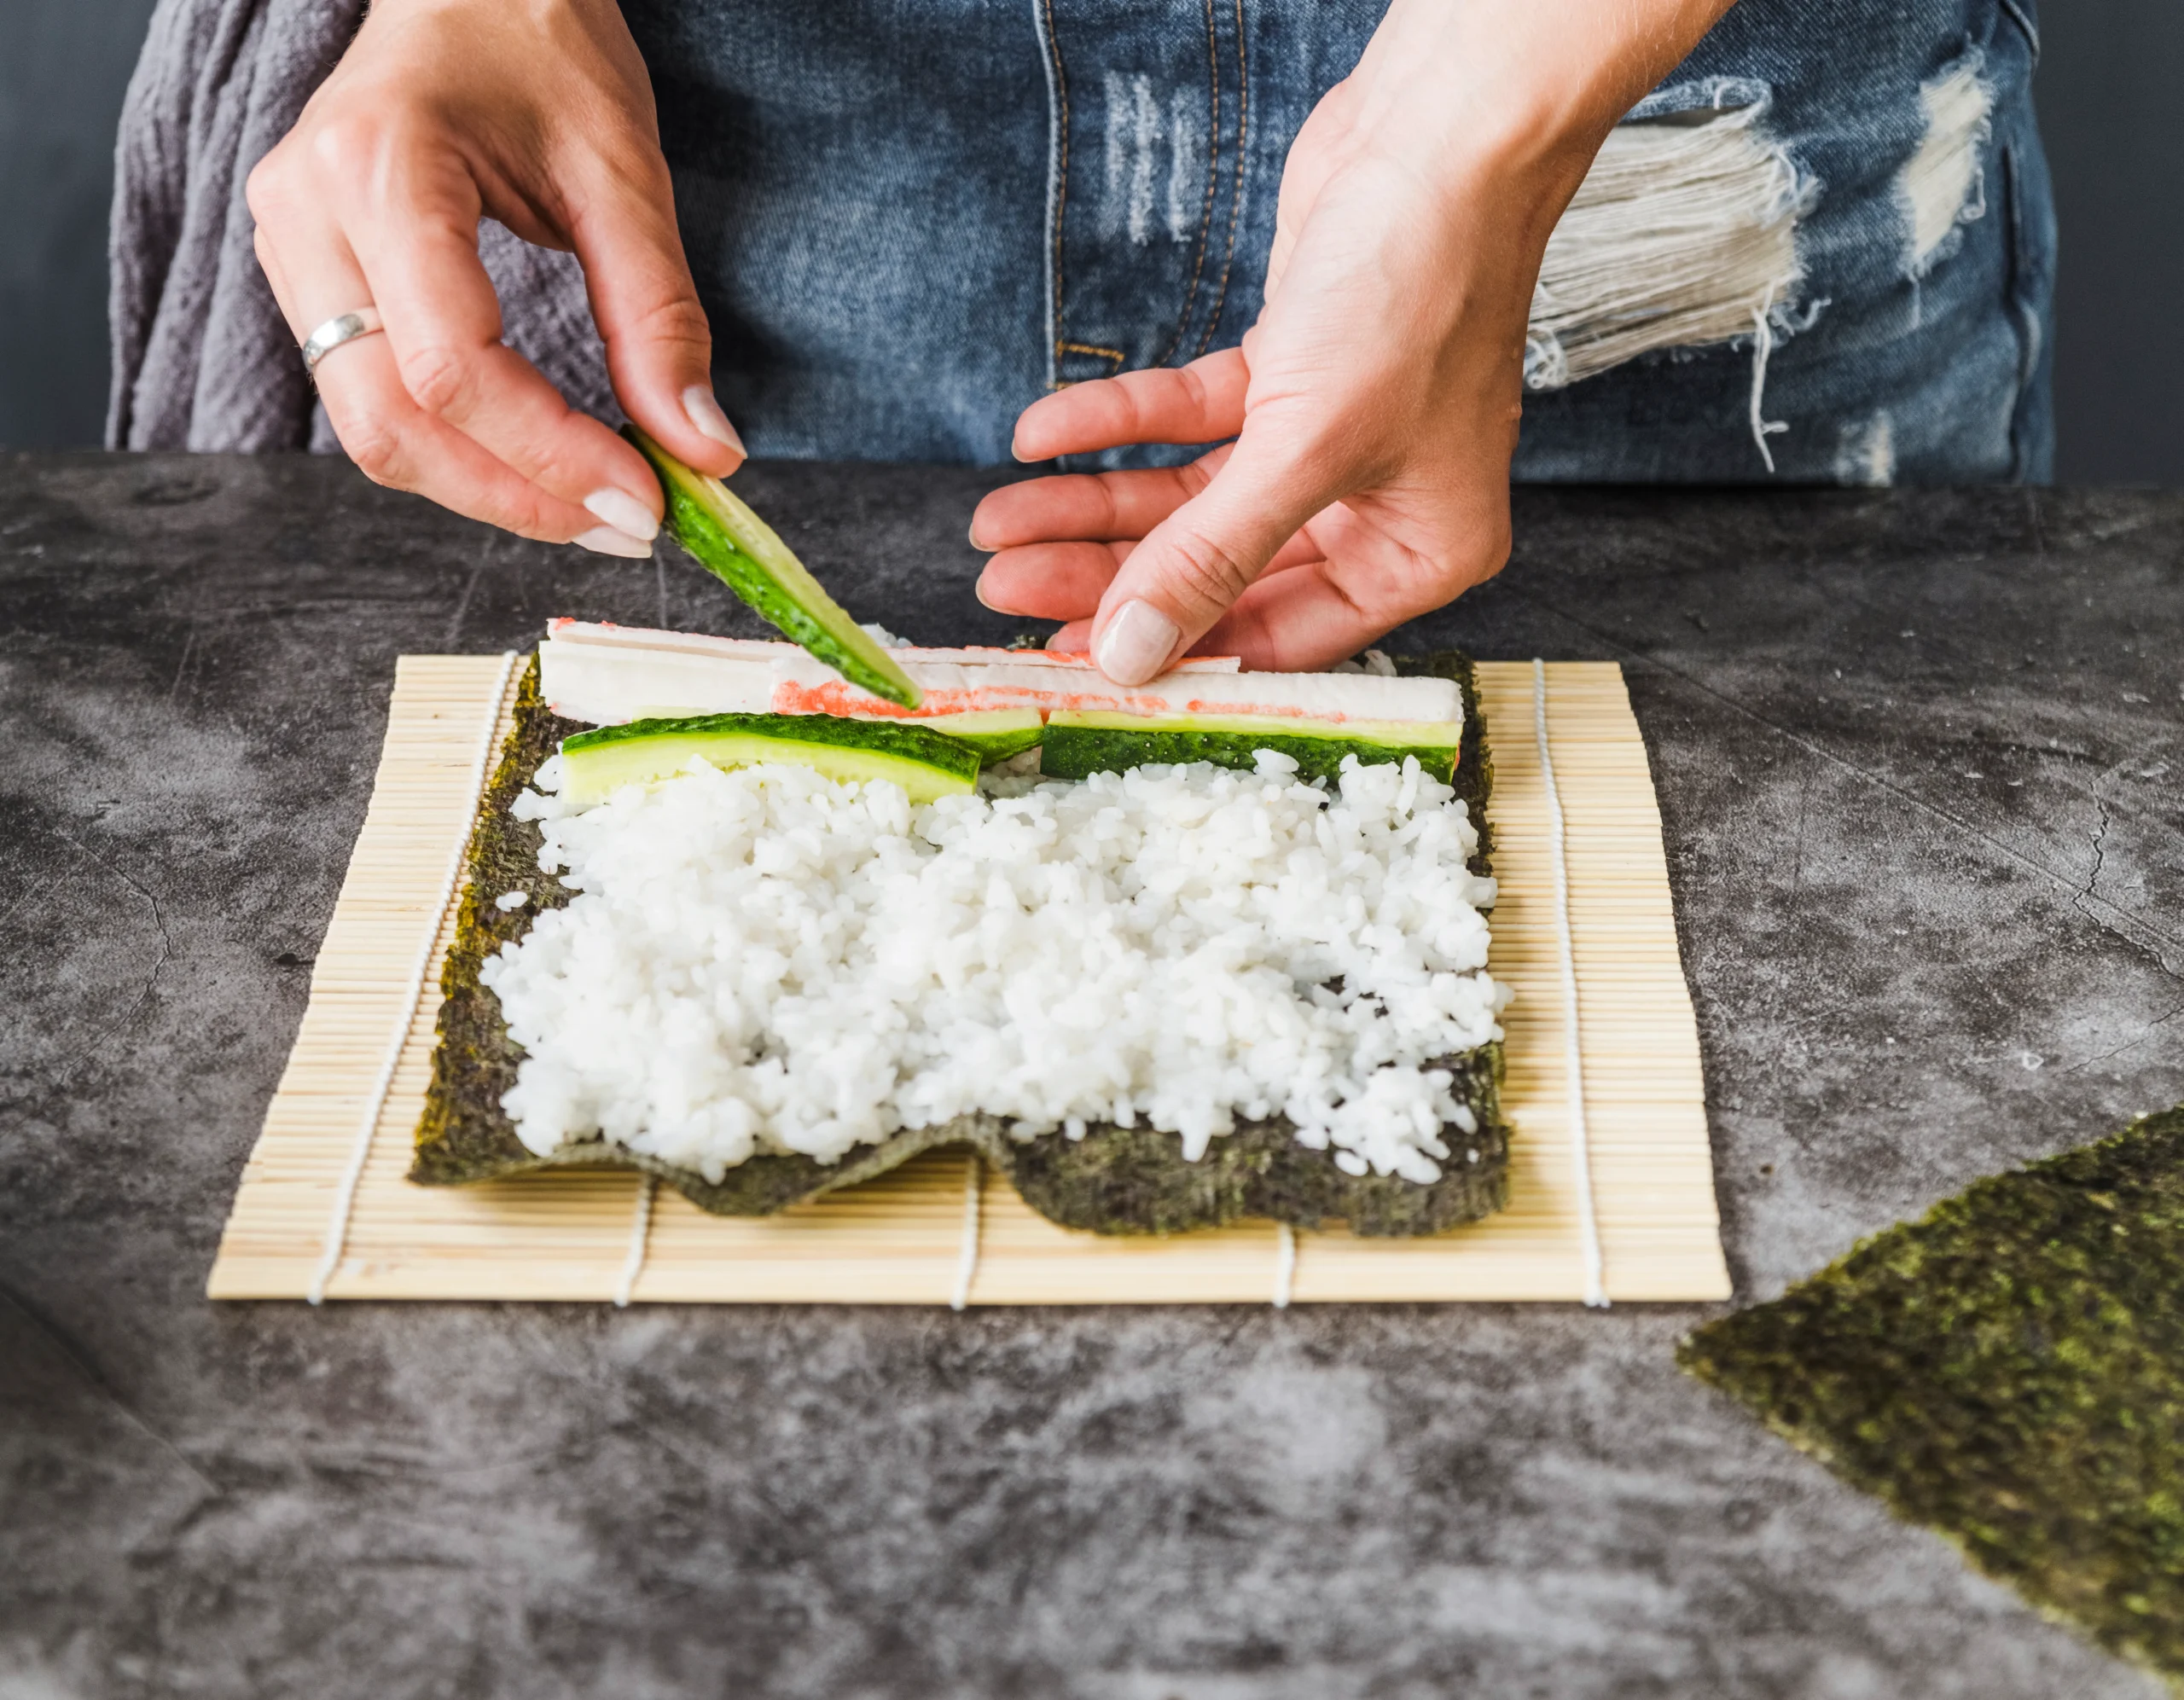
Wet your hands with water and a pinch of salt to prevent the rice from sticking to your skin. Take a handful of warm rice and form it into a ball. Flatten the ball slightly, then place your desired filling in the center. Carefully mold the rice around the filling, sealing the edges as you shape it into a triangle, round, or cylindrical form.
Step 3: Wrap with Nori (Optional)
If you’re using nori (seaweed), wrap a strip around the onigiri to add a nice crunch and extra flavor. This step is optional but highly recommended for added texture and taste.
Step 4: Serve or Store
Once your onigiri are shaped and wrapped, they are ready to eat! If you’re not eating them immediately, you can store them in the fridge for up to 2 days, but it’s best to eat them fresh.
Variations to Try with Your Onigiri
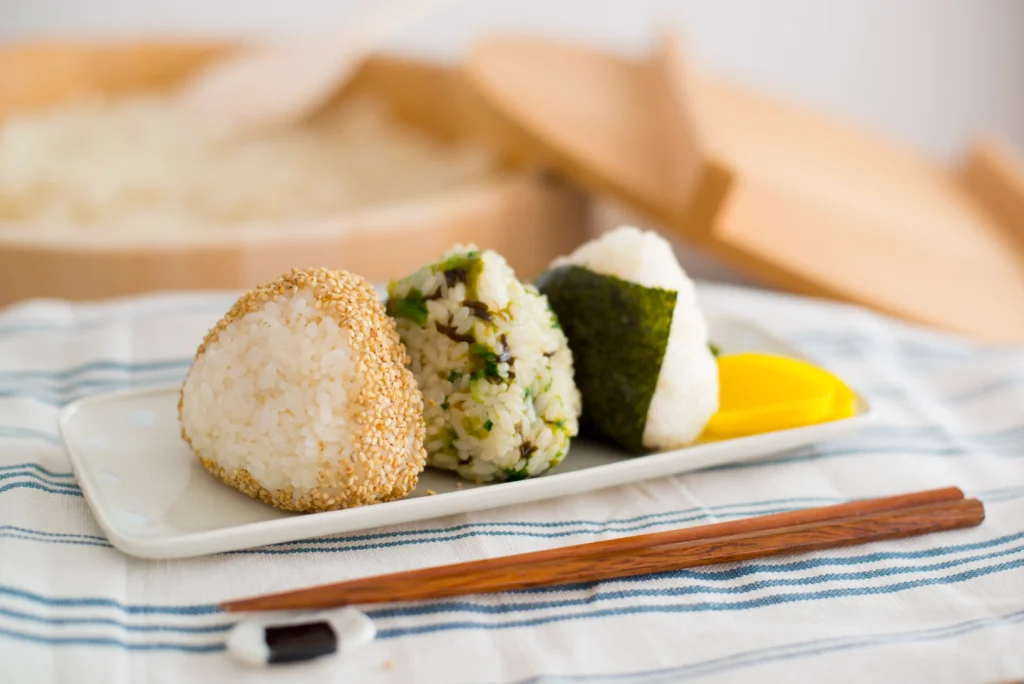
One of the best things about onigiri is the endless variations you can create. Here are a few ideas to try:
- Umeboshi Onigiri: For a tangy and salty option, use pickled plums (umeboshi) as your filling. It’s the most traditional and loved filling in Japan.
- Grilled Salmon Onigiri: Flake grilled salmon and mix with a bit of soy sauce. Add a pinch of sesame seeds for added texture.
- Tuna Mayo Onigiri: Mix canned tuna with mayonnaise and a bit of soy sauce for a creamy and savory filling.
- Vegetarian Onigiri: Try avocado, pickled vegetables, or even sautéed mushrooms as your filling. You can also mix in some cooked quinoa for a unique twist.
- Sweet Onigiri: For a dessert-style onigiri, use sweet red bean paste or even honey and fruit fillings like strawberries.
Onigiri FAQ – Your Burning Questions Answered
What type of rice should I use for onigiri?
Use short-grain sushi rice for the best texture. It’s sticky enough to hold the rice together, making the onigiri easier to shape and eat.
Can I make onigiri ahead of time?
Yes, you can make onigiri in advance. They store well in the fridge for up to 2 days. To prevent them from drying out, wrap them tightly in plastic wrap or store them in an airtight container.
Can I freeze onigiri?
Yes, onigiri can be frozen, but it’s best to freeze them without the nori as the seaweed can become soggy when reheated. Simply wrap them in plastic wrap and store them in an airtight container. To reheat, microwave or steam until warmed through.
How do I prevent onigiri from falling apart?
To prevent your onigiri from falling apart, make sure the rice is sticky and warm when forming it. Avoid overcooking or undercooking the rice, and press gently but firmly when shaping the onigiri.
Conclusion – Enjoy the Simplicity and Joy of Onigiri
Onigiri is more than just a rice ball – it’s a versatile, flavorful snack that brings comfort and tradition to every bite. Whether you enjoy it as part of your lunch, a quick snack, or a delicious meal prep option, onigiri is sure to become a regular in your kitchen.
Ready to try making your own onigiri? Gather your ingredients, get creative with your fillings, and experience the joy of preparing a dish that’s as delightful to eat as it is to make. You’ll be enjoying homemade onigiri in no time!
Table of Contents
Simple Vanilla Ice Cream Recipe With Rich Flavor – labelrecipes.com