There’s something undeniably magical about biting into a perfectly crafted peanut butter ball. That first moment when your teeth sink through a thin chocolate shell into a soft, creamy center is pure bliss. Perhaps it reminds you of the joy of holiday baking, sneaking a treat from the kitchen, or sharing homemade goodies with loved ones. When you make peanut butter balls at home, you don’t just enjoy a dessert—you create memories, spread joy, and indulge in a little piece of happiness that melts in your mouth.
This recipe is designed to be easy, approachable, and absolutely irresistible. By the end of this guide, you’ll have everything you need to make smooth, decadent, melt-in-your-mouth peanut butter balls that everyone will love.
What Are Peanut Butter Balls?
Before you dive into making these treats, it helps to understand what sets them apart.
- Definition: Peanut butter balls are bite-sized confections made with a creamy peanut butter center and a chocolate coating. Their signature texture comes from the combination of smooth peanut butter and sweet chocolate.
- Origins: Popularized in holiday baking and festive celebrations, they are often made as gifts, party treats, or just as a decadent homemade snack.
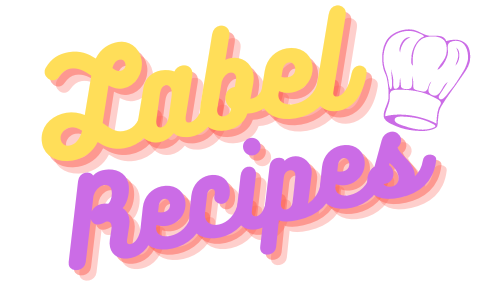
- Texture & Flavor Profile: The hallmark of peanut butter balls is a velvety center that melts in your mouth, wrapped in a firm or slightly crunchy chocolate exterior.
There are countless variations of this classic treat, ranging from Reese’s-inspired bites to vegan or sugar-free options, but the essence remains the same: creamy, sweet, and irresistible.
Why You’ll Love These Peanut Butter Balls
You might be wondering what makes this recipe special. Here’s why you’ll fall in love with making peanut butter balls yourself:
- Quick and Easy: The prep is straightforward, requiring minimal ingredients and only a few steps.
- Perfect for Gifting: Their bite-sized form makes them ideal for holiday packages, birthdays, or party trays.
- Family-Friendly: Kids and adults alike adore these sweet, melt-in-your-mouth treats.
- Customizable: You can experiment with different chocolates, nuts, or even flavor extracts to suit your tastes.
In addition, they’re a simple way to bring a little indulgence into your home without needing professional baking skills.
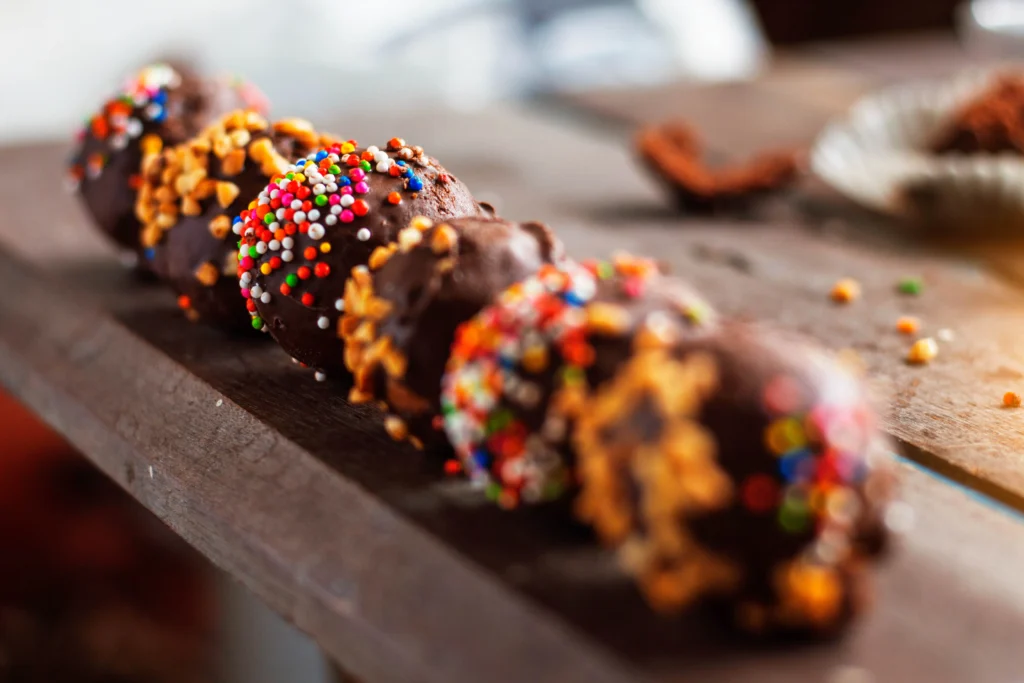
Ingredients for Melt-in-Your-Mouth Peanut Butter Balls
To make these peanut butter balls, you’ll need a handful of ingredients that you likely already have in your pantry. Using a table can help you organize everything clearly:
| Ingredient | Quantity | Purpose |
|---|---|---|
| Creamy peanut butter | 1 cup | Base flavor + smooth texture |
| Powdered sugar | 1 cup | Sweetness + structure |
| Unsalted butter | 1/2 cup | Richness + binding |
| Vanilla extract | 1 tsp | Flavor enhancement |
| Chocolate chips | 1 cup | Outer coating |
| Optional toppings | Sprinkles, chopped nuts | Decorative finishing |
Pro Tips:
- Use creamy peanut butter for a smooth texture that melts in your mouth.
- Natural peanut butter works but may require slight adjustment with powdered sugar for firmness.
- Chocolate chips can be milk, dark, or white chocolate, depending on your flavor preference.
Step-by-Step Recipe for Peanut Butter Balls
Follow these instructions to create the perfect melt-in-your-mouth peanut butter balls:
1. Mix the Base Ingredients
- In a large bowl, combine creamy peanut butter, unsalted butter, powdered sugar, and vanilla extract.
- Stir until smooth and fully incorporated.
2. Chill the Mixture
- Cover the mixture and refrigerate for 30 minutes.
- Chilling firms up the dough, making it easier to shape into balls.
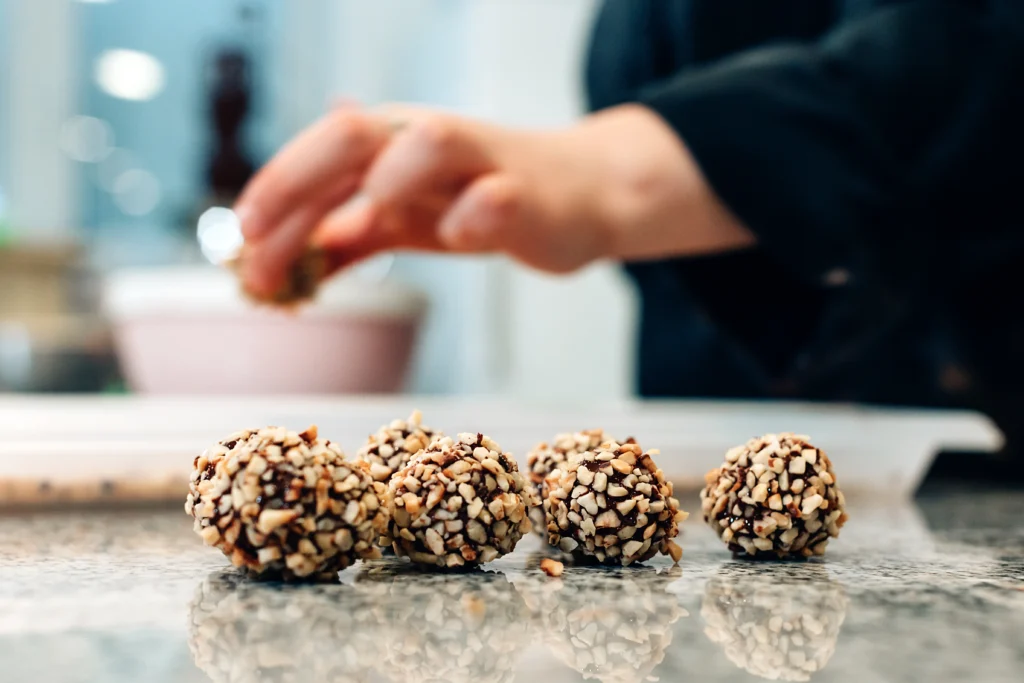
3. Shape the Balls
- Using a cookie scoop or your hands, form the mixture into small, bite-sized balls.
- Place them on a parchment-lined tray.
4. Melt the Chocolate
- Melt chocolate chips in a microwave-safe bowl in 20–30 second increments, stirring after each interval until smooth.
- Alternatively, use a double boiler to prevent scorching.
5. Dip the Balls
- Using a fork or toothpick, dip each peanut butter ball into the melted chocolate.
- Allow excess chocolate to drip off and return the coated ball to the parchment paper.
6. Chill Again
- Refrigerate the coated balls for at least 15–20 minutes until the chocolate is set.
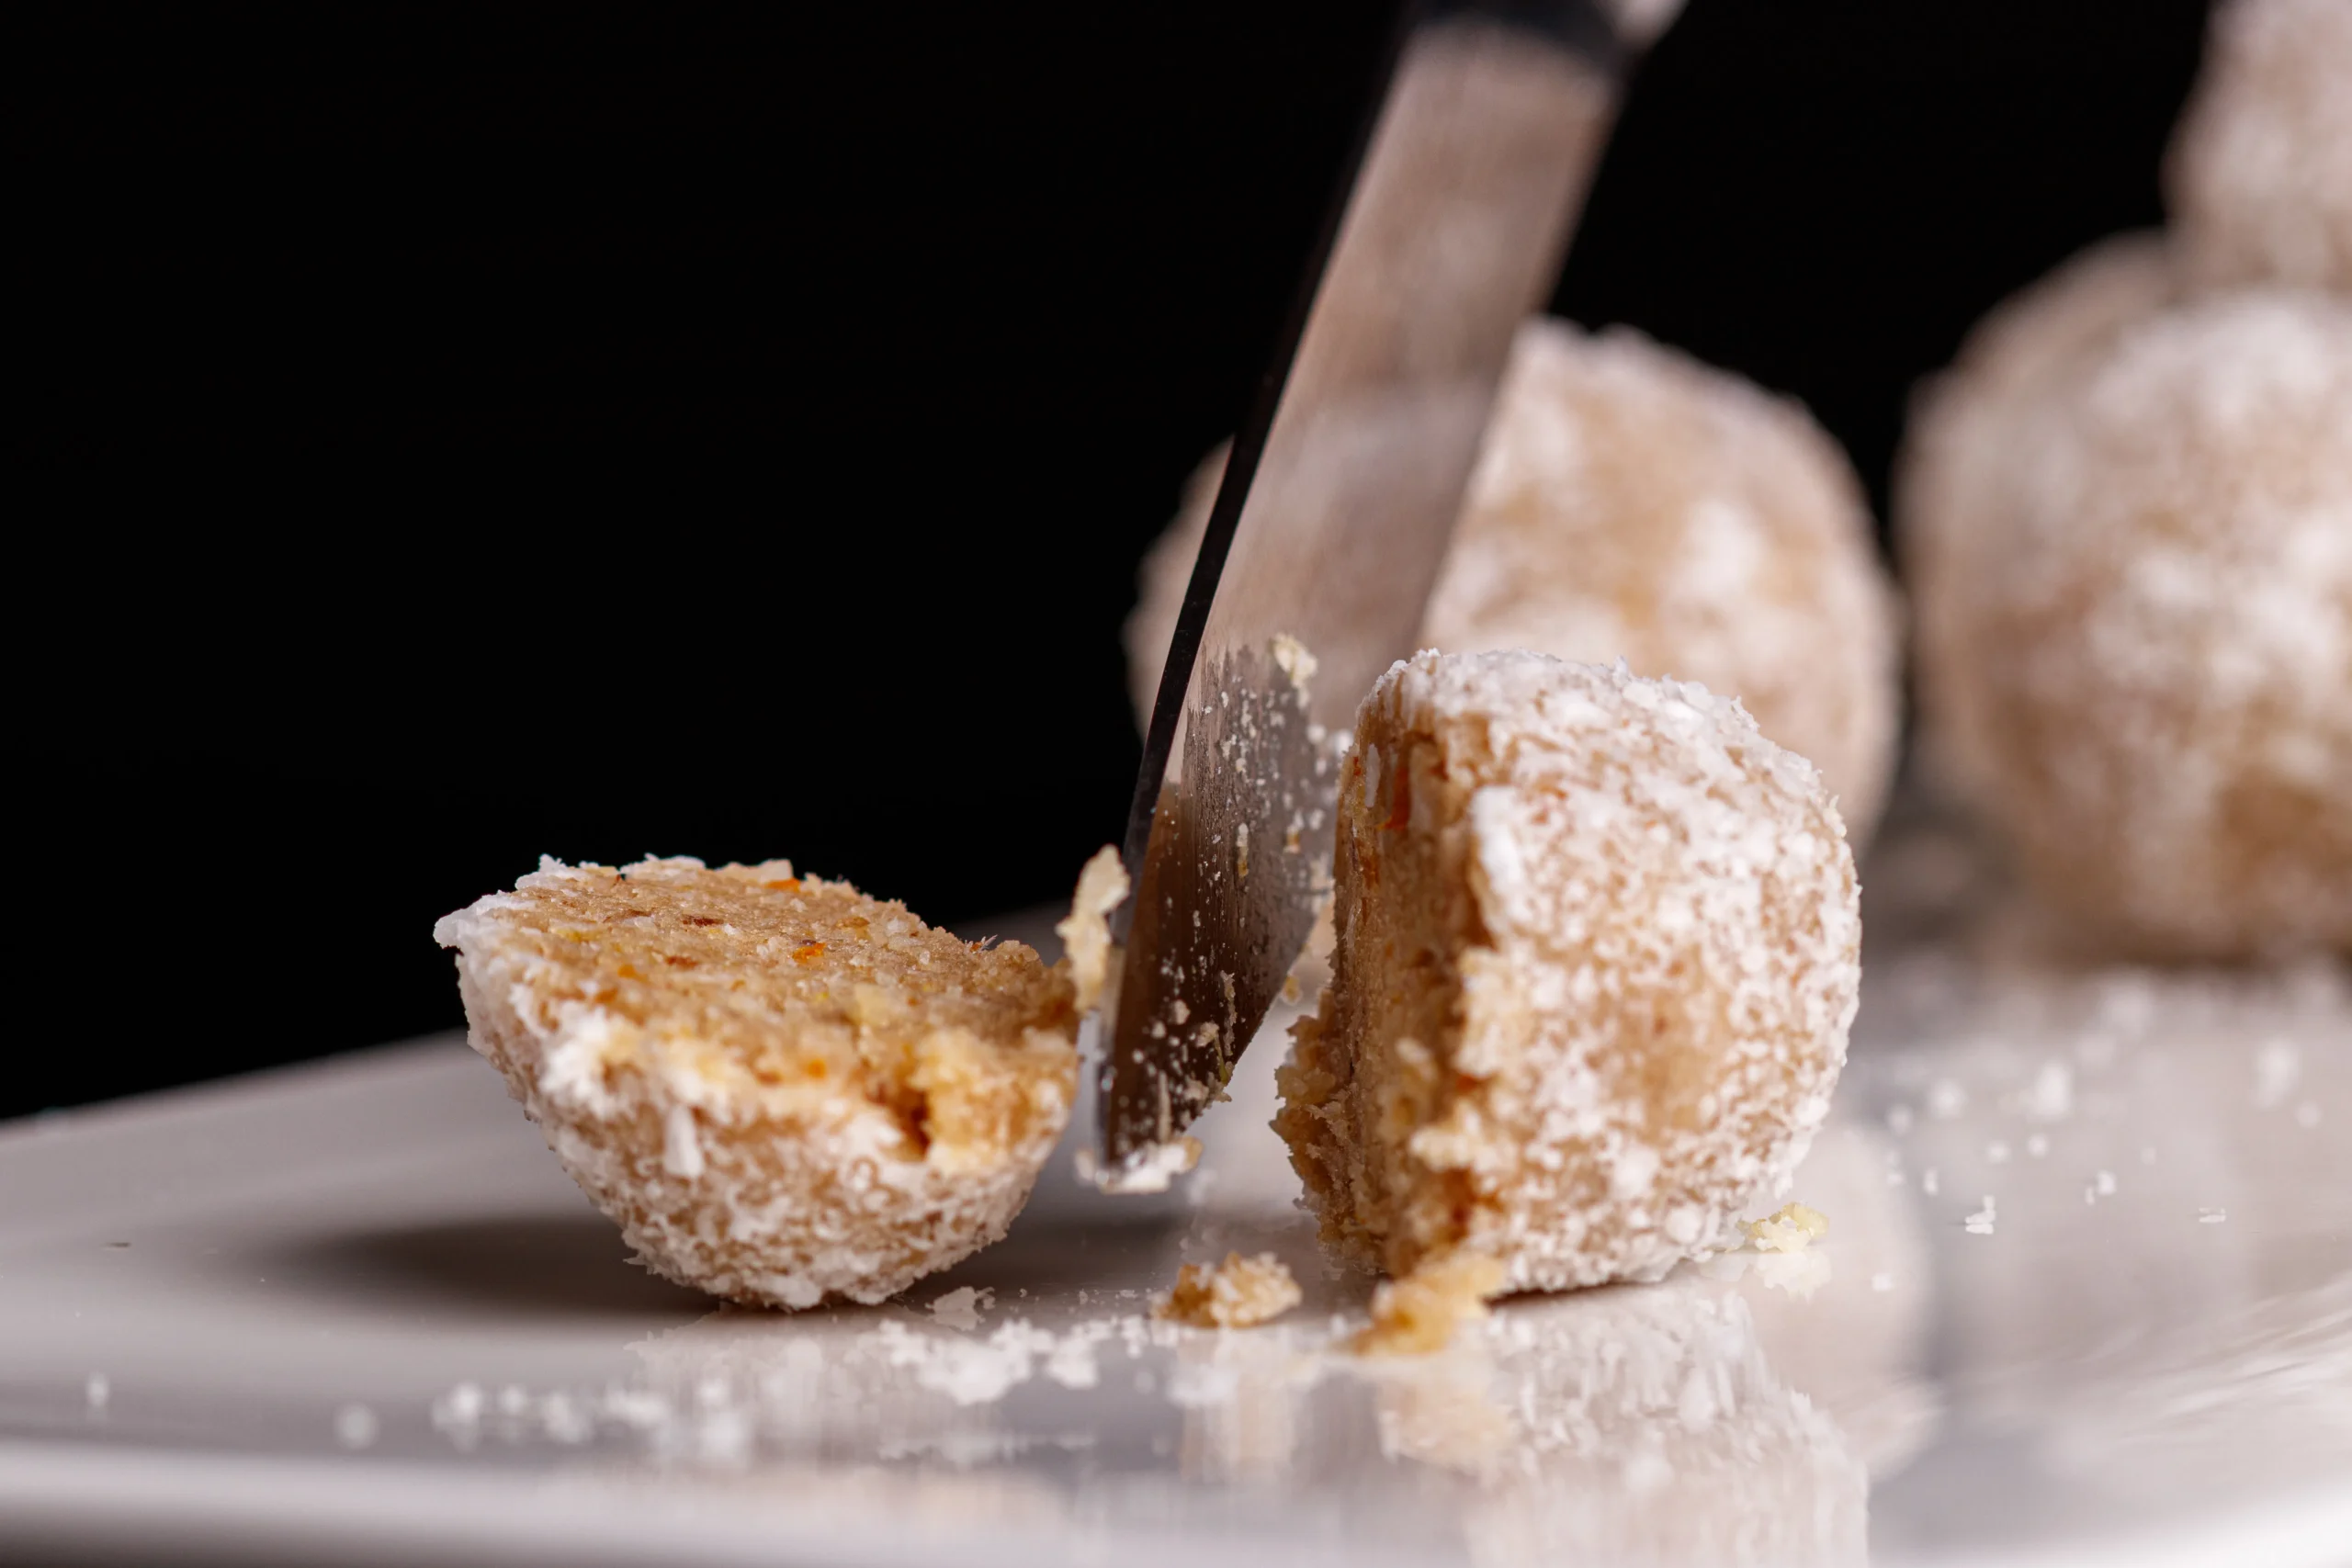
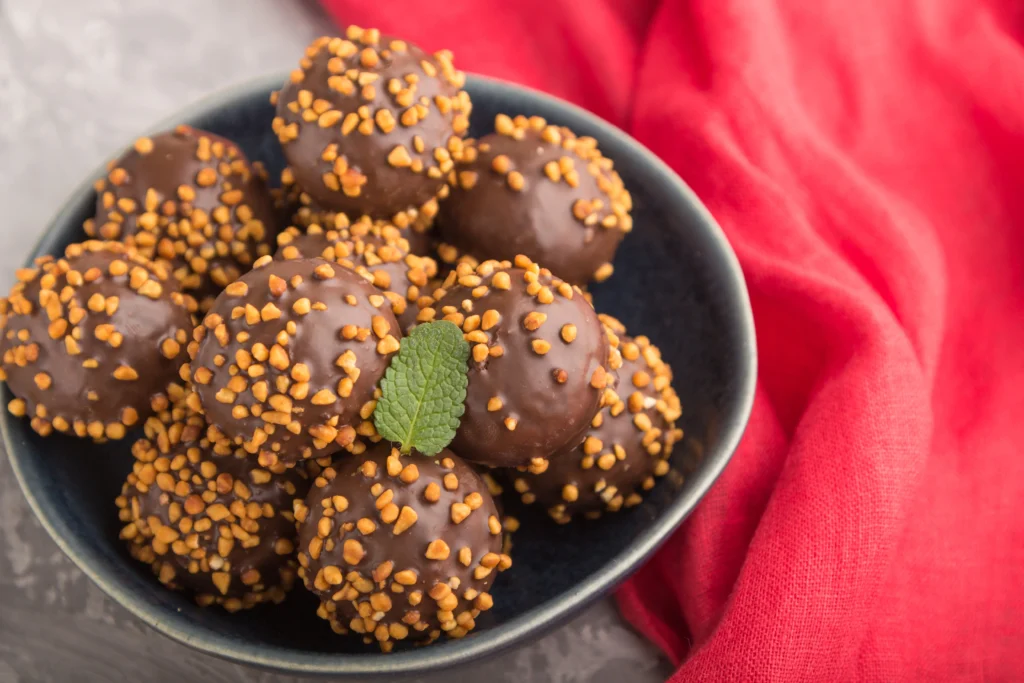
7. Decorate and Serve
- Optionally, top with sprinkles, crushed nuts, or drizzle extra melted chocolate.
- Store in an airtight container in the refrigerator.
Tips & Tricks:
- Lightly grease your hands when rolling the peanut butter mixture to prevent sticking.
- Uniform balls not only look professional but ensure even coating and consistent bites.
- Don’t skip chilling steps; they ensure the final product maintains shape and texture.
Variations to Try
Peanut butter balls are incredibly versatile. Here are some variations you can explore:
Chocolate Peanut Butter Balls
- Use milk, dark, or white chocolate coating.
- For extra flavor, add a pinch of sea salt on top after dipping.
Nutty Peanut Butter Balls
- Mix finely chopped nuts into the peanut butter base.
- Adds crunch and enhances flavor complexity.
Vegan or Sugar-Free
- Use coconut butter and natural sweeteners like maple syrup or agave.
- Use dairy-free chocolate for coating.
Holiday-Themed
- Add colored sprinkles, festive shapes, or edible glitter for parties and celebrations.
Optional table for quick comparison:
| Variation | Ingredient Change | Notes |
|---|---|---|
| Dark Chocolate PB Balls | Dark chocolate coating | Richer flavor |
| Nutty PB Balls | Add 1/4 cup chopped nuts | Crunchy texture |
| Vegan PB Balls | Coconut butter + maple syrup | Dairy-free, natural sweetness |
Common Mistakes to Avoid
Even this simple recipe has a few common pitfalls. Avoid these to ensure perfect peanut butter balls every time:
- Overmixing the base: Can result in a crumbly texture.
- Chocolate overheating: Leads to grainy or burnt coating.
- Making balls too large: Harder to coat and set properly.
- Skipping chilling steps: Sticky and messy balls that lose shape.
- Inconsistent coating: Ensure chocolate is fully melted and smooth before dipping.
FAQ Section
Q1: Can I make Peanut Butter Balls ahead of time?
Yes! They can be stored in the refrigerator for up to 2 weeks or frozen for up to 3 months.
Q2: Can I use crunchy peanut butter instead of creamy?
You can, but the texture won’t be as smooth. The “melt-in-your-mouth” experience works best with creamy peanut butter.
Q3: Are there healthier versions of Peanut Butter Balls?
Yes. Use natural peanut butter, sugar alternatives like stevia or coconut sugar, and dark chocolate coatings for a slightly healthier option.
Q4: Can I make Peanut Butter Balls without chocolate?
Absolutely. Roll them in cocoa powder, crushed cookies, or shredded coconut for different flavors and textures.
Q5: How do I prevent chocolate from cracking after dipping?
Ensure the balls are chilled before dipping, use tempered chocolate or add a teaspoon of coconut oil to the melted chocolate for a smoother coating.
Conclusion
Making peanut butter balls at home is not just about indulging in a sweet treat—it’s about creating something magical that melts in your mouth and delights anyone who tries it. This recipe is approachable, quick, and customizable, so you can tailor it to your tastes or to the season. Whether you’re making them for yourself, gifting them to loved ones, or adding them to a holiday dessert tray, these melt-in-your-mouth peanut butter balls are guaranteed to impress.
Call-to-Action: Try this recipe today, experiment with your favorite variations, and share the joy with family and friends. Once you taste one, you’ll understand why these peanut butter balls are impossible to resist—they truly melt in your mouth!
Table of Contents
Peanut Butter Balls Recipe (allrecipes.com)
Healthy Protein Balls Recipe for Meal Prep and Fitness Goals – labelrecipes.com