
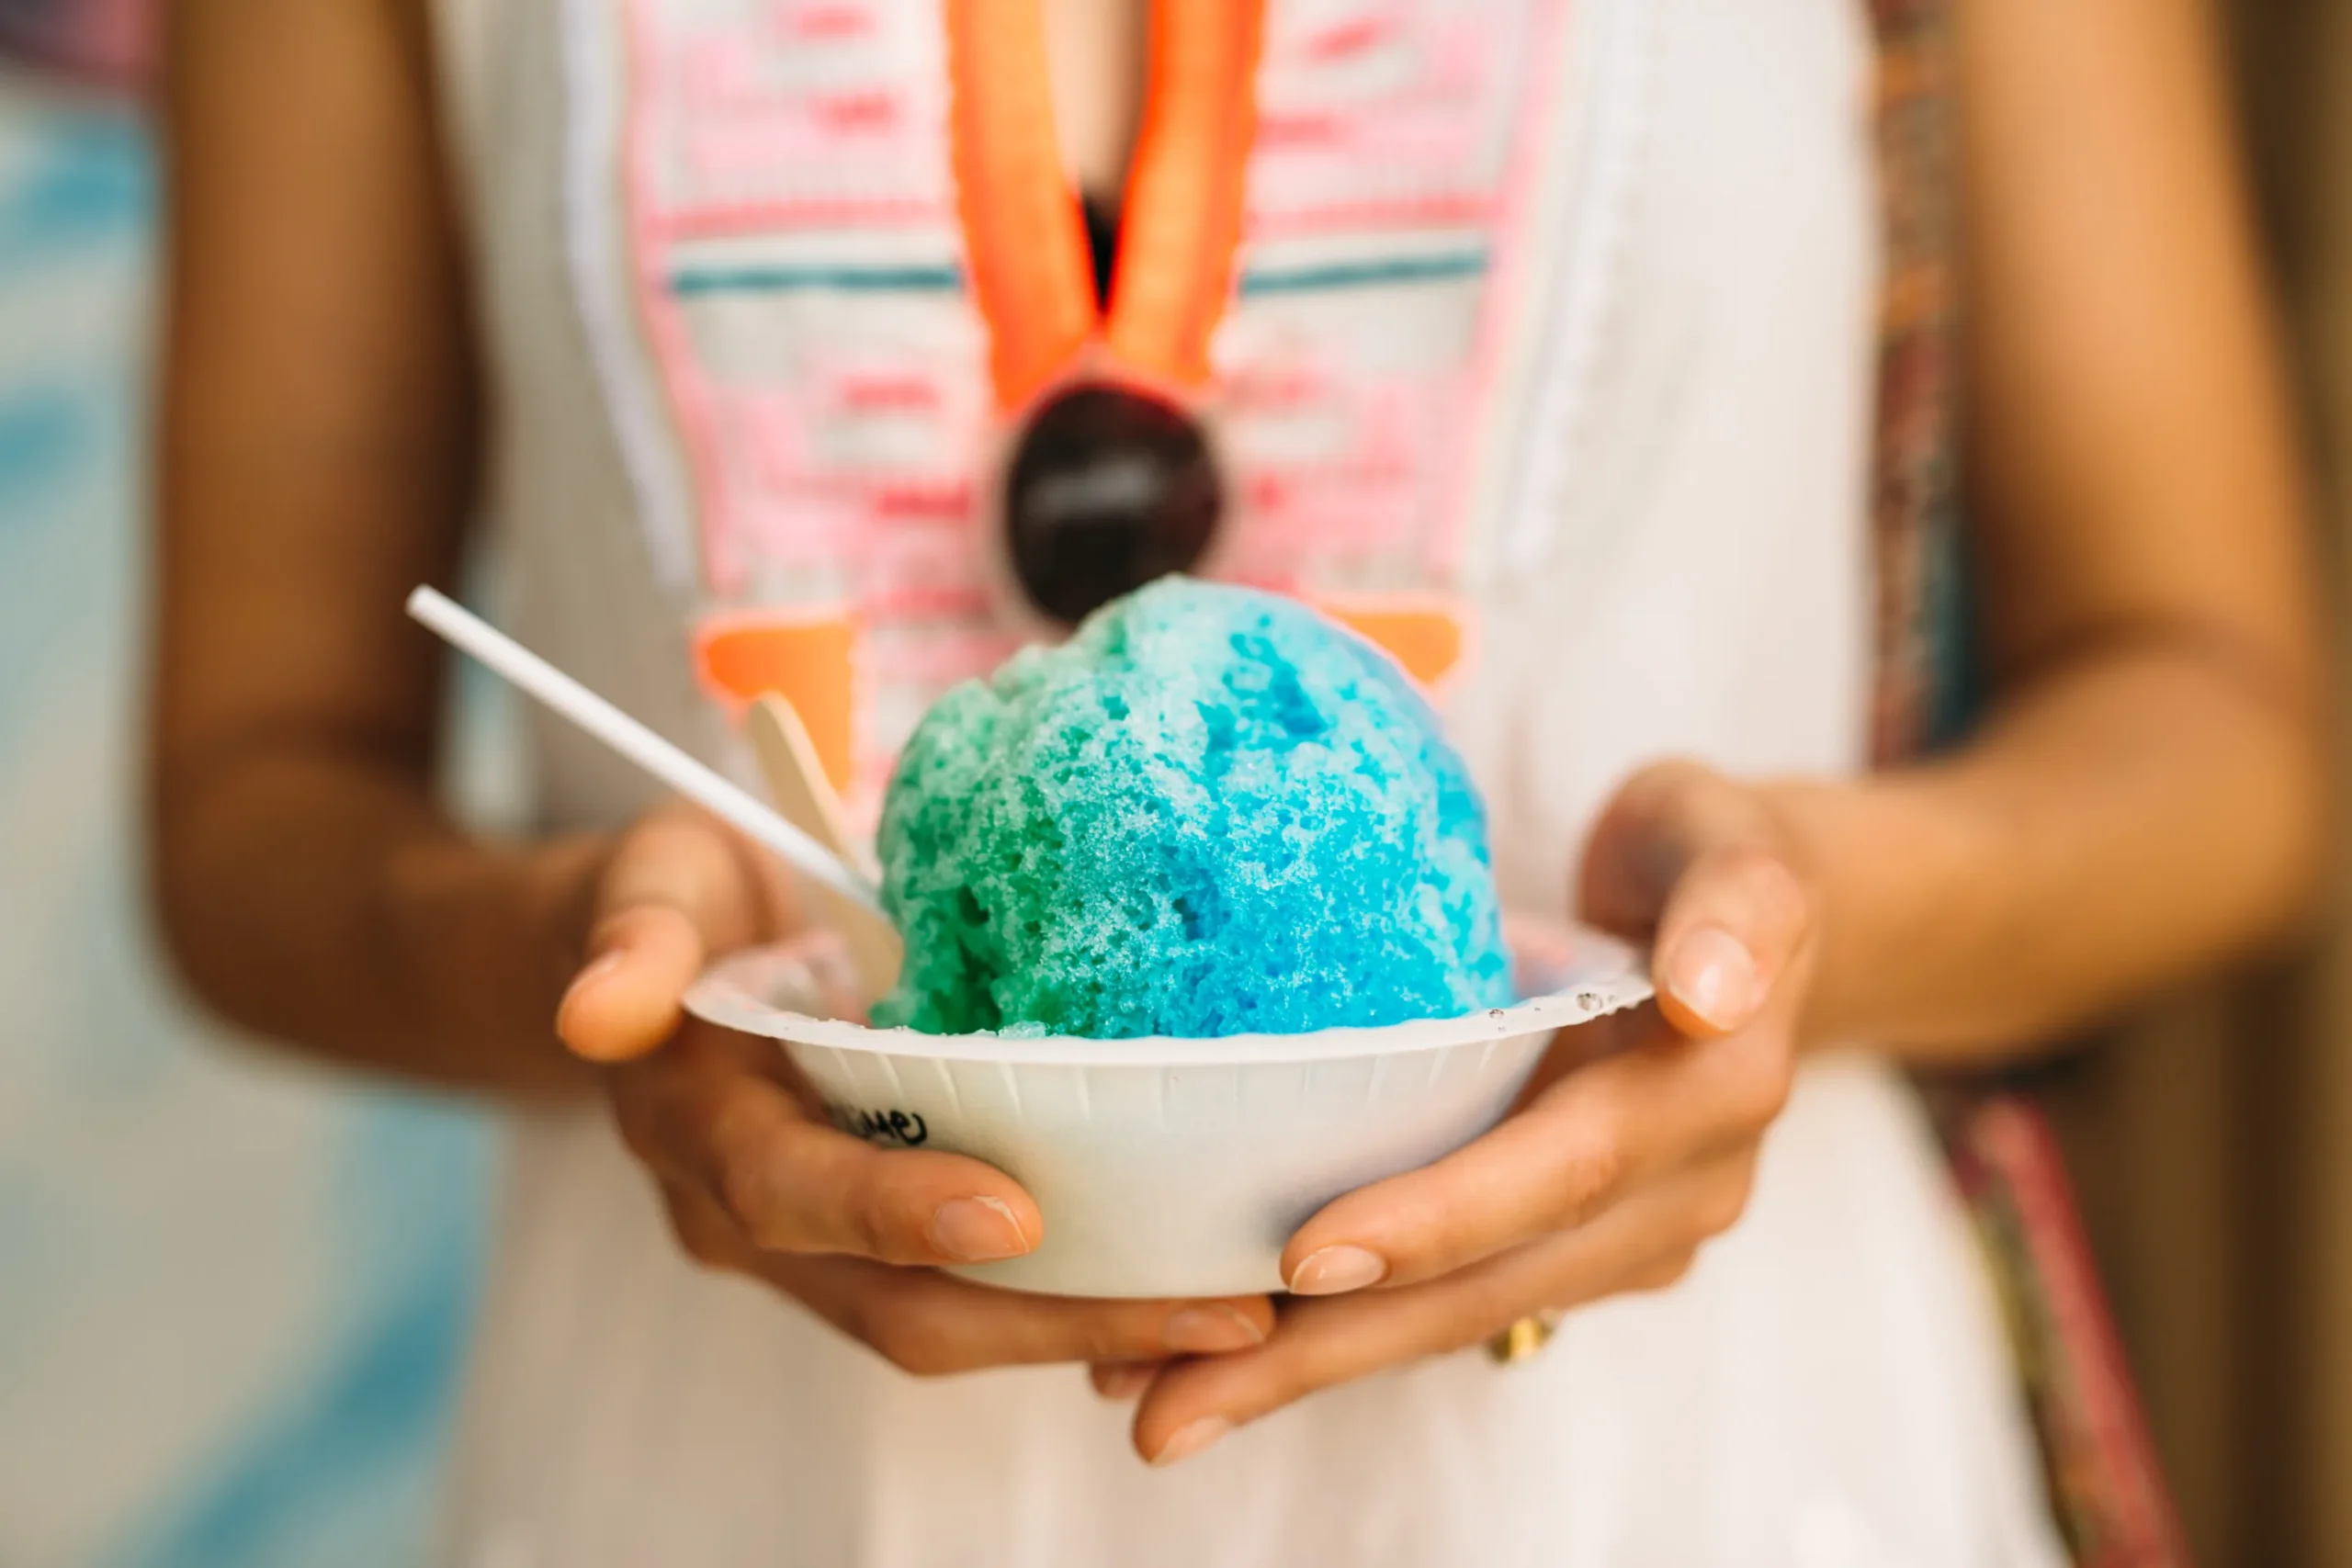
Few summer treats bring back memories quite like a colorful snow cone. Whether you remember buying one at the county fair, enjoying one at the beach, or making them during backyard cookouts, there’s something special about the combination of fluffy shaved ice and sweet, fruity syrup. Those simple moments often become lasting memories shared with family and friends.
The good news is that you don’t need to rely on expensive bottles of store-bought syrup to recreate those experiences. By making your own Snow Cone Syrup, you gain complete control over the flavor, sweetness, and ingredients. You can create vibrant fruit syrups, experiment with unique combinations, reduce artificial additives, and even make healthier alternatives that taste every bit as delicious.
In this guide, you’ll discover everything you need to know about homemade Snow Cone Syrup, from mastering a simple base recipe to creating 20 easy flavor ideas that will impress everyone at your next gathering. Whether you’re preparing frozen treats for your children, hosting a summer party, or simply satisfying your sweet tooth, these recipes make it easy to enjoy refreshing snow cones anytime.
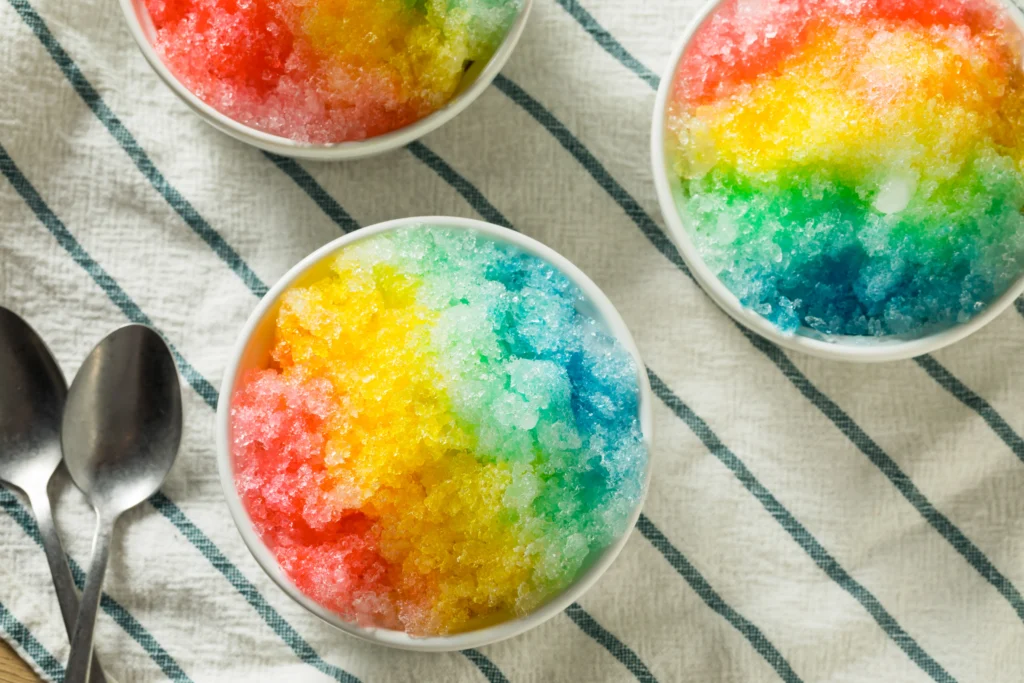
What Is Snow Cone Syrup?
Snow cone syrup is a sweet, flavored liquid poured over finely crushed or shaved ice to create the classic frozen dessert loved around the world. Although it may seem simple, the quality of your syrup determines whether your snow cone tastes ordinary or exceptional.
Traditional snow cone syrup consists of only a few basic ingredients:
- Sugar
- Water
- Natural or artificial flavoring
- Optional food coloring
- Optional citric acid for brightness
Because the syrup is absorbed by the ice rather than frozen into it, achieving the right consistency is important. A well-balanced syrup should be thin enough to soak into the ice while remaining rich enough to deliver bold flavor in every bite.
Unlike many commercial products, homemade syrup allows you to control exactly what goes into each batch. You decide how sweet it should be, whether to use natural fruit juices, and whether to skip artificial colors altogether.
Snow Cone Syrup vs. Shaved Ice Syrup
Many people use these terms interchangeably, but there are subtle differences.
| Feature | Snow Cone Syrup | Shaved Ice Syrup |
|---|---|---|
| Texture | Slightly thicker | Usually thinner |
| Ice Type | Crushed ice | Fine shaved ice |
| Flavor | Bold and concentrated | Light and evenly absorbed |
| Sweetness | Medium to high | Often slightly sweeter |
In practice, the same homemade syrup works wonderfully for both desserts.
Why Homemade Is Better
When you make your own Snow Cone Syrup, you enjoy several advantages:
- Fresh ingredients
- Custom flavors
- Adjustable sweetness
- Lower cost
- Fewer preservatives
- Endless creativity
Instead of being limited to a few grocery store options, you can mix fresh berries, tropical fruits, citrus juices, herbs, and extracts to create flavors that are uniquely yours.
Why Make Homemade Snow Cone Syrup?
Making homemade syrup isn’t just about saving money. It’s about creating a better dessert from ingredients you trust.
You Control Every Ingredient
Many bottled syrups contain:
- High-fructose corn syrup
- Artificial preservatives
- Synthetic dyes
- Artificial flavors
Homemade syrup lets you decide exactly what goes into every bottle.
If you prefer natural ingredients, simply use fresh fruit juice, organic sugar, and natural extracts.
Save Money All Summer
One bottle of premium snow cone syrup can cost several dollars, especially specialty flavors.
By comparison, a homemade batch requires only pantry staples and costs a fraction of the price.
You’ll also avoid paying extra for shipping if you usually order specialty syrups online.
Endless Flavor Possibilities
Once you’ve mastered the basic recipe, almost any fruit or extract can become your next favorite flavor.
Popular combinations include:
- Strawberry Lemonade
- Cherry Lime
- Blue Raspberry
- Pineapple Coconut
- Mango Peach
- Watermelon Mint
- Orange Cream
- Cotton Candy
- Blackberry Vanilla
- Raspberry Lemon
There are virtually no limits.
Perfect for Every Occasion
Homemade Snow Cone Syrup works beautifully for:
- Birthday parties
- Pool parties
- Summer cookouts
- School events
- Family reunions
- Holiday celebrations
- Fundraisers
- Backyard movie nights
Guests love choosing their own flavors and mixing creative combinations.
Ingredients You’ll Need
The beauty of homemade syrup lies in its simplicity.
Most recipes require only a handful of ingredients that you probably already have in your kitchen.
Basic Ingredients
Granulated Sugar
Sugar forms the base of classic snow cone syrup.
It provides:
- Sweetness
- Proper consistency
- Longer shelf life
White sugar produces the clearest syrup and allows fruit flavors to shine.
Water
Filtered water produces the cleanest taste.
Because water makes up a large portion of the syrup, using fresh, clean water noticeably improves the final flavor.
Flavoring
Choose from:
- Fruit extracts
- Fresh fruit juice
- Purees
- Citrus juice
- Natural flavor concentrates
Natural ingredients provide fresh flavor while extracts offer convenience and consistency.
Food Coloring (Optional)
Food coloring isn’t necessary, but it creates the bright appearance many people associate with classic snow cones.
Natural alternatives include:
- Beet juice
- Blue spirulina
- Turmeric
- Butterfly pea flower
- Matcha powder
Citric Acid (Optional)
A tiny amount of citric acid can brighten fruit flavors and balance sweetness without making the syrup overly tart.
Equipment You’ll Need
Fortunately, no special equipment is required.
Gather these kitchen tools before you begin:
- Medium saucepan
- Measuring cups
- Measuring spoons
- Whisk or spoon
- Funnel
- Fine mesh strainer
- Glass bottles or squeeze bottles
- Airtight storage containers
Reusable squeeze bottles make serving especially easy during parties.
Basic Homemade Snow Cone Syrup Recipe
Before experimenting with dozens of flavors, it’s important to master one dependable base recipe.
Once you’ve learned this simple formula, you can customize it endlessly.
Ingredients
| Ingredient | Amount | Purpose |
|---|---|---|
| Granulated sugar | 2 cups | Sweetness |
| Filtered water | 1 cup | Liquid base |
| Flavor extract or fruit juice | 1–2 teaspoons (or ¼ cup juice) | Flavor |
| Food coloring (optional) | Several drops | Color |
| Citric acid (optional) | ¼ teaspoon | Brightness |
This recipe yields approximately two cups of syrup.
Step-by-Step Instructions
Step 1: Combine the Sugar and Water
Add the sugar and water to a medium saucepan.
Stir well before heating.
Step 2: Heat Gently
Place the saucepan over medium heat.
Continue stirring until every sugar crystal has dissolved completely.
Avoid boiling the mixture vigorously, as excessive heat can slightly alter the flavor.
Step 3: Remove from Heat
Once the syrup is perfectly clear, remove it from the burner.
Allow it to cool for several minutes.
Step 4: Add Flavoring
Now stir in your preferred flavor.
Depending on your recipe, this could include:
- Vanilla extract
- Cherry extract
- Fresh lemon juice
- Strawberry puree
- Mango puree
- Coconut extract
- Raspberry concentrate
Adding flavor after heating helps preserve delicate fruit notes.
Step 5: Add Color (Optional)
If you’d like a vibrant appearance, stir in a few drops of food coloring until you reach your desired shade.
Natural coloring works equally well for many recipes.
Step 6: Cool Completely
Allow the syrup to cool to room temperature.
Cooling helps the flavors develop fully and prevents condensation inside storage bottles.
Step 7: Bottle and Refrigerate
Using a funnel, pour the finished syrup into clean squeeze bottles or glass jars.
Seal tightly and refrigerate.
Properly stored homemade Snow Cone Syrup typically stays fresh for 3 to 4 weeks in the refrigerator.
Pro Tips for the Perfect Base Syrup
Before moving on to exciting flavor combinations, keep these tips in mind:
- Use filtered water for a cleaner taste.
- Dissolve the sugar completely before removing the pan from the heat.
- Let the syrup cool before adding delicate fruit juices whenever possible.
- Sterilize bottles if you plan to store syrup for several weeks.
- Label each bottle with the flavor and preparation date.
- Taste the syrup before bottling and adjust sweetness or acidity if needed.
Mastering this simple base recipe gives you the foundation to create countless homemade flavors that taste fresher and more vibrant than store-bought alternatives.
Homemade Snow Cone Syrup: 20 Easy Flavor Ideas
Now that you’ve mastered the basic syrup recipe, it’s time for the fun part—creating delicious flavors. Whether you love classic fruit syrups or want to try something unique, these homemade recipes let you customize every snow cone to your taste.
Tip: Each flavor below uses the basic syrup recipe from the previous section. Simply prepare the syrup base, remove it from the heat, and stir in the flavoring ingredients.
Classic Fruit Flavors
| Flavor | Flavoring Ingredients | Optional Food Coloring |
|---|---|---|
| Cherry | 2 tsp cherry extract | Red |
| Strawberry | ½ cup strawberry puree | Pink |
| Blue Raspberry | 2 tsp blue raspberry flavoring | Blue |
| Watermelon | ½ cup watermelon juice | Red |
| Lemon | ¼ cup fresh lemon juice | Yellow |
| Lime | ¼ cup fresh lime juice | Green |
| Orange | ¼ cup fresh orange juice | Orange |
| Peach | ½ cup peach puree | Orange |
| Raspberry | ½ cup raspberry puree | Red |
| Grape | 2 tsp grape extract | Purple |
Tropical Favorites
| Flavor | Main Ingredient |
|---|---|
| Mango | Mango puree |
| Pineapple | Pineapple juice |
| Coconut | Coconut extract |
| Passion Fruit | Passion fruit puree |
| Guava | Guava nectar |
Dessert-Inspired Flavors
| Flavor | Main Ingredient |
|---|---|
| Cotton Candy | Cotton candy flavoring |
| Bubble Gum | Bubble gum extract |
| Vanilla Cream | Pure vanilla extract |
| Root Beer | Root beer concentrate |
| Birthday Cake | Cake batter flavoring |
Flavor Mixing Ideas
One of the best things about homemade Snow Cone Syrup is that you aren’t limited to a single flavor. Try mixing two or three syrups together to create exciting combinations.
Popular combinations include:
- Cherry + Lime
- Strawberry + Lemon
- Mango + Pineapple
- Coconut + Lime
- Blue Raspberry + Lemon
- Peach + Mango
- Orange + Vanilla
- Watermelon + Mint
- Raspberry + Coconut
- Pineapple + Strawberry
Creating signature flavors is a fun activity for parties, especially when guests can experiment with their own combinations.
Natural vs. Artificial Flavorings
Choosing between natural ingredients and artificial flavorings depends on your priorities. Both options have advantages.
| Natural Flavorings | Artificial Flavorings |
|---|---|
| Fresh taste | Strong, consistent flavor |
| Made from real fruit | Longer shelf life |
| No synthetic additives | More affordable |
| Naturally colorful | Wider flavor selection |
If you’re making snow cones for children or prefer cleaner ingredients, fresh fruit juice and purees are excellent choices.
Artificial extracts, however, can recreate nostalgic carnival flavors that many people enjoy.
Best Sweeteners for Homemade Snow Cone Syrup
While granulated sugar remains the traditional choice, you can experiment with alternative sweeteners.
| Sweetener | Flavor Profile | Notes |
|---|---|---|
| White Sugar | Neutral | Classic choice |
| Cane Sugar | Slight caramel note | Less processed |
| Honey | Floral | Adds unique flavor |
| Maple Syrup | Rich | Best for fall-inspired flavors |
| Agave Nectar | Mild | Vegan-friendly |
| Monk Fruit Blend | Sweet | Lower-calorie option |
| Stevia Blend | Very sweet | Sugar-free alternative |
Keep in mind that changing sweeteners may slightly alter the syrup’s consistency.
How to Store Homemade Snow Cone Syrup
Proper storage helps preserve flavor and freshness.
Refrigerator Storage
Store your syrup in clean, airtight bottles.
Most homemade syrups stay fresh for 3 to 4 weeks when refrigerated.
Freezing
You can also freeze syrup in freezer-safe containers.
Leave a little room at the top because liquids expand when frozen.
Frozen syrup can last up to six months.
Storage Guide
| Storage Method | Shelf Life |
|---|---|
| Room Temperature | Not recommended |
| Refrigerator | 3–4 weeks |
| Freezer | Up to 6 months |
Always discard syrup if you notice mold, unusual odors, or changes in color.
Tips for Making the Best Snow Cone Syrup
Small details can make a noticeable difference.
Follow these tips every time you make a batch.
- Use filtered water.
- Measure ingredients accurately.
- Dissolve the sugar completely.
- Avoid boiling too long.
- Use ripe fruit for natural flavors.
- Cool syrup before bottling.
- Sterilize storage bottles.
- Label each flavor.
- Shake before serving.
- Taste and adjust before refrigerating.
Common Mistakes to Avoid
Even simple recipes can go wrong if you rush the process.
Avoid these common mistakes:
- Overheating the syrup
- Adding too much extract
- Using low-quality ingredients
- Storing syrup in dirty containers
- Forgetting to refrigerate
- Using watery fruit puree
- Not stirring until sugar dissolves
- Making syrup too thick
Fortunately, each of these problems is easy to prevent with careful preparation.
Creative Ways to Use Snow Cone Syrup
Your homemade Snow Cone Syrup isn’t limited to shaved ice.
Try using it in:
- Italian sodas
- Sparkling water
- Homemade lemonade
- Milkshakes
- Smoothies
- Yogurt parfaits
- Pancakes
- Waffles
- Cheesecake topping
- Ice cream sundaes
- Cocktails
- Mocktails
Keeping several flavors on hand makes it easy to create refreshing drinks throughout the summer.
Build Your Own Snow Cone Bar
Hosting a party?
Set up a DIY snow cone station.
Include:
- Fresh shaved ice
- 6–10 syrup flavors
- Fresh fruit toppings
- Whipped cream
- Sprinkles
- Maraschino cherries
- Coconut flakes
- Mini marshmallows
- Colorful paper straws
- Reusable squeeze bottles
Guests of all ages will enjoy customizing their own frozen creations.
Estimated Nutrition Information
The following values are approximate for a 2-tablespoon serving of classic syrup.
| Nutrient | Amount |
|---|---|
| Calories | 90 |
| Carbohydrates | 23 g |
| Sugar | 22 g |
| Fat | 0 g |
| Protein | 0 g |
| Sodium | 0 mg |
Values vary depending on the sweetener and flavoring ingredients used.
Frequently Asked Questions About Snow Cone Syrup
Can I make Snow Cone Syrup without food coloring?
Absolutely. Food coloring is optional. Fresh fruit, beet juice, butterfly pea flower, turmeric, and other natural ingredients can provide beautiful colors without artificial dyes.
How long does homemade Snow Cone Syrup last?
When stored in a sealed container in the refrigerator, it generally stays fresh for 3 to 4 weeks. For longer storage, freeze it for up to six months.
Can I use fresh fruit instead of extracts?
Yes. Fresh fruit juice and fruit purees create vibrant, natural flavors. Straining the puree helps produce a smoother syrup.
Can I make sugar-free Snow Cone Syrup?
Yes. Replace the sugar with a sugar-free sweetener designed for cooking, such as a monk fruit or erythritol blend. The texture may be slightly different from the classic recipe.
Why is my syrup too thick?
This usually happens if it was cooked too long or if too much sugar was added. Thin it with a small amount of warm water until it reaches the desired consistency.
Can I use this syrup for shaved ice?
Yes. This homemade Snow Cone Syrup works perfectly on both snow cones and finely shaved ice because it absorbs easily into the ice.
Conclusion
Making your own Snow Cone Syrup is one of the easiest ways to elevate your summer desserts. With just a few pantry staples, you can create fresh, flavorful syrups that are more affordable, customizable, and often healthier than store-bought alternatives. From timeless favorites like cherry and blue raspberry to tropical blends such as mango and pineapple, the possibilities are nearly endless.
Don’t be afraid to experiment with new flavor combinations, natural fruit juices, or alternative sweeteners to make each batch your own. Whether you’re serving snow cones at a birthday party, cooling off on a hot afternoon, or building a colorful DIY snow cone bar for friends and family, homemade syrup brings a personal touch to every frozen treat.
Now it’s your turn! Pick a few flavors from this guide, prepare your first batch of homemade Snow Cone Syrup, and discover your family’s favorite combinations. If you try one of these recipes or create a unique flavor of your own, share your experience in the comments below—we’d love to hear your ideas and inspire other readers!