
Imagine reaching for self-rising flour in your pantry, only to find it empty. You’re ready to bake, but your ingredients are incomplete, and frustration sets in. We’ve all been there. But what if I told you that you don’t need to rely on store-bought packages anymore? With just three simple ingredients, you can make your own self-rising flour, right in your kitchen. This not only saves time and money but also ensures you always have a versatile baking staple at your fingertips.
Whether you’re whipping up fluffy biscuits, golden pancakes, or quick breads, having homemade self-rising flour can transform your baking game. In this guide, you’ll discover everything you need to know to make your own, use it in recipes, and avoid common pitfalls. Let’s dive in.
What is Self-Rising Flour?
Before you start measuring ingredients, it helps to understand what self-rising flour actually is. Simply put, it’s a combination of flour, baking powder, and salt. This pre-mixed blend gives your baked goods the lift they need without adding leavening agents separately.
Here’s why it matters for your baking:
- Convenience: You don’t need to measure baking powder or salt each time.
- Consistency: Every batch gets the same rise, ensuring fluffy biscuits and cakes.
- Time-saving: One less step in your recipe means faster prep and less cleanup.
Difference from all-purpose flour:
While all-purpose flour is just the base ingredient, self-rising flour already contains the leavening agent (baking powder) and a pinch of salt. Using it means you don’t need to remember exact ratios, which is especially handy if you’re new to baking.
Why Make Your Own Self-Rising Flour?
You might wonder why you’d go through the trouble of making something you can buy pre-made. There are several compelling reasons:
- Always available: No last-minute trips to the store when you’re in the middle of baking.
- Customizable: You can adjust salt levels or experiment with whole wheat flour for healthier recipes.
- Economical: Homemade flour is cheaper than branded self-rising flour.
Think of it this way: one batch of homemade self-rising flour can last for months if stored properly, giving you the freedom to bake whenever inspiration strikes.
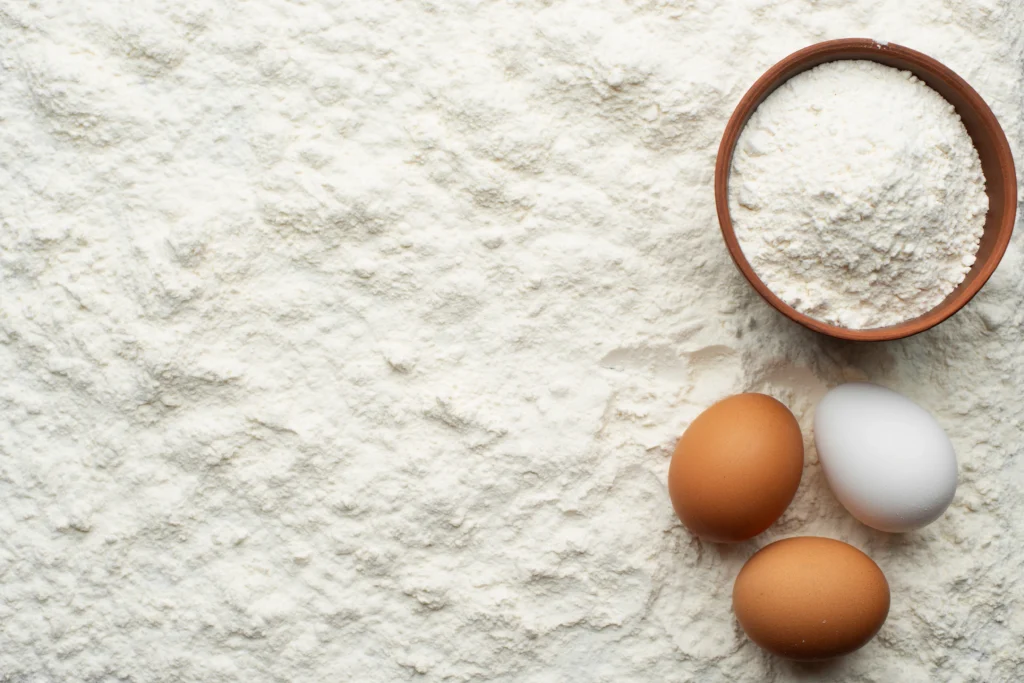
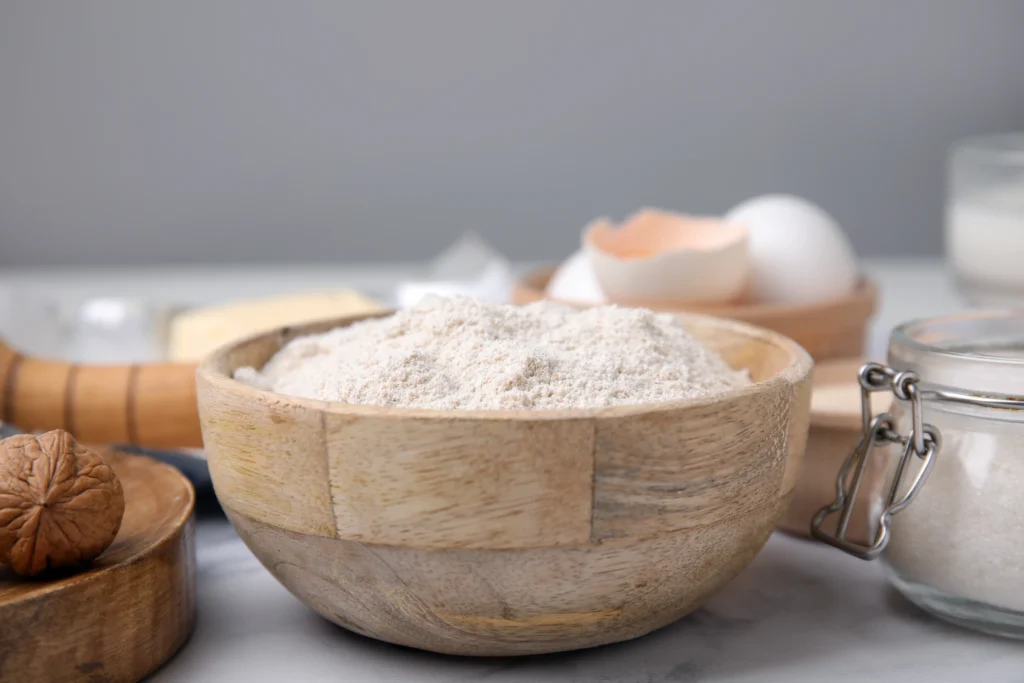
Ingredients Needed for Homemade Self-Rising Flour
You only need three ingredients. That’s it. Here’s a simple table for clarity:
| Ingredient | Quantity | Purpose |
|---|---|---|
| All-purpose flour | 1 cup | Base |
| Baking powder | 1 1/2 tsp | Leavening agent |
| Salt | 1/4 tsp | Flavor enhancement |
Tips for ingredient quality:
- Flour: Use fresh, unbleached flour for best texture.
- Baking powder: Make sure it’s fresh for maximum rise.
- Salt: Fine salt blends better and avoids clumps.
Optional substitutions: You can use gluten-free all-purpose flour or whole wheat flour. Adjust the baking powder slightly to maintain the correct rise.
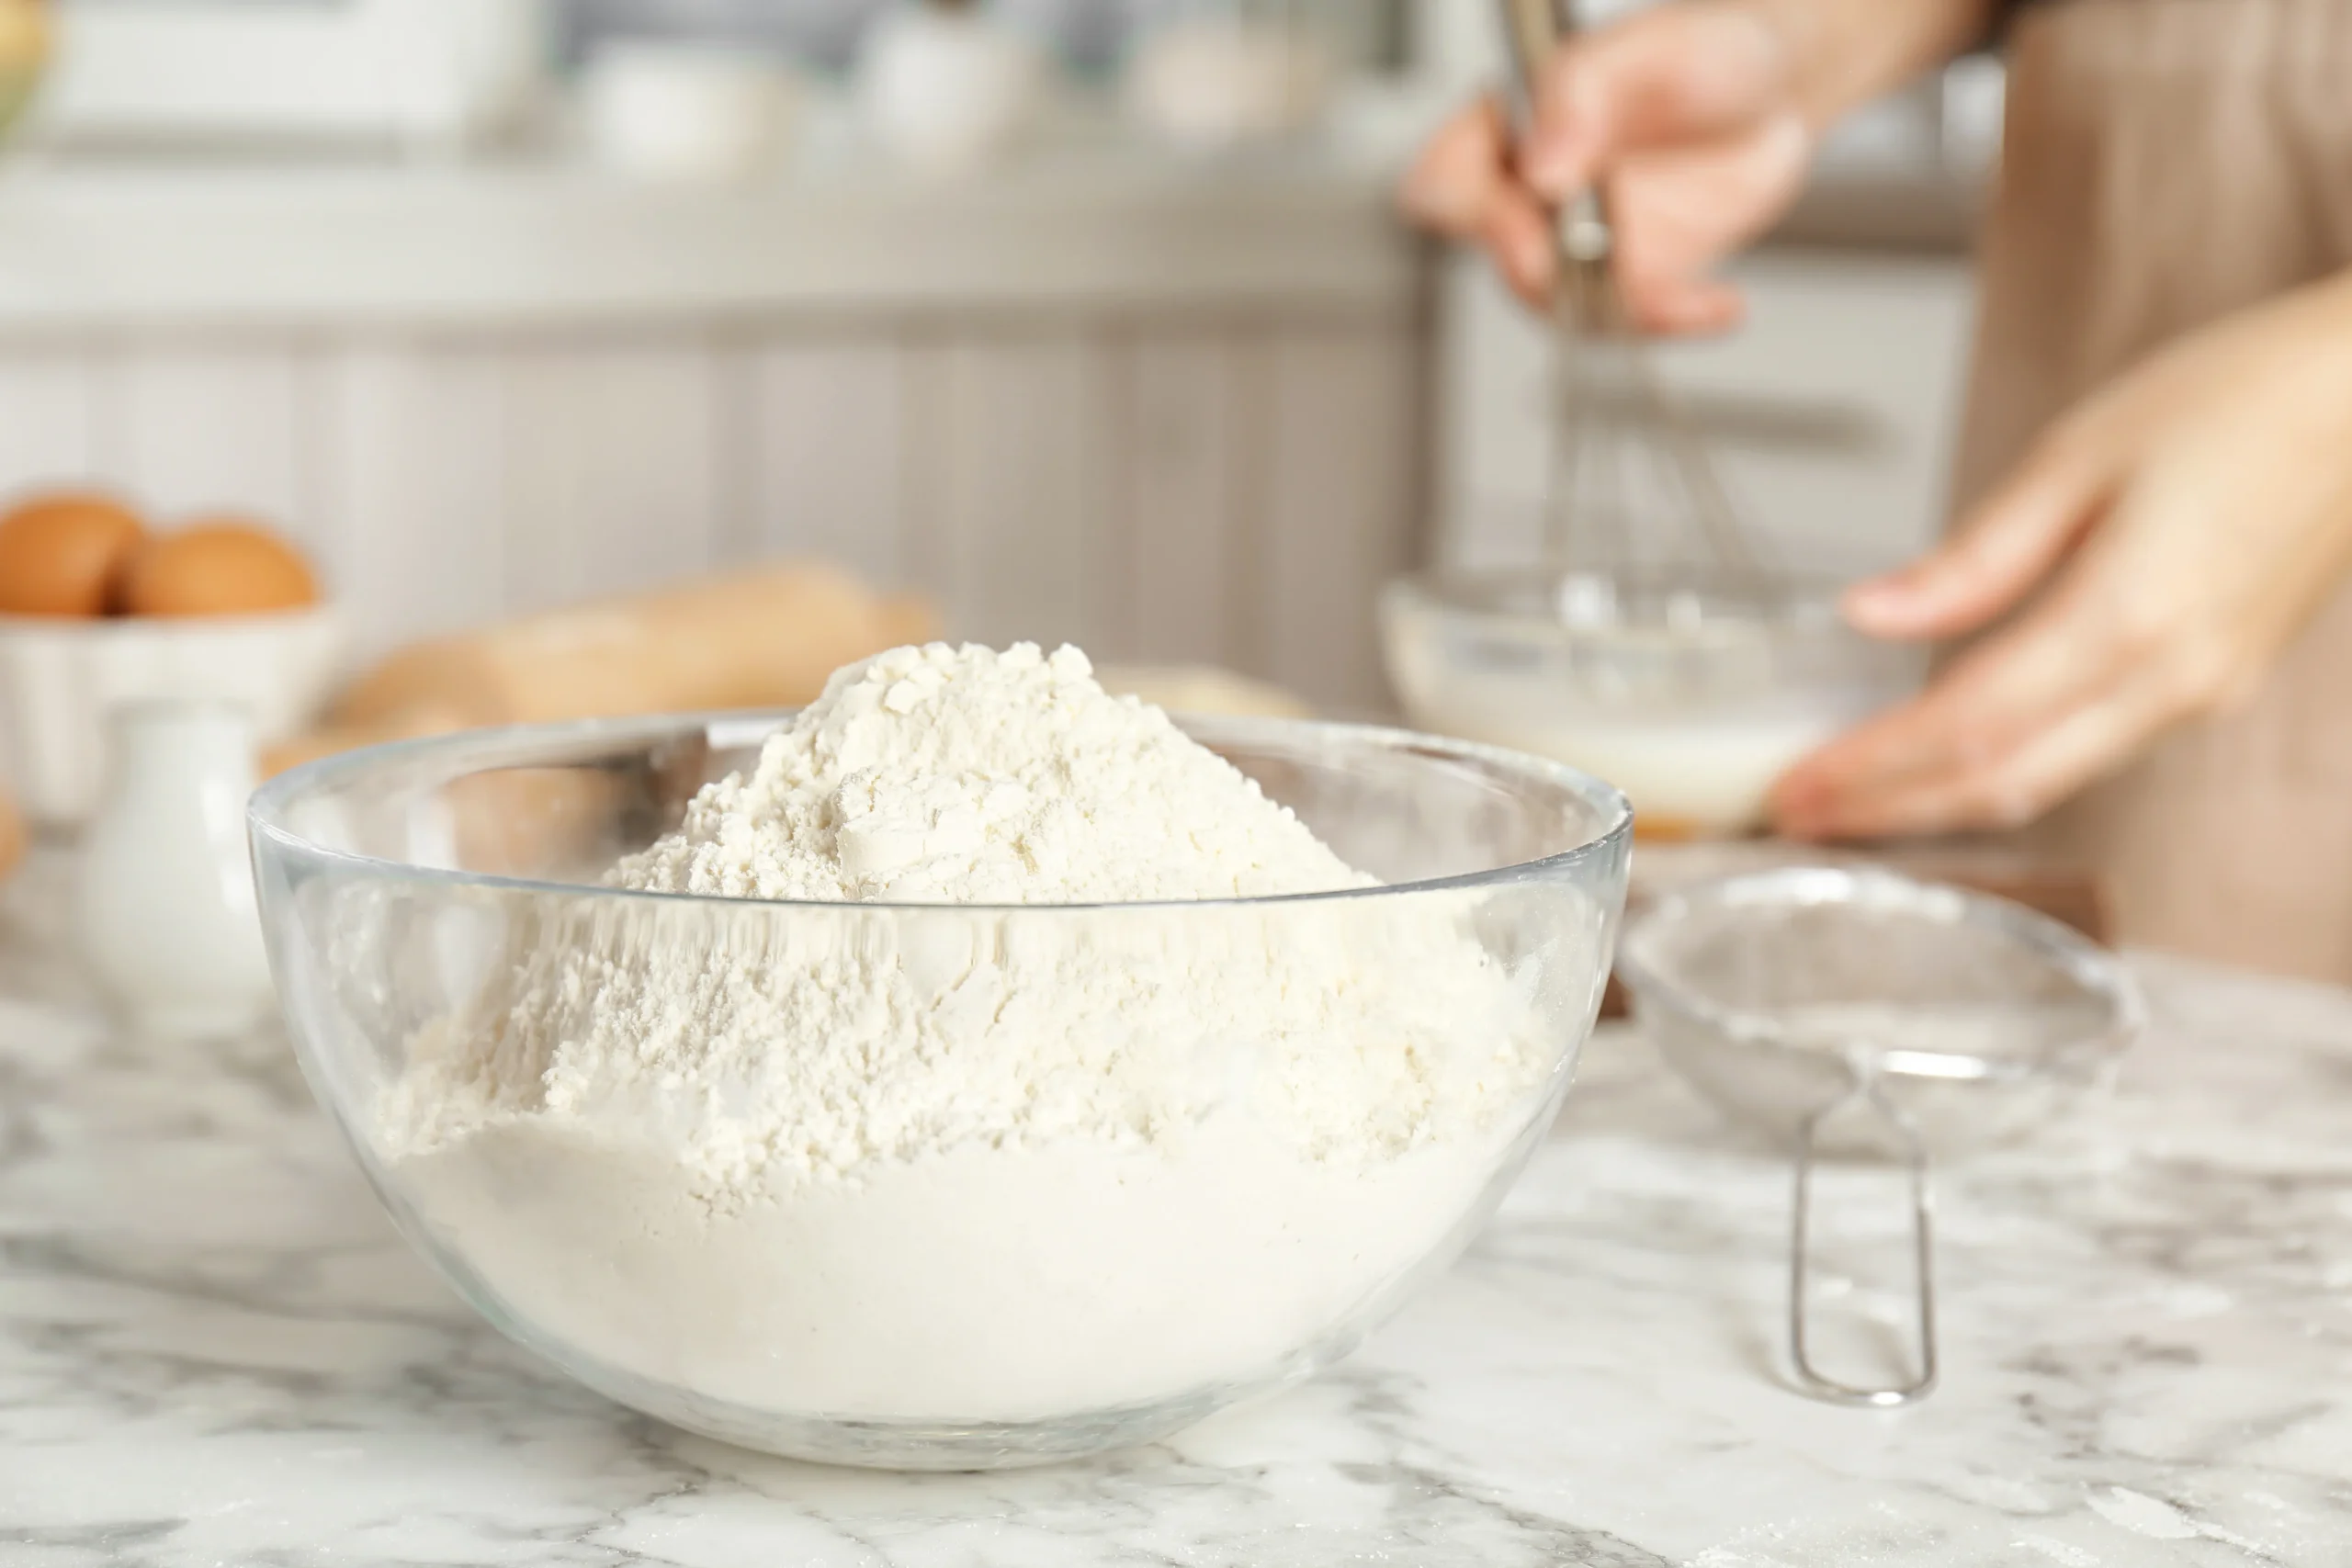
Step-by-Step Self Rising Flour Recipe (Only 3 Ingredients!)
Making your own self-rising flour is straightforward, but precision matters. Here’s how you can do it:
- Measure accurately: Use a standard measuring cup for flour and teaspoons for baking powder and salt.
- Combine ingredients: Add flour, baking powder, and salt to a mixing bowl.
- Whisk well: Mix thoroughly until the baking powder and salt are evenly distributed.
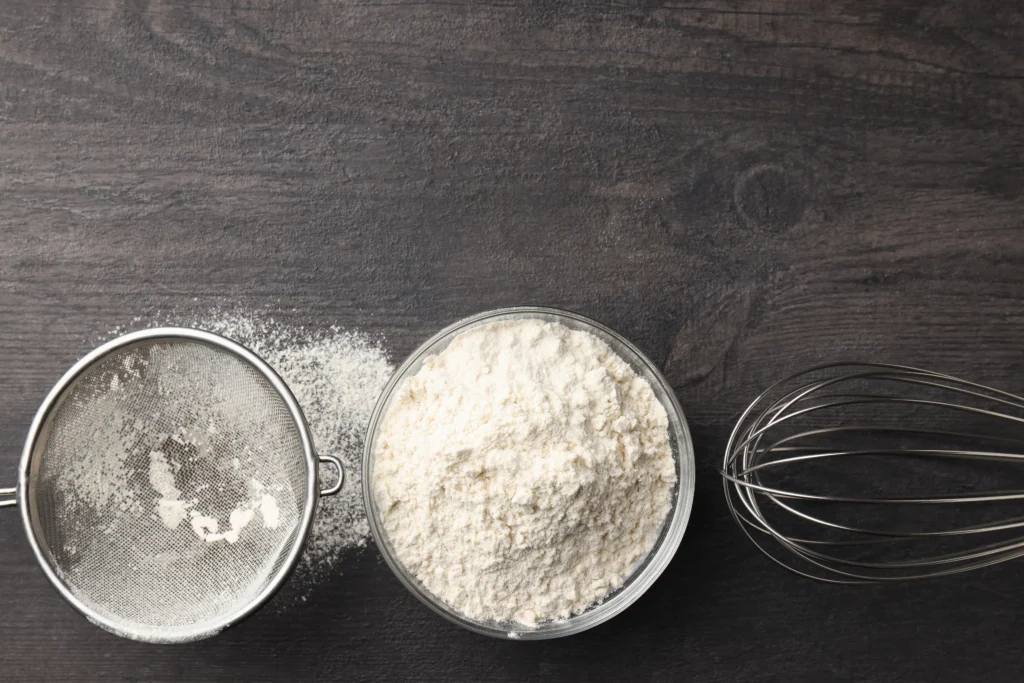
- Aerate the mixture: Sifting the mixture once or twice ensures even texture.
- Store properly: Transfer to an airtight container and keep in a cool, dry place.
Pro tips for perfect flour:
- Whisk in small batches if making a large quantity.
- Label your container with the date; homemade flour lasts 3–6 months.
- Avoid moisture; even a little humidity can reduce the effectiveness of your baking powder.
Baking with Your Homemade Self-Rising Flour
Once you’ve made your self-rising flour, it’s time to put it to work. You can substitute it in almost any recipe that calls for store-bought self-rising flour.
Substitution tip:
- Use 1 cup of your homemade self-rising flour for 1 cup of store-bought.
Recipes to try:
| Recipe | Flour Needed | Baking Tips |
|---|---|---|
| Biscuits | 2 cups | Keep butter cold and don’t overmix |
| Pancakes | 1 1/2 cups | Fold gently to avoid toughness |
| Quick Bread | 3 cups | Add moisture with milk or eggs |
| Muffins | 2 1/2 cups | Mix until just combined |
Baking tips:
- For biscuits, cold ingredients help create flaky layers.
- For pancakes, don’t overmix; lumps are okay.
- For quick breads, add eggs or milk for moisture and richness.
Common Mistakes to Avoid
Even simple recipes can go wrong if you’re not careful. Avoid these common pitfalls:
- Using expired baking powder – it won’t produce the necessary rise.
- Incorrect measurements – too much salt or baking powder can ruin flavor and texture.
- Overmixing dough or batter – leads to dense baked goods.
- Not sifting the flour – can create clumps and uneven baking.
By paying attention to these points, your homemade self-rising flour will perform just as well, if not better, than store-bought versions.
FAQ Section
Q1: Can I make self-rising flour without baking powder?
A: Baking powder is essential for rise. However, you can substitute with a combination of baking soda and cream of tartar in the correct ratios.
Q2: How long does homemade self-rising flour last?
A: Stored in an airtight container in a cool, dry place, it lasts 3–6 months. Always check your baking powder’s freshness before use.
Q3: Can I make gluten-free self-rising flour?
A: Yes! Use a gluten-free all-purpose flour. You may need to adjust leavening slightly depending on the flour blend.
Q4: Can I double or triple the recipe?
A: Absolutely. Maintain the same ratios for consistency. For large batches, mix thoroughly to ensure even distribution of baking powder and salt.
Q5: Will homemade self-rising flour work in all recipes?
A: Yes, it works in most quick breads, muffins, pancakes, and biscuits. Avoid recipes requiring yeast-based rising.
Conclusion
Now that you know how to make your own self-rising flour, you’ll never have to worry about running out in the middle of baking. With just three ingredients, you can save time, money, and ensure consistent results every time. By making your own, you also gain control over the salt and leavening content, and you can experiment with healthier flours without compromising texture or rise.
Your kitchen just became more versatile and your baking more dependable. So go ahead—try this Self Rising Flour Recipe today, and transform your homemade biscuits, pancakes, and quick breads into perfectly fluffy masterpieces.
Call to Action: Share your results in the comments, experiment with your favorite recipes, and never underestimate the power of a simple 3-ingredient mix. Your baking adventures just got a whole lot easier!
Table of Contents
Self-Rising Flour Recipe (allrecipes.com)
https://labelrecipes.com/step-by-step-thin-crust-pizza-dough-recipe/