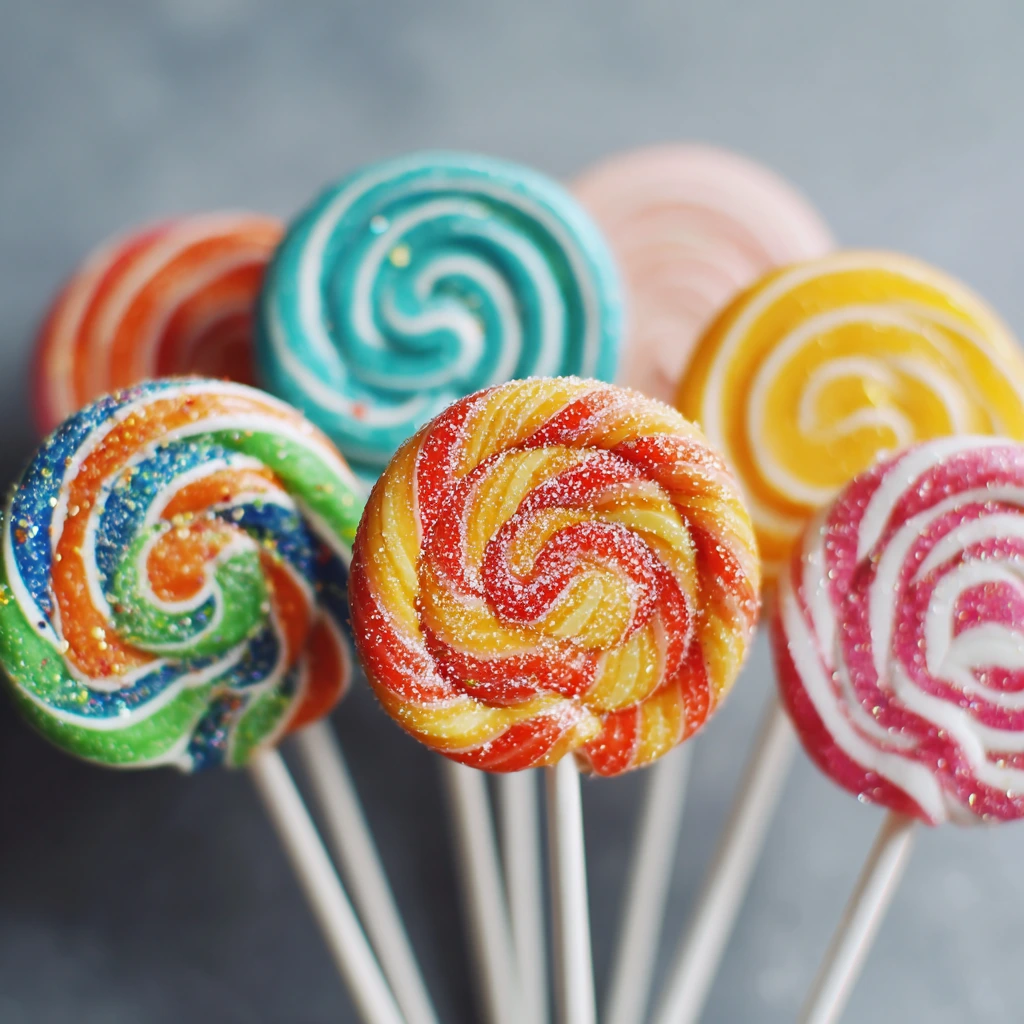
If you’re looking for a fun, colorful treat that’s as beautiful as it is tasty, homemade lollipops might just be your next kitchen adventure! These little sweets aren’t just for kids — they’re perfect for birthdays, baby showers, weddings, holidays, and even DIY gifts that show a personal, creative touch.
Making lollipops at home is easier than you think, and the best part? You can completely customize the flavors, colors, and shapes to suit any occasion or theme.
Ingredients You’ll Need (Makes about 12–15 lollipops):
2 cups granulated sugar
2/3 cup light corn syrup
1/3 cup water
1/2 teaspoon flavored extract (cherry, peppermint, lemon, orange, or your favorite)
A few drops of food coloring (gel or liquid)
Lollipop sticks
Lollipop molds (or pour onto parchment paper if you don’t have molds)
Candy thermometer (important for accuracy!)
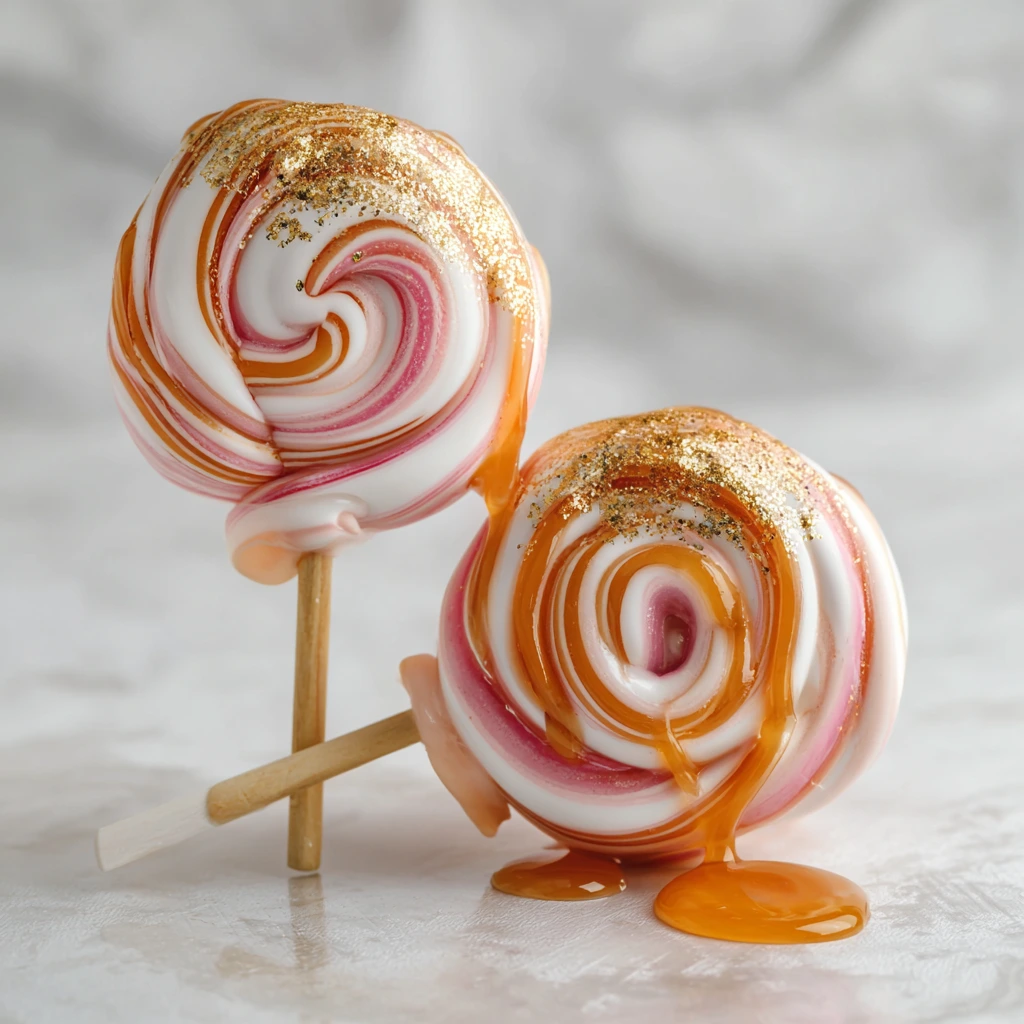
Optional: edible glitter, sprinkles, or tiny dried flowers for decoration
Step-by-Step Instructions
Prepare your workspace:
Lightly oil your lollipop molds and lay them out on a flat surface. Insert lollipop sticks into the molds so they’re ready to go. If you’re not using molds, place sticks on parchment paper spaced a few inches apart.
Mix your candy base:
In a medium saucepan, combine the sugar, corn syrup, and water. Heat over medium heat, stirring constantly until the sugar fully dissolves.
Bring to a boil (no stirring):
Once the sugar has dissolved, stop stirring and let the mixture boil until it reaches 300°F (the hard crack stage). Use a candy thermometer for accuracy. This is key to getting that perfect, glassy lollipop texture.
Add your flavor and color:
Remove from heat immediately. Carefully stir in your flavoring extract and food coloring. Be cautious — it will bubble a bit!
Pour and shape:
Working quickly (the mixture cools fast), pour the hot candy into the molds or over the sticks on parchment. Add edible glitter, sprinkles, or decorations immediately before the surface hardens.
Cool completely:
Let the lollipops set for at least 20–30 minutes until they’re fully hardened. Then gently remove from molds or peel off the paper.
Wrap & decorate:
Wrap each lollipop in clear cellophane or small treat bags, and tie with ribbons or stickers to match your party theme or occasion!
Creative Tips & Variations
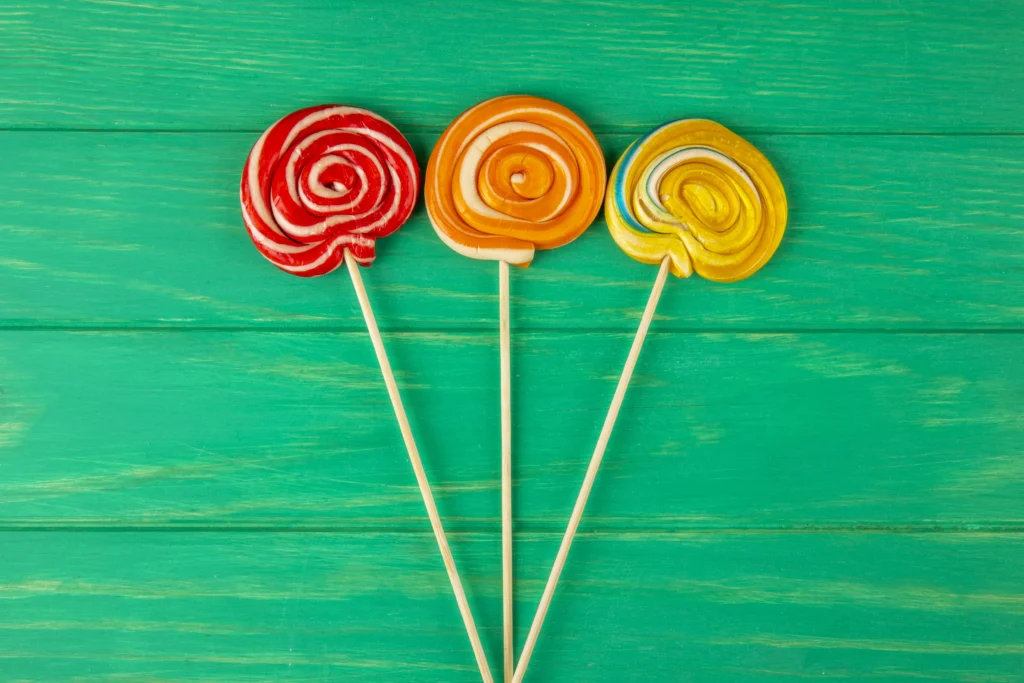
- 🎨 Color Combos: Try swirling two colors together for a tie-dye effect.
- 🌺 Nature-Inspired: Add edible flower petals or herbs like lavender or mint.
- ❄️ Holiday Themes: Red and white peppermint lollipops for Christmas, orange and black for Halloween, pastel pinks and blues for baby showers.
- 🎁 Gifting Idea: Bundle 3-5 lollipops in a mason jar or mug, tie with a tag, and voilà — a sweet, personal gift!
Why You’ll Love This Recipe
- Great for Kids & Adults: A fun project to do together
- Budget-Friendly: Costs far less than store-bought gourmet lollipops
- Endless Customization: You choose the flavor, look, and vibe
- Perfect for All Events: From weddings to birthday parties to classroom treats
🎉 Whether you’re a baking beginner or just looking for a creative way to add sweetness to your celebrations, these homemade lollipops are a show-stopping treat that will leave your guests impressed and your loved ones smiling.
Conclusion:
Making your own delicious lollipops at home is not only fun and creative, but also a sweet way to treat yourself and your loved ones. With just a few ingredients and a little patience, you can craft colorful, flavorful candies that are perfect for parties, gifts, or just satisfying your sweet tooth. So grab your molds, unleash your inner candy-maker, and enjoy the simple joy of homemade lollipops!
Table of Contents
The Best Peach Jam Recipe: Sweet and Fresh for Your Morning Toast – labelrecipes.com