
There’s a strange moment that happens when you try making meringue for the first time. You start with something that looks completely ordinary—egg whites and sugar—and then, slowly, it begins to change. It becomes glossy, airy, almost alive. And for a second, you think you’ve got it.
Then it collapses.
If you’ve been there, you already know meringue can feel a bit unpredictable. One batch turns out perfect, the next turns into a sticky mess. The truth is, it’s not about luck. It’s about knowing exactly how to handle it.
This Foolproof Meringue Recipe is built to take the guesswork out of the process. You’ll learn how to control texture, stabilize peaks, and understand what’s really happening inside the bowl—so you can finally get consistent results that feel bakery-level every time you bake.
What Makes This Foolproof Meringue Recipe Work So Well?
Before jumping into the method, it helps to understand why most people struggle with meringue in the first place.
It usually comes down to three things:
- Moisture (even tiny drops of water or fat)
- Sugar timing (too fast or too slow)
- Whipping technique (under or over mixing)
What makes this approach different is that you’re not just following steps blindly. You’re learning how to read your mixture.
You’ll start noticing:
- When egg whites are ready for sugar
- When peaks are soft or stiff
- When to stop before everything collapses
That awareness is what turns an average attempt into a reliable result.
Ingredients for Foolproof Meringue Recipe
One of the best things about meringue is how simple the ingredient list looks. But don’t let that fool you—precision matters more than complexity.
| Ingredient | Quantity | Why it matters |
|---|---|---|
| Egg whites | 4 large | Create structure and volume |
| Granulated sugar | 1 cup | Stabilizes and sweetens |
| Cream of tartar | 1/2 tsp | Strengthens foam |
| Vanilla extract (optional) | 1 tsp | Adds flavor depth |
Important notes you shouldn’t skip
- Your egg whites must be at room temperature. Cold whites don’t whip properly.
- No yolk is allowed—fat breaks the foam instantly.
- Use clean, dry equipment. Even a trace of oil can ruin the texture.
These small details decide whether your meringue stands tall or falls flat.

Step-by-Step Foolproof Meringue Method
Step 1: Prepare your bowl the right way
Before you even crack an egg, your bowl matters more than you think.
You want:
- Glass or metal bowl (never plastic)
- Completely dry surface
- Wiped with lemon juice or vinegar if needed
Why? Because fat is your enemy here. Even invisible residue can stop your egg whites from whipping properly.
Step 2: Start whipping the egg whites
Begin on medium speed. Don’t rush it.
At first, it will look foamy and unstable—that’s normal. You’re looking for a stage called soft peaks, where:
- The mixture looks fluffy
- Peaks gently fall when you lift the whisk
This is the foundation. If you move too fast here, you lose control later.
Step 3: Add sugar slowly (this is where most mistakes happen)
This step decides everything.
You should:
- Add sugar one spoon at a time
- Wait a few seconds between each addition
- Keep mixing constantly
If you dump sugar in all at once, you’ll end up with:
- Grainy texture
- Weak structure
- Collapsing foam
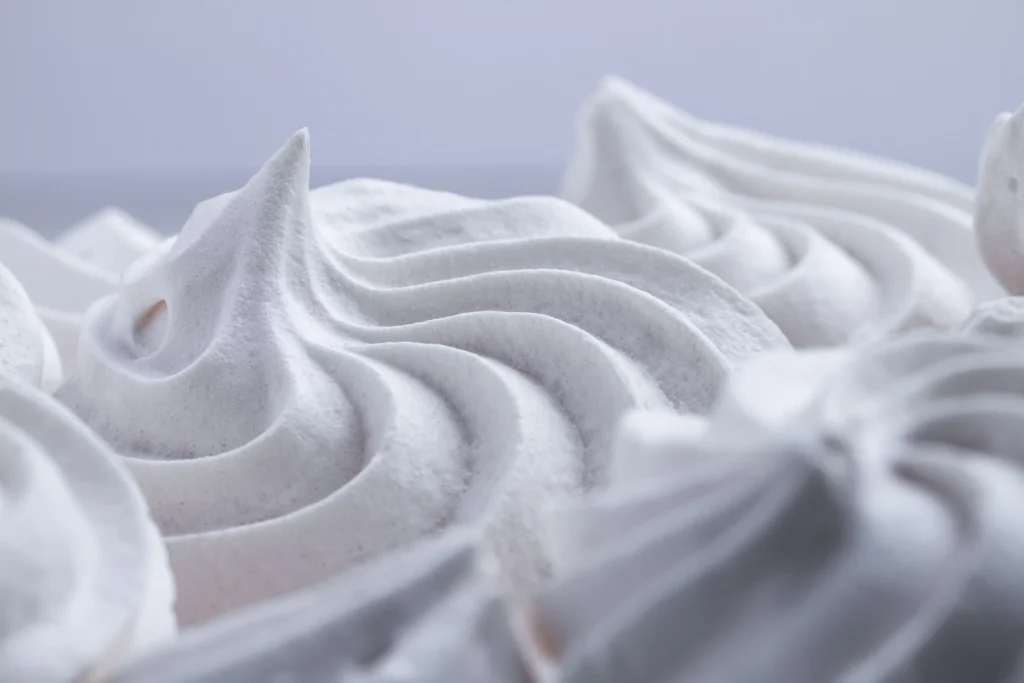
When done correctly, the mixture slowly becomes glossy and thick, almost like marshmallow cream.
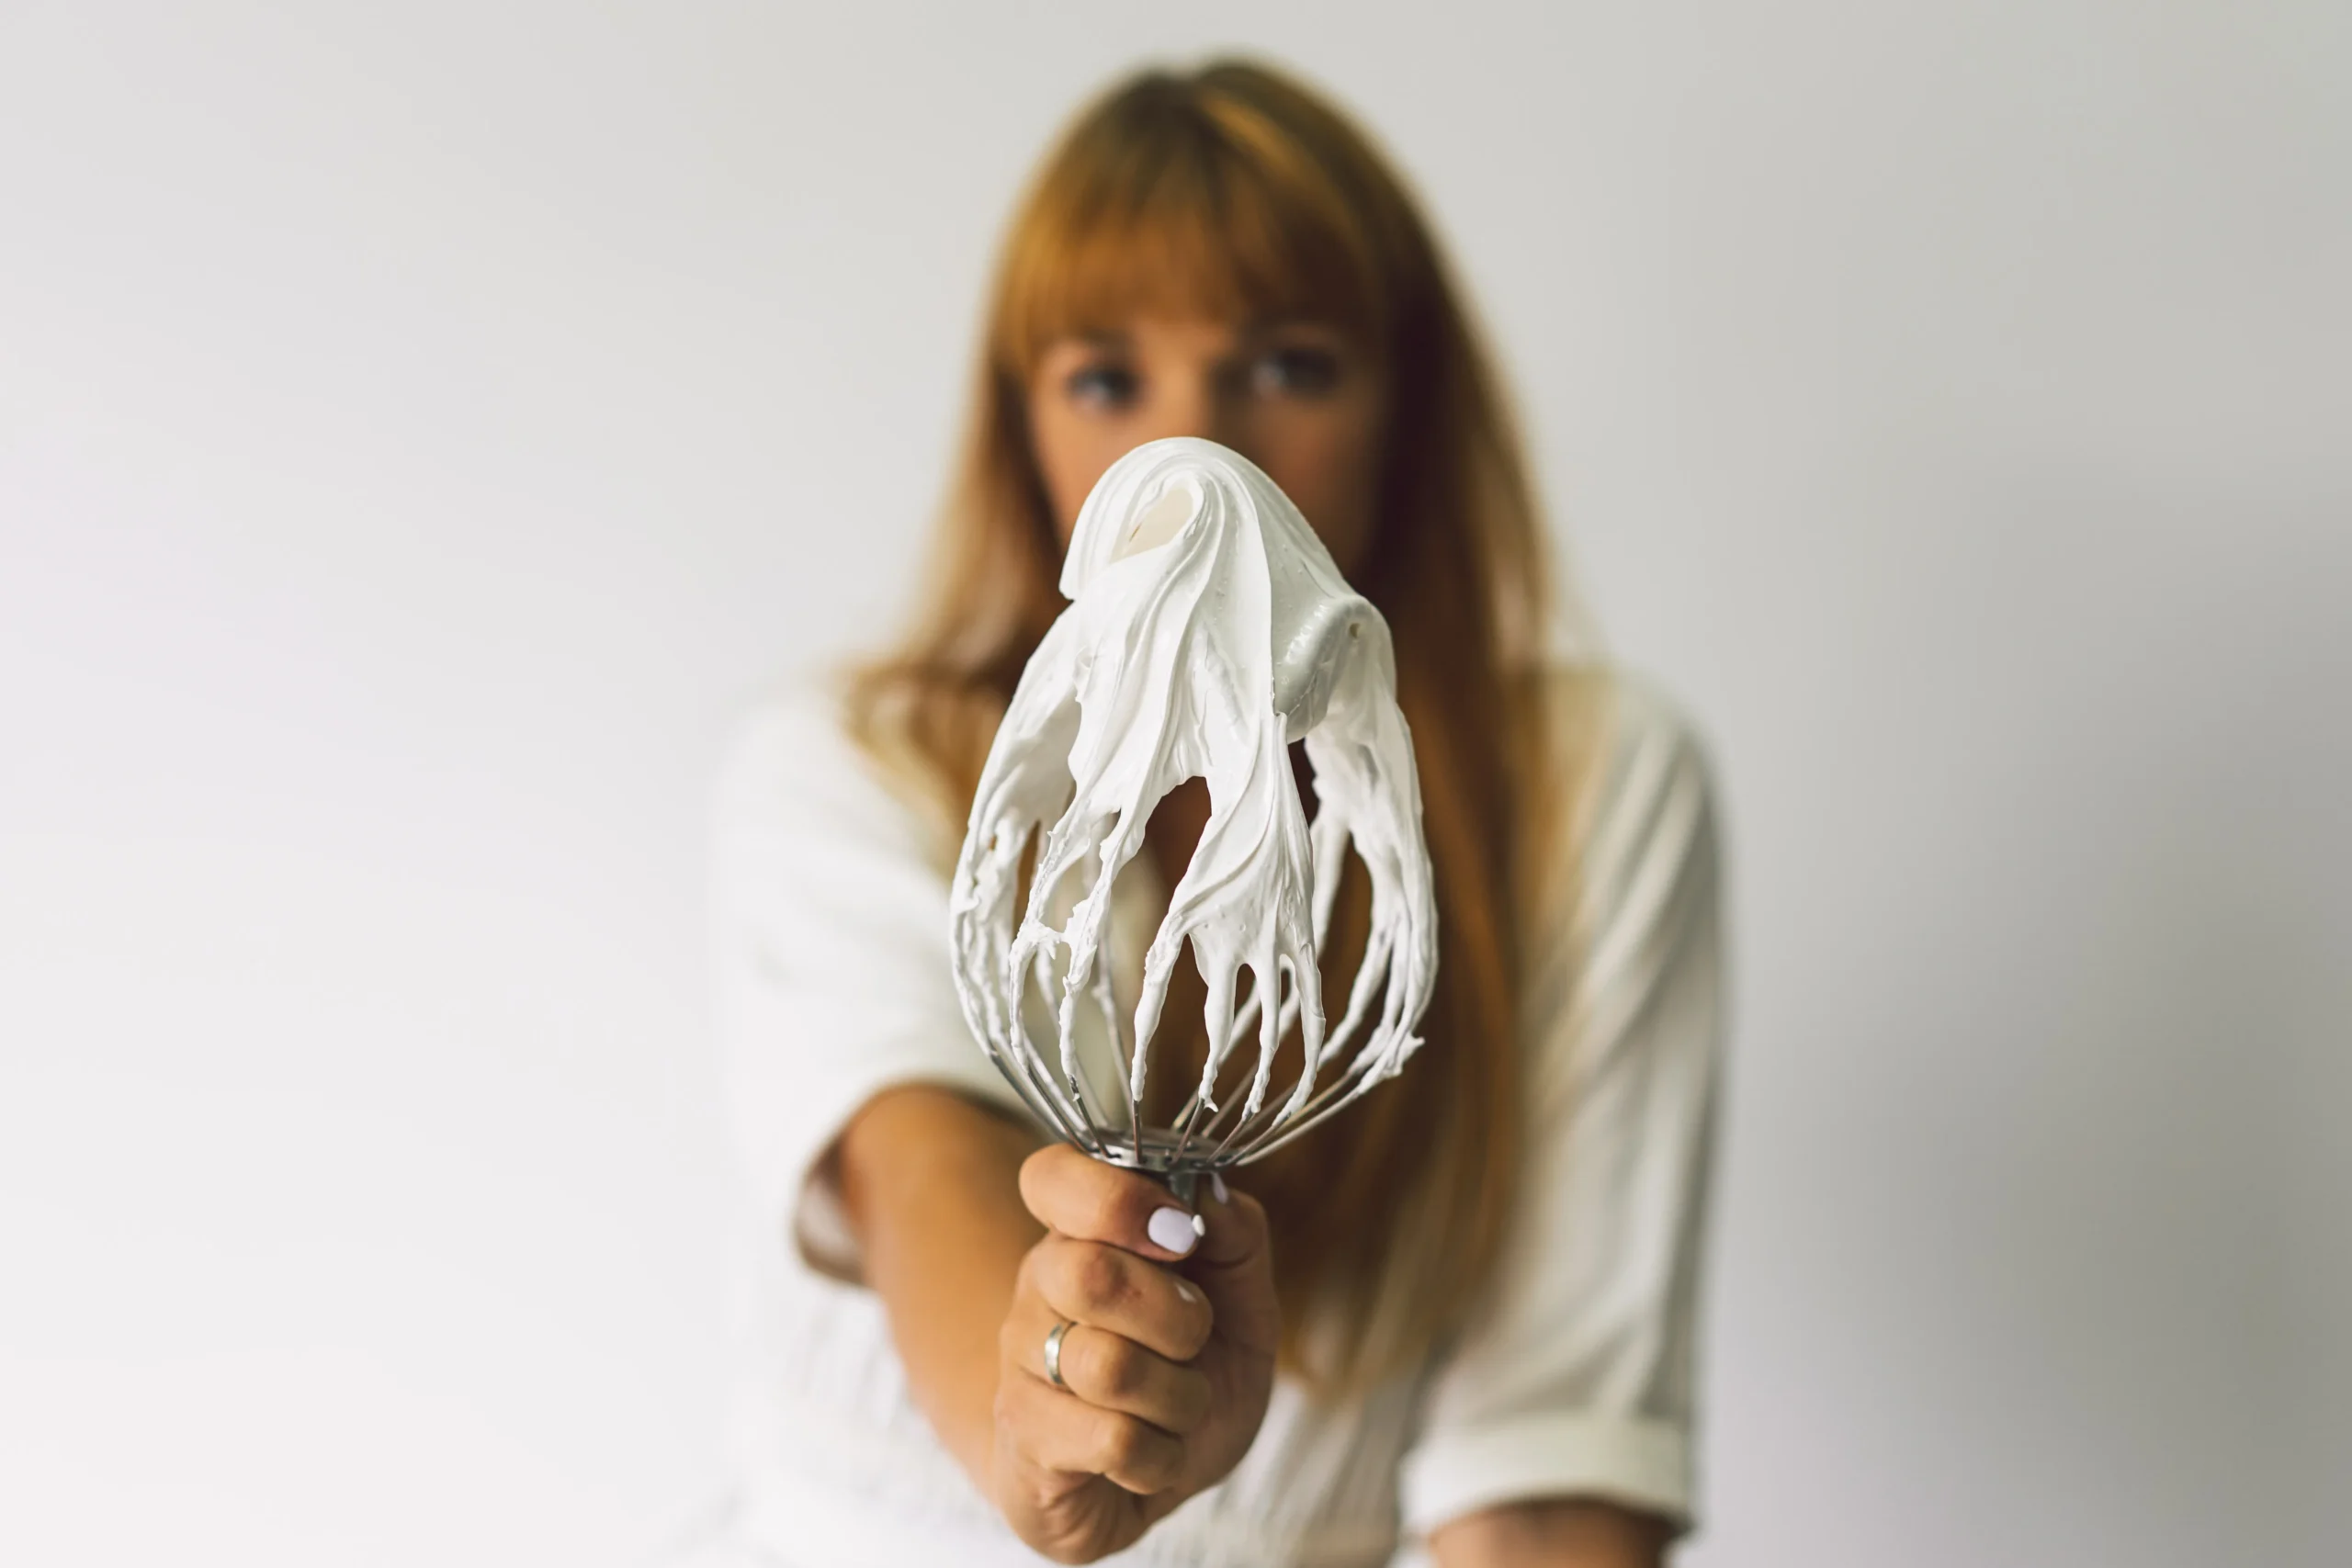
Step 4: Whip until stiff peaks form
Now increase the speed.
You’re aiming for stiff peaks, meaning:
- The mixture holds shape completely
- Peaks stand upright when you lift the whisk
- It looks shiny and smooth
Stop at the right moment. If you over-whip, the mixture becomes dry and breaks apart. If you stop too early, it won’t hold in the oven.
The Science Behind Perfect Meringue Peaks
Even though meringue looks simple, there’s real science behind it.
Inside egg whites, you have proteins. When you whisk them, you’re basically stretching and unfolding those proteins so they trap air.
Then:
- Sugar strengthens the structure
- Cream of tartar stabilizes the foam
- Air gets locked in tiny pockets
That’s what creates volume.
If you understand this, you stop treating meringue like a mystery—and start treating it like chemistry you can control.
Common Mistakes That Ruin Meringue
1. A tiny bit of fat ruins everything
Even a drop of egg yolk can prevent whipping.
2. Sugar added too quickly
This creates a watery, unstable mixture.
3. Humidity in the air
Moisture makes meringue weep or soften.
4. Over-whipping
It turns glossy peaks into dry crumbs.
5. Under-whipping
The structure won’t hold during baking.
Once you recognize these mistakes, you naturally avoid them.
Expert Tips for Perfect Meringue Every Time
If you want consistent results, these small adjustments make a big difference:
- Use fresh eggs for stronger foam
- Always separate eggs carefully (no yolk contamination)
- Whip in a dry environment if possible
- Add sugar slowly—never rush this step
- Let meringue cool inside the oven after baking
- Bake at low temperature for stability and texture
These aren’t optional tricks—they’re what separates fragile meringue from stable, professional-looking results.
Types of Meringue You Should Know
French Meringue
This is the one you just learned. Simple, raw whipping method. Light and airy.
Swiss Meringue
Here, you gently heat egg whites and sugar together before whipping. The texture becomes smoother and more stable.
Italian Meringue
Hot sugar syrup is poured into whipped egg whites. This version is the most stable and often used in professional kitchens.
Each one has its purpose, but French meringue is the best starting point for you.
How You Can Use Meringue in Real Desserts
Once you master this, you unlock a whole new level of desserts:
- Lemon meringue pie topping
- Pavlova with fresh fruit
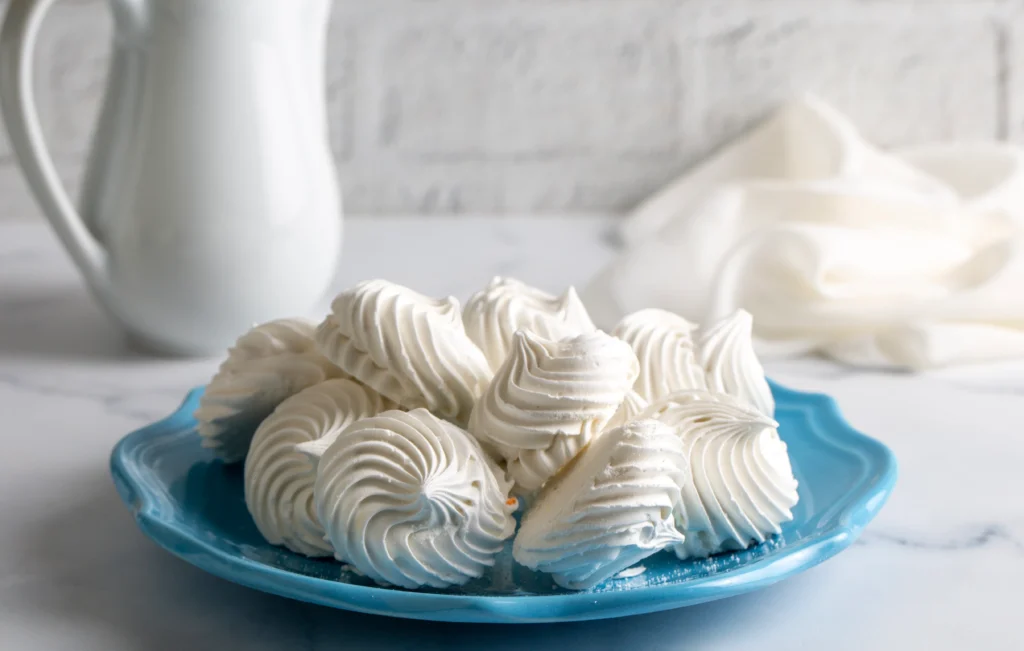
- Crispy meringue cookies
- Cake frosting decoration
- Baked Alaska shell
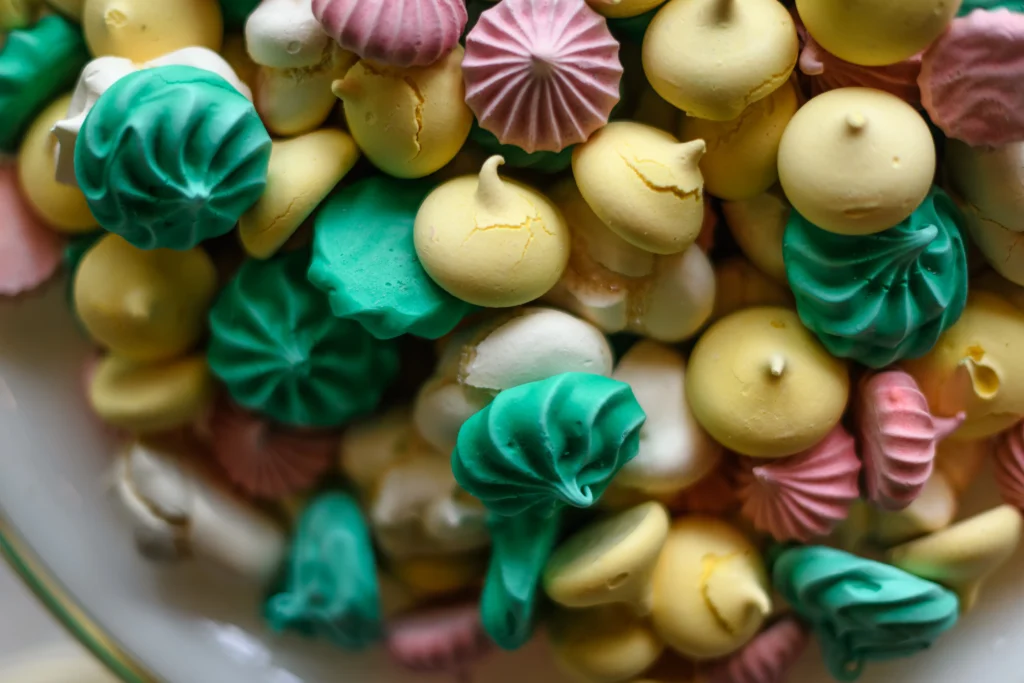
Each use brings a different texture—crispy, chewy, or creamy depending on baking time.
Storage Tips (So It Doesn’t Collapse Later)
Meringue is sensitive, so how you store it matters.
- Keep in airtight containers
- Avoid humid environments
- Don’t refrigerate crispy meringue
- Consume within 2–3 days for best texture
Moisture is the biggest threat even after baking.
FAQ – Foolproof Meringue Recipe
Why did my meringue fail even if I followed everything?
Usually, it comes down to hidden grease, humidity, or rushing the sugar step.
How do I know I reached perfect peaks?
When you lift the whisk, the peaks stand straight without bending or collapsing.
Can I make meringue without cream of tartar?
Yes, but stability will be slightly weaker. Lemon juice can be a backup.
Why is my meringue sticky after baking?
It may not be fully dried or was exposed to moisture too quickly.
Conclusion – You Now Control the Outcome
Meringue is one of those recipes that looks fragile but becomes easy once you understand it. It’s not about perfection—it’s about rhythm, timing, and attention.
With this Foolproof Meringue Recipe, you’re no longer guessing. You’re controlling the process step by step, knowing exactly when to stop, when to continue, and what to look for.
And once you get it right once, you’ll realize something important: it wasn’t difficult—you just needed the right method.
Now it’s your turn. Try it, test it, and make it your own.
Table of Contents
https://labelrecipes.com/marshmallow-recipe-so-good-youll-make-it-again/