A Moment That Feels Like Home
You know that feeling when a simple smell can take you somewhere else entirely? The scent of freshly baked challah has that power. It wraps around you, soft and familiar, like a memory you didn’t realize you were holding onto. Maybe you’ve experienced it at a family table, or maybe you’re searching for a new tradition to call your own. Either way, baking your own challah for Shabbat isn’t just about making bread—it’s about creating a pause in your week, a moment where everything slows down and becomes meaningful again.
When you make this challah recipe, you’re not just following steps. You’re building something with your hands that carries warmth, intention, and connection.
Traditional Challah Recipe for Shabbat Dinner
What Is Challah Bread? (History & Meaning)
Challah is more than a beautifully braided loaf—it’s a symbol rooted in centuries of tradition. When you place it on your Shabbat table, you’re participating in a ritual that has been shared across generations.
The Meaning Behind Challah
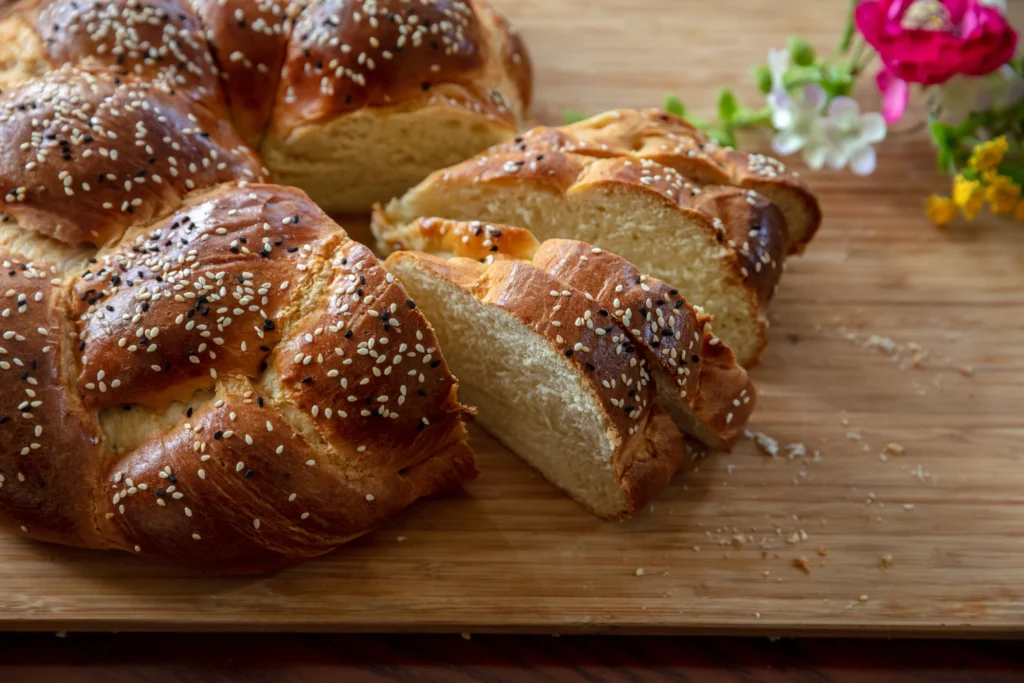
- The braid represents unity and togetherness
- Each strand reflects harmony within family and community
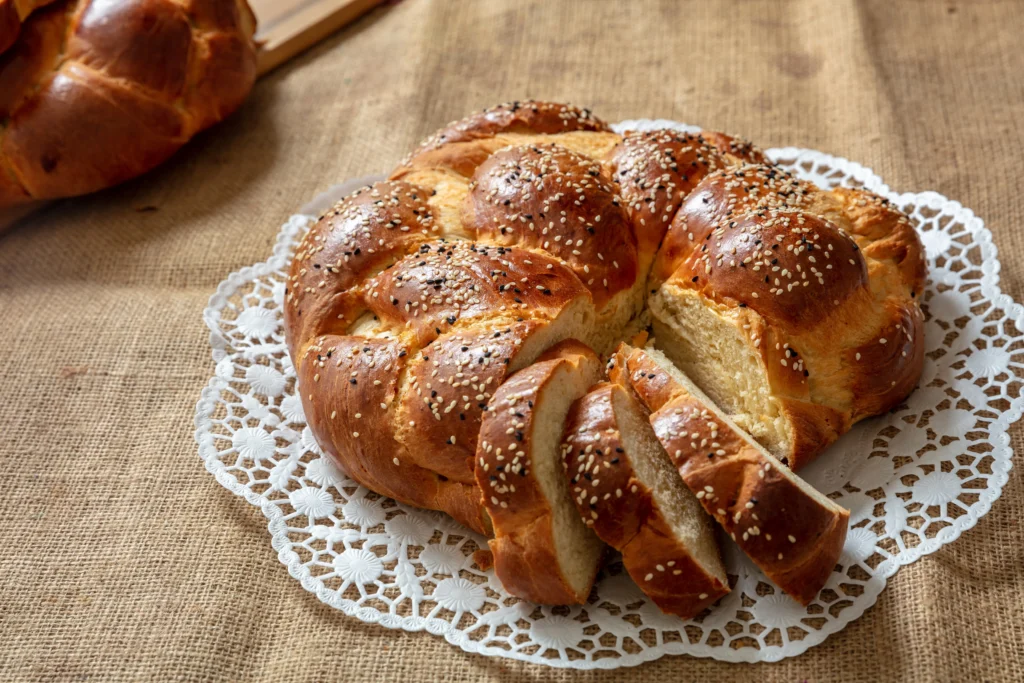
- The golden crust symbolizes abundance and blessing
Why Challah Matters on Shabbat
- You use it during the blessing (Hamotzi) before eating
- Two loaves are placed on the table to represent provision and faith
- It turns an ordinary meal into something intentional and sacred
Ingredients for the Perfect Challah Recipe
Before you start, gather everything you need. The beauty of this challah recipe is that it uses simple ingredients—but when combined with care, they create something extraordinary.
Ingredients Table
| Ingredient | Quantity | Why It Matters |
|---|---|---|
| All-purpose flour | 4–5 cups | Builds structure |
| Active dry yeast | 2 ¼ tsp | Helps the dough rise |
| Sugar | ¼ cup | Adds subtle sweetness |
| Warm water | 1 cup | Activates yeast |
| Eggs | 2–3 large | Adds richness and color |
| Vegetable oil | ¼ cup | Keeps bread soft |
| Salt | 1 tsp | Balances flavor |
| Egg wash | 1 egg + water | Creates a glossy finish |
Optional Additions
- Sesame or poppy seeds for texture
- Honey for a slightly sweeter loaf
Tip: If you want a deeper flavor, choose high-quality flour and fresh yeast. Small upgrades make a noticeable difference.
Step-by-Step Traditional Challah Recipe
This is where your kitchen transforms into something special. Take your time—there’s no rush here.
1. Activate the Yeast
In a bowl, mix warm water, sugar, and yeast. Let it sit for about 5–10 minutes.
- You’ll know it’s ready when it looks foamy
- If nothing happens, your yeast may be inactive
2. Mix the Dough
Add eggs, oil, and salt to the yeast mixture. Slowly incorporate the flour.
- Mix until a soft dough forms
- It should feel slightly tacky but manageable
3. Knead the Dough
Transfer the dough to a floured surface and knead for 8–10 minutes.
- Push, fold, and rotate
- You’re aiming for a smooth, elastic texture
4. First Rise
Place the dough in an oiled bowl and cover it.
- Let it rise for 1–2 hours
- It should double in size
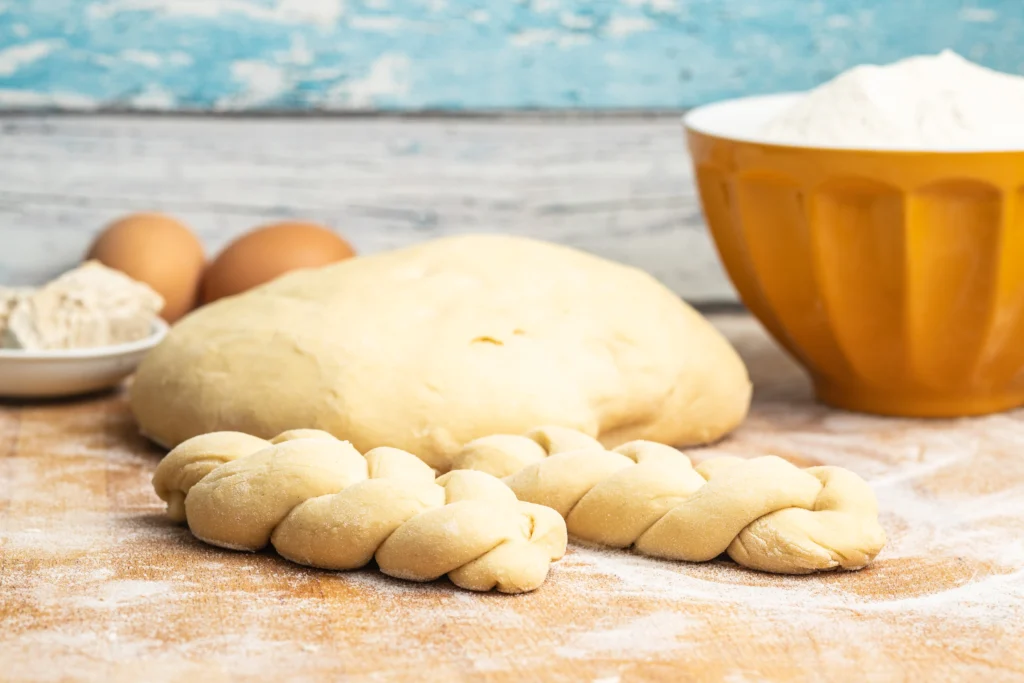
5. Shape and Braid
Divide the dough into equal parts and roll them into strands.
- Choose a simple 3-strand braid or a more detailed 6-strand version
- Don’t worry about perfection—each loaf has its own character
6. Second Rise
Let the braided dough rest again for 30–45 minutes.
- This step gives you a lighter, fluffier texture
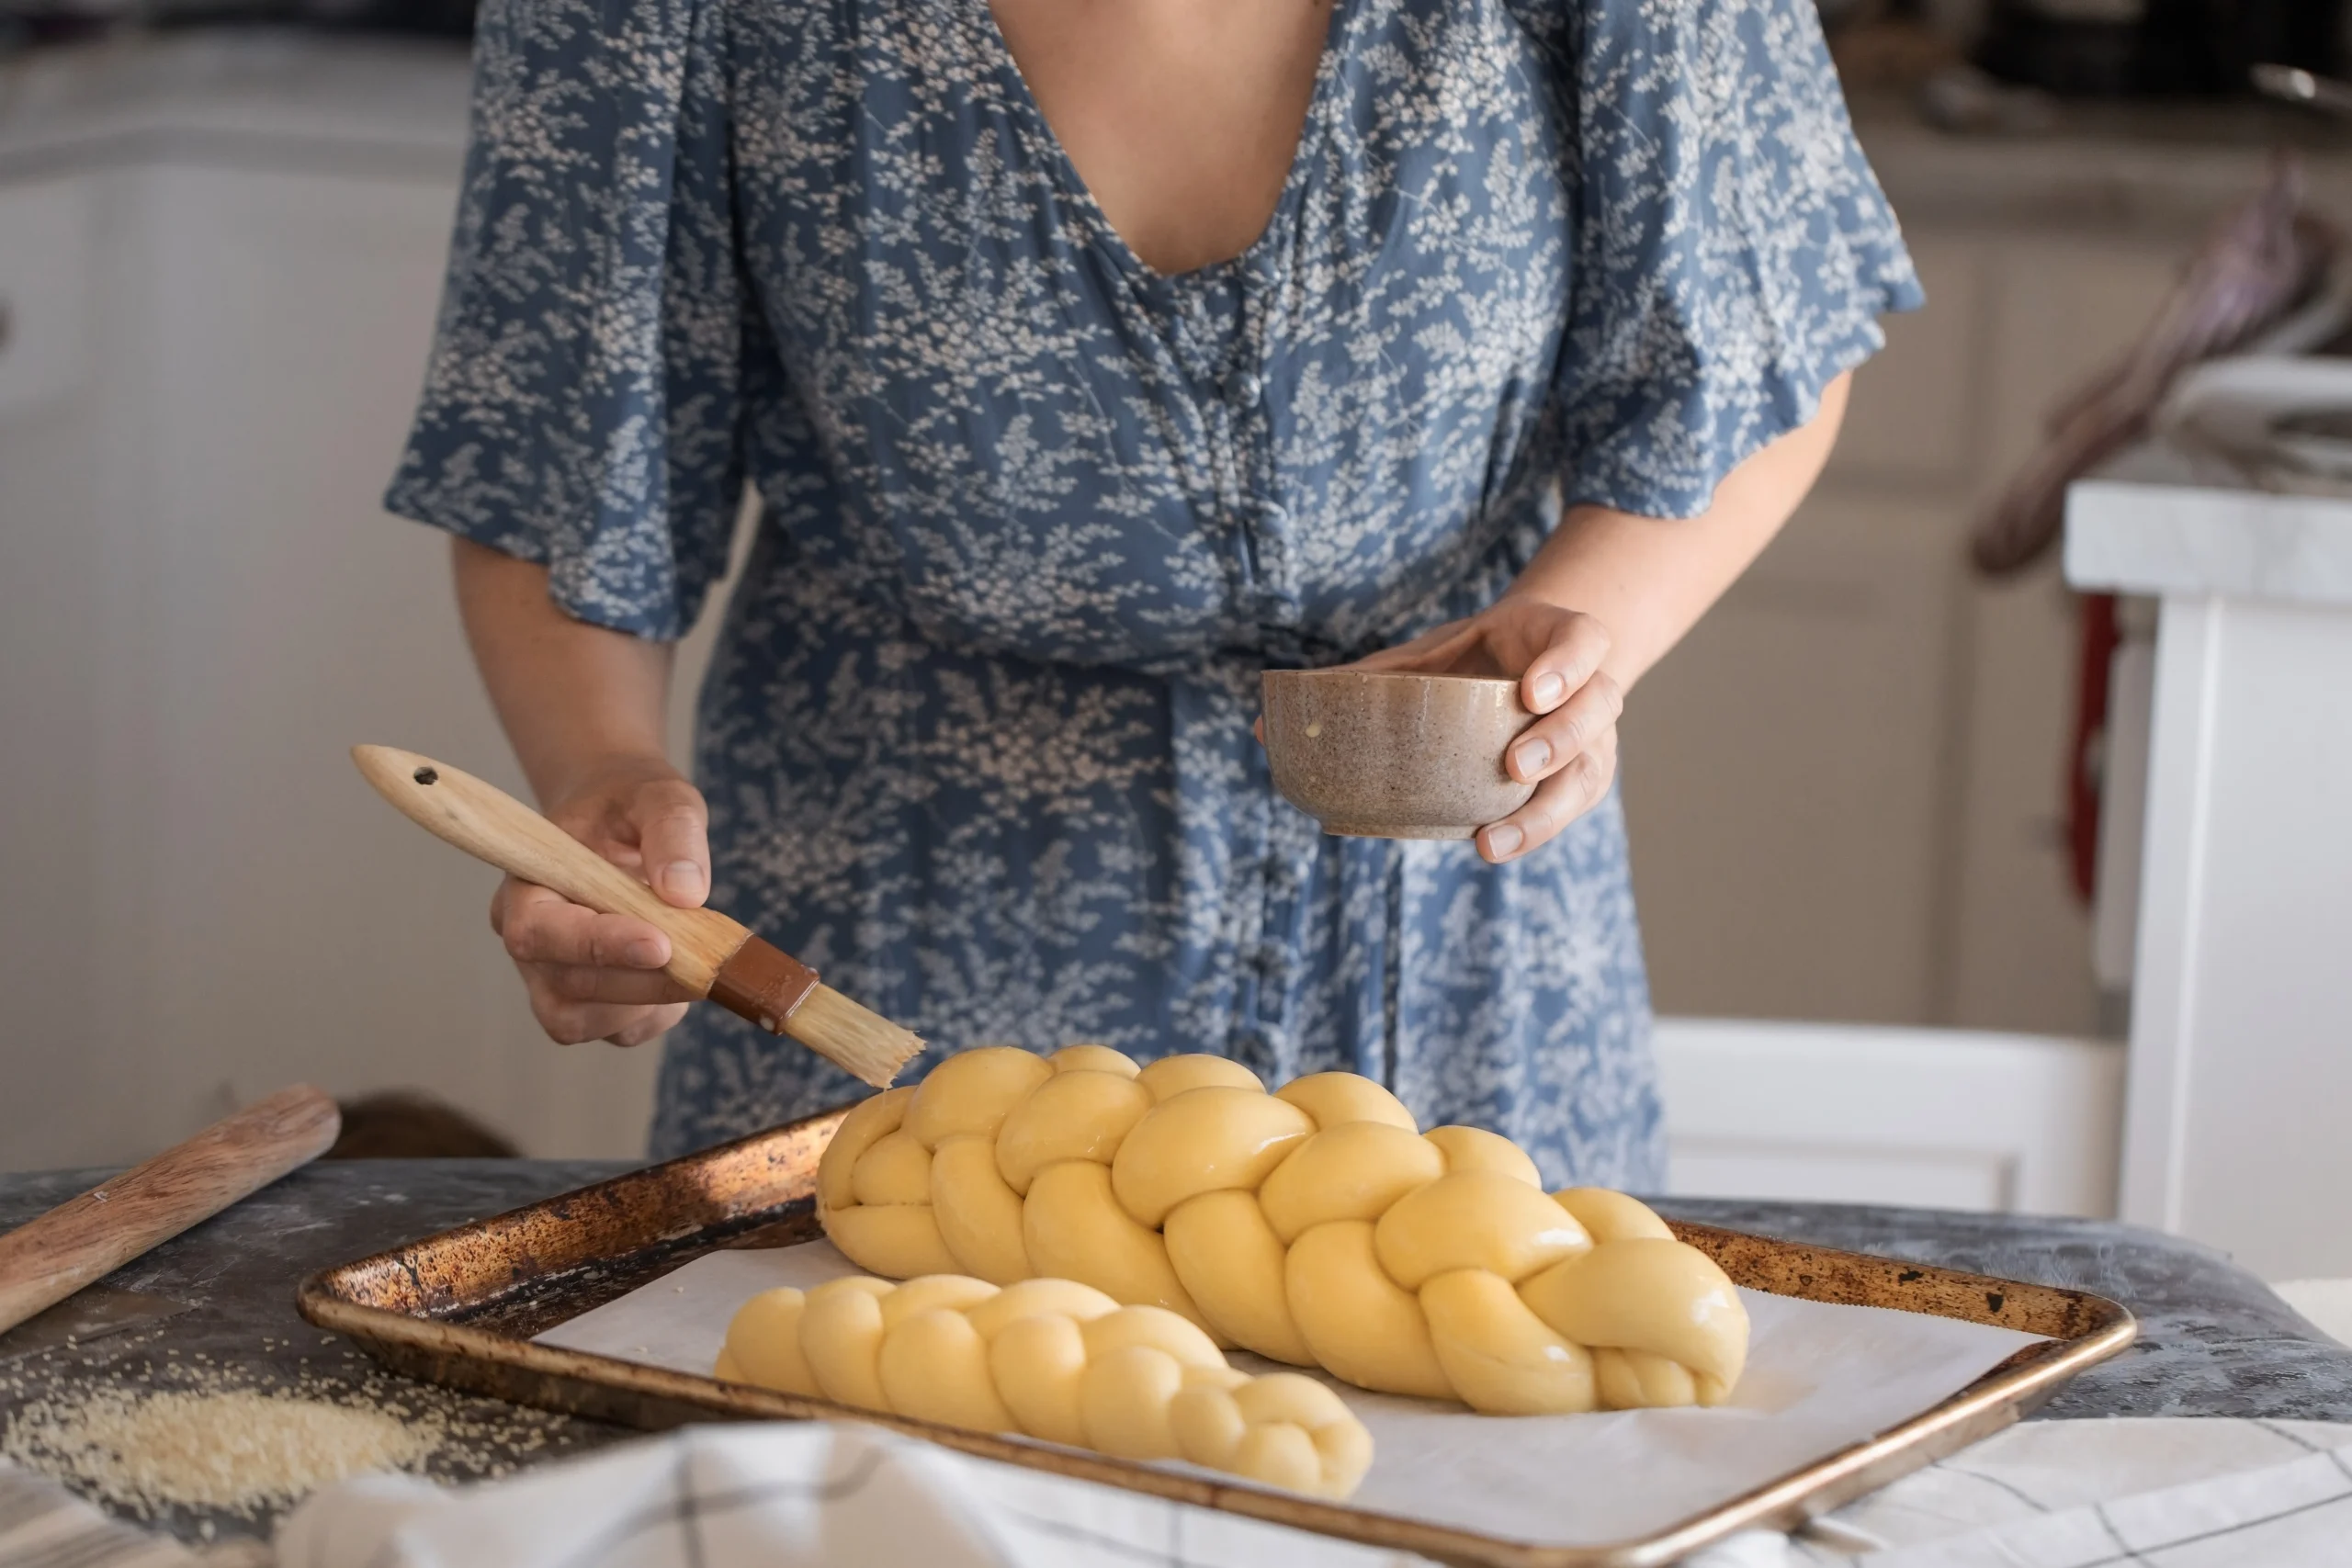
7. Bake to Perfection
Brush with egg wash and bake at 180°C (350°F) for 25–30 minutes.
- The crust should turn golden brown
- Tap the bottom—it should sound hollow
How to Braid Challah Like a Pro
Braiding might look intimidating at first, but once you try it, it becomes second nature.
Simple 3-Strand Braid
- Lay three strands side by side
- Cross right over center, then left over center
- Repeat until you reach the end
Elegant 6-Strand Braid
- Divide into six equal pieces
- Alternate crossing outer strands toward the center
- Creates a bakery-style look
Tip: If your strands shrink while rolling, let them rest for a few minutes before continuing.

Tips for the Best Homemade Challah
If you want your challah recipe to stand out, focus on these details:
- Use room temperature ingredients for better mixing
- Don’t rush the rise—time builds flavor
- Avoid adding too much flour, or the bread becomes dense
- Brush egg wash twice for a deeper shine
Variations of Traditional Challah Recipe
Once you master the classic version, you can explore creative twists.
Sweet Challah
- Add honey or raisins
- Perfect for festive occasions
Whole Wheat Challah
- Replace part of the flour with whole wheat
- Adds a nutty flavor and extra fiber
Vegan Challah
- Substitute eggs with flaxseed mixture
- Use plant-based oil
Serving Suggestions for Shabbat Dinner
Your challah deserves a place at the center of the table.
- Pair it with soups, stews, or roasted dishes
- Tear it apart and dip into olive oil or spreads
- Use leftovers for French toast the next morning
Storage Tip: Keep it in an airtight container to maintain freshness for up to 3 days.
Nutritional Information (Per Slice)
| Nutrient | Amount |
|---|---|
| Calories | 180–220 kcal |
| Carbohydrates | 30g |
| Protein | 5g |
| Fat | 5g |
Common Mistakes to Avoid When Making Challah
Even a simple challah recipe can go wrong if you overlook key steps.
- Skipping proper kneading → leads to dense bread
- Not letting it rise enough → affects texture
- Using water that’s too hot → kills yeast
- Baking at the wrong temperature → uneven results
FAQ – Challah Recipe Questions Answered
What makes this Challah recipe traditional?
This challah recipe follows classic methods—using eggs, braiding the dough, and preparing it specifically for Shabbat traditions.
Can you prepare challah dough in advance?
Yes, you can refrigerate the dough overnight. This actually enhances the flavor.
Why didn’t your challah rise properly?
It’s often due to inactive yeast or a cold environment. Make sure your ingredients are fresh and your kitchen is warm enough.
Can you freeze this challah recipe?
Absolutely. Wrap the baked loaf tightly and freeze it for up to two months.
How do you make your challah recipe softer?
Focus on proper kneading and allow enough time for both rises. That’s what creates the soft texture
Conclusion: Bring Tradition to Your Table
When you bake this challah recipe, you’re doing more than following instructions—you’re creating an experience. From the first mix to the final braid, every step invites you to slow down and be present. And when you finally place that golden loaf on your table, it becomes more than food—it becomes a symbol of care, effort, and connection.
So why not make it part of your routine? Try this recipe, share it with your family, and turn your next meal into something memorable.
Call to Action
Now it’s your turn. Try this traditional challah recipe this week and see how it transforms your table. If you bake it, share your results or your own twist on the recipe—you might inspire someone else to start their own tradition.
Table of Contents
Classic Dirty Rice Recipe – Southern Comfort Food Made Easy – labelrecipes.com