
Pierogi are a beloved dish in many parts of Eastern Europe, but they hold a particularly special place in Polish cuisine. These little dumplings, filled with a variety of ingredients ranging from mashed potatoes to sweet fruits, are a staple at family gatherings, holidays, and celebrations. While the fillings are an important part of the recipe, the dough is equally essential – it needs to be soft, pliable, and easy to work with. If you’ve been hesitant to make pierogi from scratch because you’re unsure about the dough, this recipe will change all that. In this article, we’ll guide you through the process of making traditional pierogi dough that’s soft, easy, and truly authentic. Whether you’re a seasoned cook or a beginner in the kitchen, this dough recipe will ensure your pierogi come out just right every time.
What You Need for Traditional Pierogi Dough
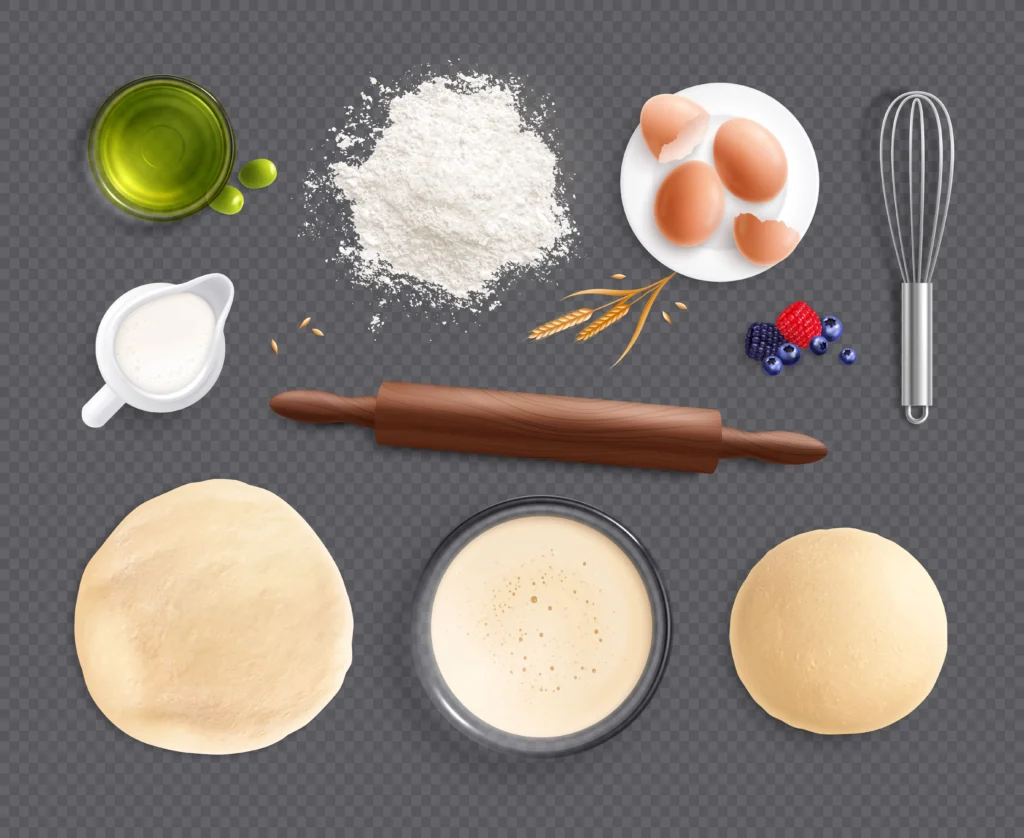
Before diving into the recipe itself, it’s important to understand the ingredients that will come together to form this delicious, tender dough. You don’t need many ingredients, but each one plays an essential role in the texture and flavor of the final product. Here’s a rundown of what you’ll need:
Flour
The backbone of pierogi dough is all-purpose flour. It gives the dough the right balance of elasticity and tenderness. Some people use a combination of all-purpose flour and cake flour for a slightly lighter dough, but all-purpose flour works just fine for most traditional recipes.
Water
Lukewarm water is the ideal choice for making pierogi dough. It helps activate the flour’s gluten without making the dough tough, creating a smooth and easy-to-work-with dough.
Egg
The egg in pierogi dough adds richness and color. It also helps bind the ingredients together, ensuring a soft and smooth texture that holds its shape when boiled or fried.
Salt
A pinch of salt is essential to enhance the flavor of the dough. Though the pierogi filling will often be the most flavorful part of the dish, a little salt in the dough provides balance and depth.
Oil or Butter
Both oil and butter are common choices for pierogi dough, with butter providing a slightly richer flavor. Some recipes call for vegetable oil for a more neutral taste, but you can use whatever fat you prefer. Butter will yield a slightly softer, richer dough, while oil can make the dough a bit more resilient.
With these basic ingredients, you’ll be able to create the perfect pierogi dough that can be used for a variety of delicious fillings, whether savory or sweet.
Step-by-Step Guide to Making Pierogi Dough
Making pierogi dough might sound daunting, but the process is actually simple and straightforward. Below is a detailed, step-by-step guide to help you make perfect pierogi dough at home.
1. Mix the Dry Ingredients
Start by placing your flour into a large mixing bowl. It’s best to sift the flour first to ensure it’s free from lumps and fully aerated. Add a pinch of salt to the flour and stir to evenly distribute. The salt will help balance the dough and bring out its flavor.
2. Add Wet Ingredients
Once the dry ingredients are mixed, make a well in the center of the flour. Crack an egg into this well and add a tablespoon of your chosen fat – either melted butter or vegetable oil. Slowly begin to pour lukewarm water into the well while gently stirring with a fork. This helps combine the wet and dry ingredients without making a mess. Continue adding the water gradually until the dough starts to come together.
3. Knead the Dough
When the dough begins to form, transfer it to a lightly floured surface and knead it by hand. The kneading process is crucial for developing the dough’s texture, so take your time. Knead the dough for about 5-10 minutes, pressing and folding it to make it smooth and elastic. If the dough feels sticky, you can add a little more flour, but be careful not to add too much, as this can make the dough tough. Similarly, if the dough feels too dry or crumbly, add a little more water.
4. Rest the Dough
Once the dough is smooth and elastic, cover it with a damp cloth or plastic wrap and allow it to rest for at least 30 minutes. This resting period is essential as it allows the gluten in the dough to relax, which makes it easier to roll out. The dough should feel soft and pliable after resting.
Tips for Perfect Pierogi Dough
While the steps above will lead to a great dough, there are a few tips and tricks that can take your pierogi dough to the next level:
1. Use Lukewarm Water
Lukewarm water helps activate the gluten in the flour without overworking it, which can cause the dough to become tough. It also allows the egg and fat to incorporate smoothly into the dough mixture.
2. Don’t Overwork the Dough
While kneading is important for achieving the right texture, don’t overdo it. Overworking the dough can result in a tough, chewy texture, which isn’t ideal for pierogi. Knead the dough just enough to bring it together and achieve a smooth, elastic consistency.
3. Let the Dough Rest
Resting the dough is one of the most crucial steps in making perfect pierogi. This step allows the gluten to relax, making the dough more manageable and easier to roll out. It also improves the texture, making it soft and tender after boiling or frying.
4. Adjust Consistency as Needed
If your dough feels too sticky or too dry, feel free to adjust by adding a bit more flour or water, respectively. The dough should be soft but not sticky, and it should hold its shape when rolled out. A little flexibility is key, as the dough should be able to stretch without tearing when wrapping around the filling.
How to Use Pierogi Dough
Once your dough has rested, you’re ready to roll it out and make your pierogi! Here’s how to do it:
1. Roll Out the Dough
On a lightly floured surface, roll the dough out to about 1/8 inch thick. You want the dough to be thin enough that it will cook through but thick enough to hold the filling without breaking apart.
2. Cut the Circles
Using a round cutter (or a drinking glass), cut out circles of dough. The size is flexible, but a common diameter is 3 inches. If you want larger pierogi, simply use a bigger cutter.
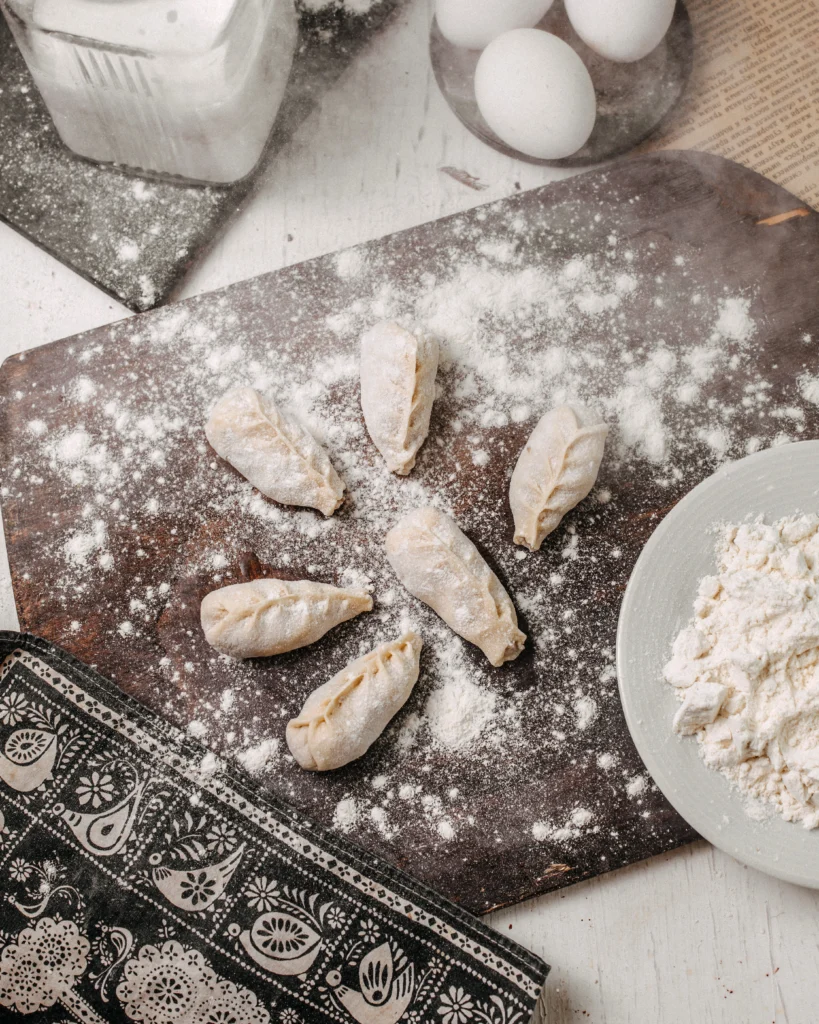
3. Add the Filling
Place a spoonful of your desired filling – whether it’s mashed potatoes and cheese, ground meat, or fruit for sweet pierogi – in the center of each dough circle. Be careful not to overfill the dumplings, as this can cause them to burst during cooking.
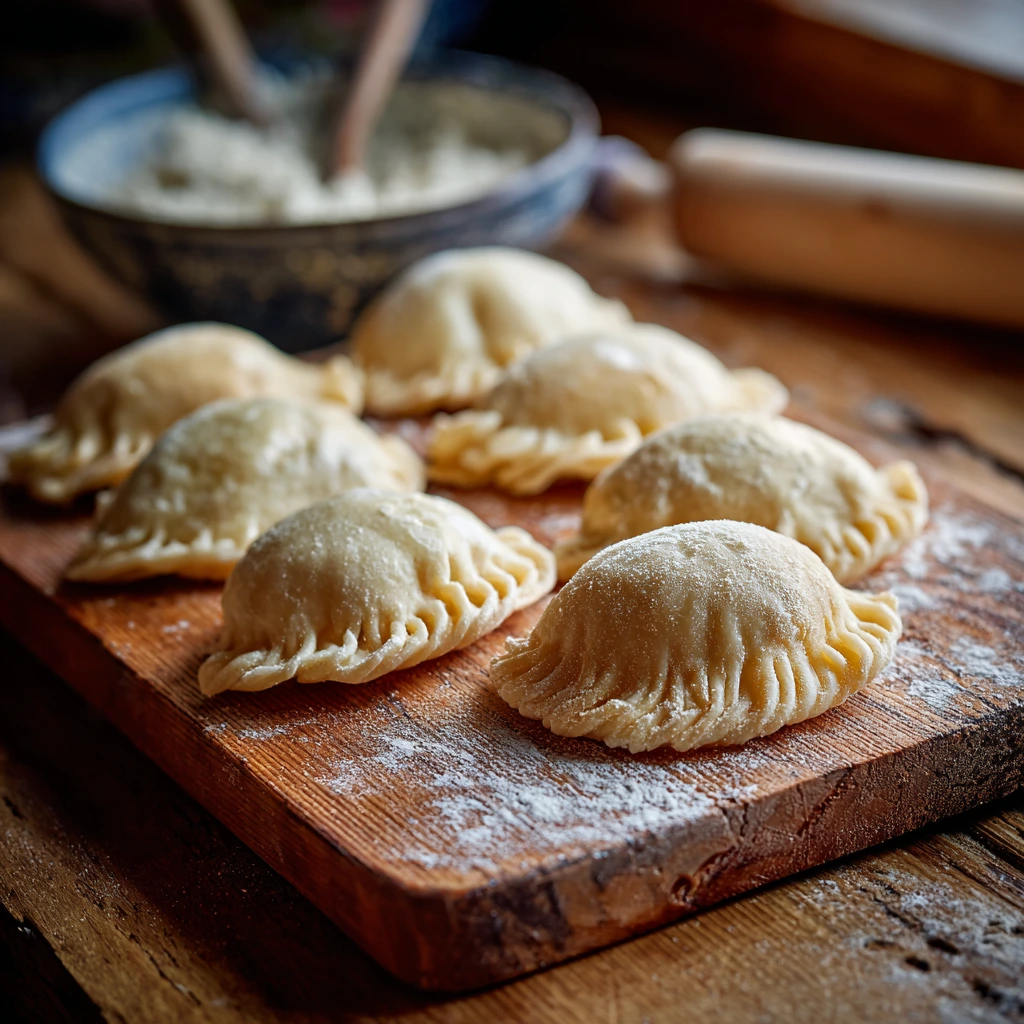
4. Seal the Edges
Fold the dough over the filling to create a half-moon shape. Pinch the edges together tightly to seal the pierogi. You can crimp the edges with a fork or pinch them with your fingers to make sure they stay closed.
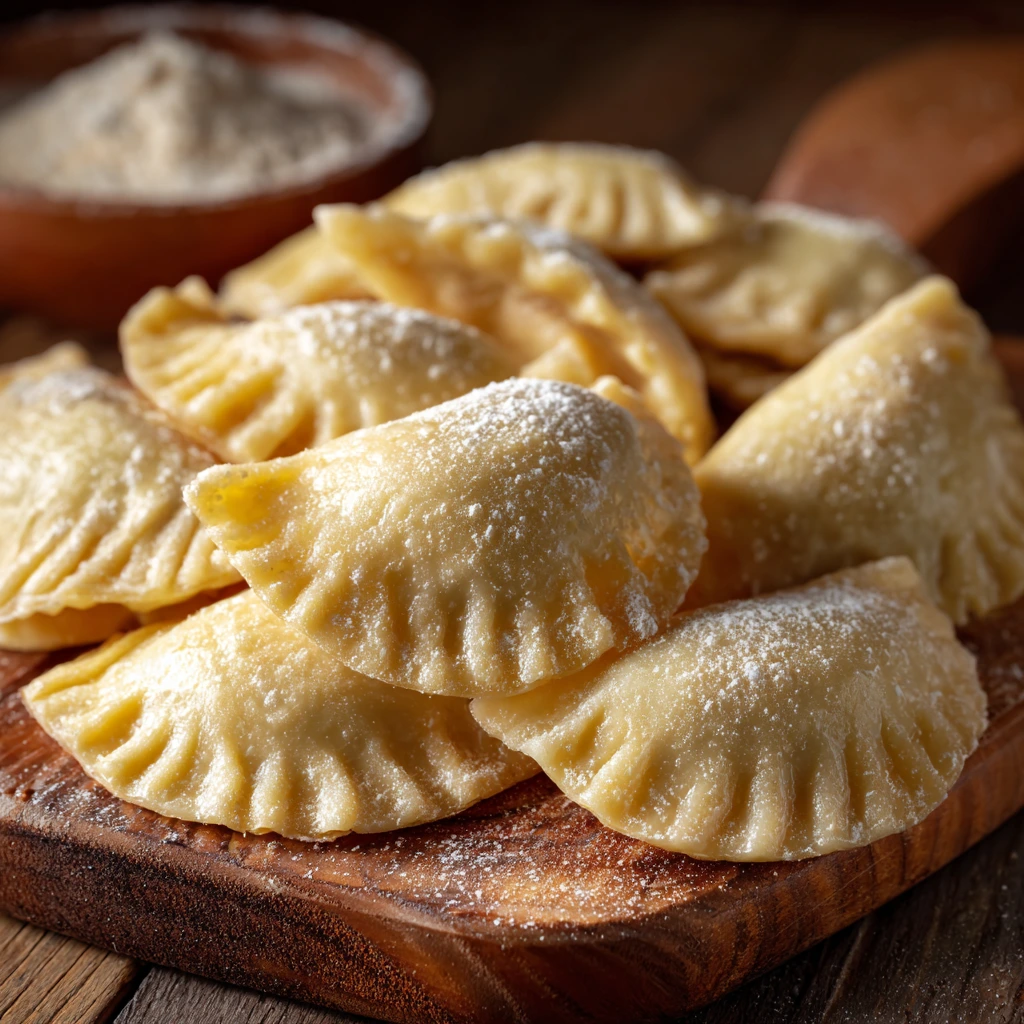
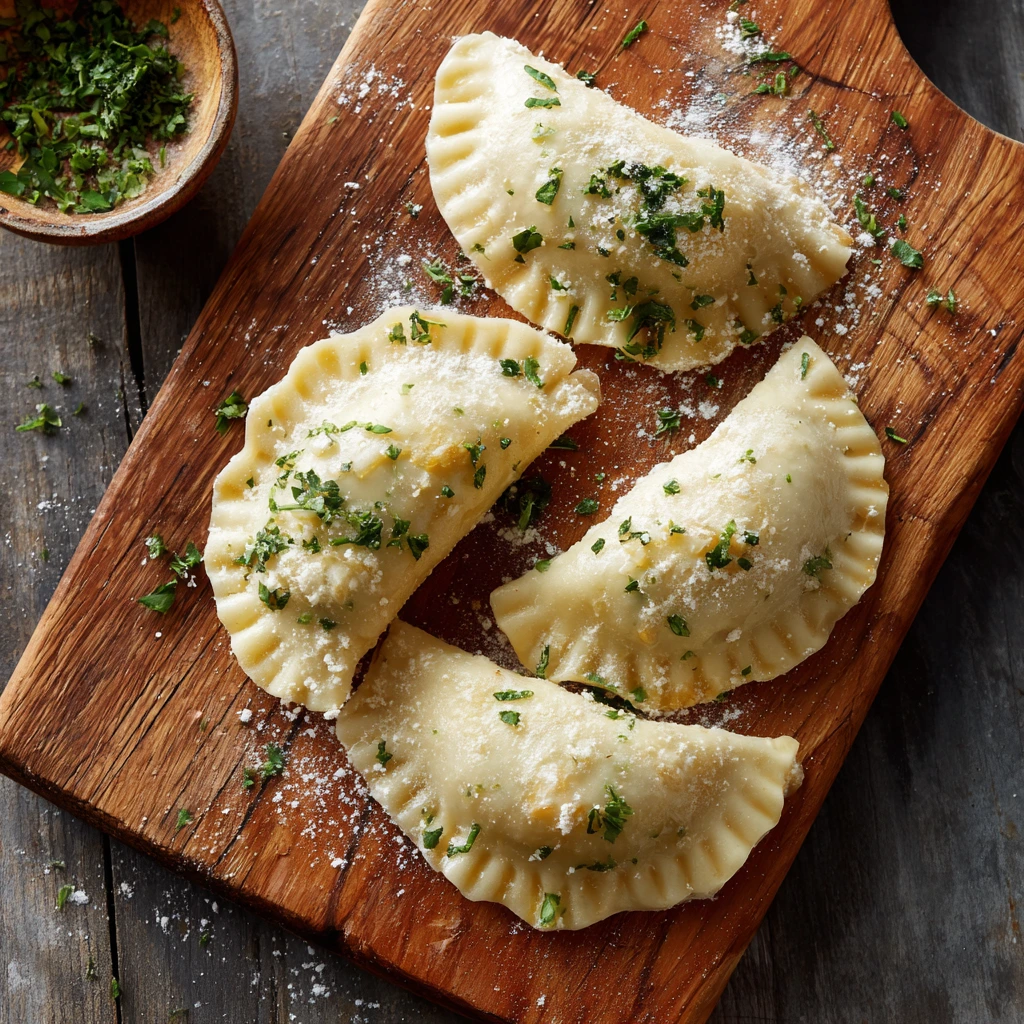
5. Cook the Pierogi
To cook your pierogi, bring a large pot of salted water to a boil. Drop the pierogi in batches into the boiling water. Once they float to the surface, continue to cook them for an additional 2-3 minutes. If you want extra flavor, sauté the cooked pierogi in butter or oil until golden and crispy on both sides.
Conclusion
Making traditional pierogi dough from scratch is a rewarding process that can transform your homemade pierogi into a true work of art. With just a few simple ingredients and a little patience, you’ll have soft, pliable dough that’s perfect for filling with your favorite ingredients. Whether you choose to boil, fry, or freeze your pierogi, the dough will hold up beautifully and taste delicious. This easy and authentic recipe is a wonderful way to bring a taste of Polish tradition into your kitchen, creating a dish that’s perfect for family gatherings, holiday celebrations, or any occasion where comfort food is required. Enjoy the process, and most importantly – enjoy the results!
Table of Contents
https://labelrecipes.com/moist-starbucks-banana-bread-recipe-copycat-cafe/