
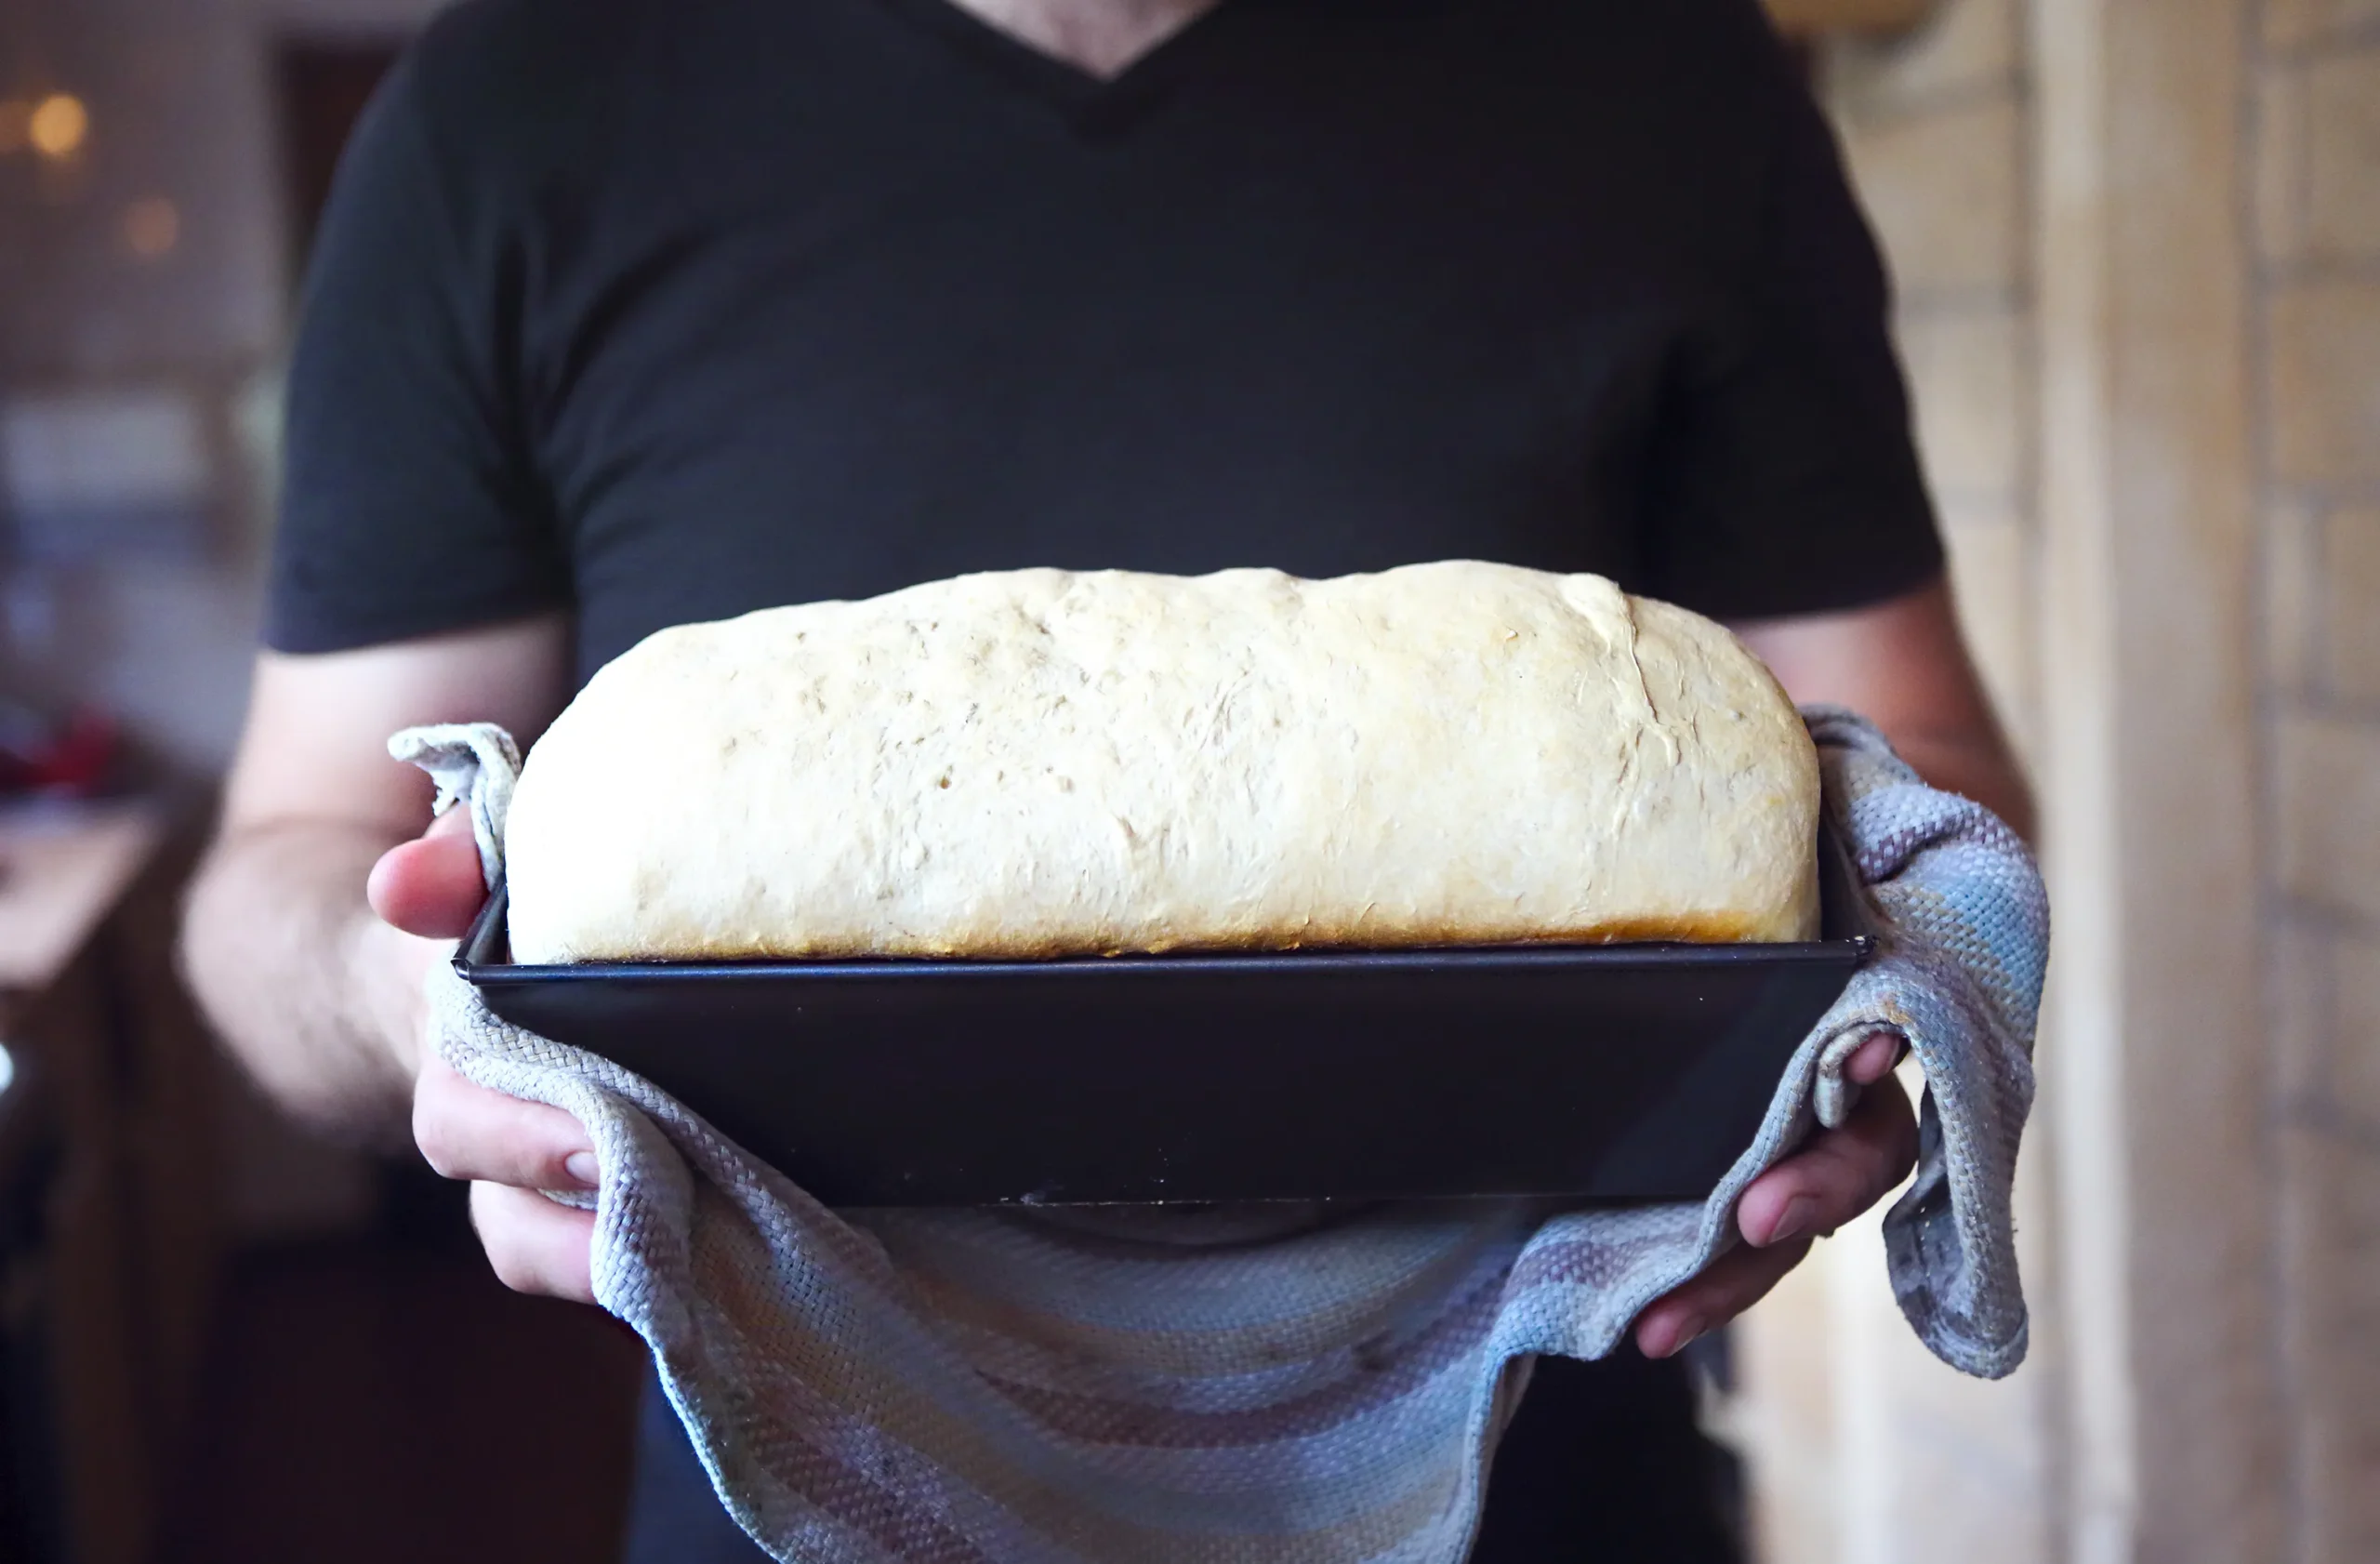
There’s a special kind of comfort that only fresh bread can bring into your home. The moment you pull a golden loaf out of the oven, the air changes. It becomes warmer, calmer, almost nostalgic. You might not even realize it at first, but that smell pulls you back to simpler moments—school lunches wrapped in foil, butter melting into warm toast, or sandwiches made with love on busy mornings.
If you’ve ever struggled with store-bought bread that feels too dry, too airy in the wrong way, or oddly flavorless, you’re not alone. Many people want that perfect fluffy white sandwich bread—soft enough to press between your fingers, strong enough to hold your favorite fillings, and light enough to feel like a cloud when you bite into it.
This is where your baking journey changes. You’re about to learn how to make fluffy white sandwich bread made simple, using everyday ingredients and a process that doesn’t require professional skills. You just need a bit of patience and the willingness to enjoy the process.
What Makes Fluffy White Sandwich Bread So Special?
The Texture You’re Really Looking For
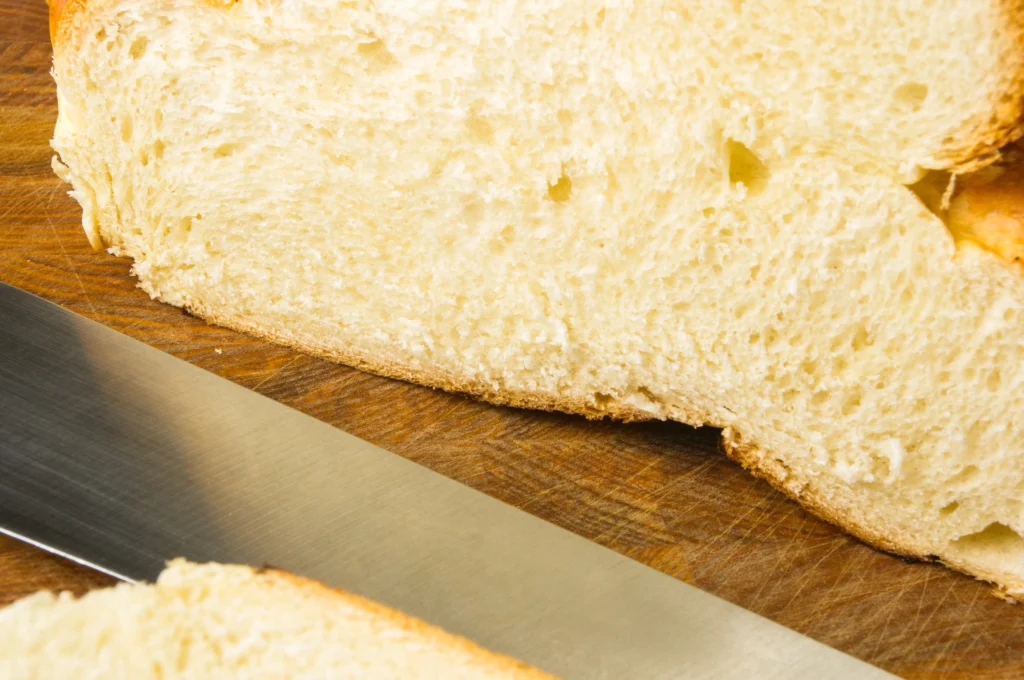
When you think of perfect sandwich bread, texture is everything. You want:
- A soft, airy crumb that gently tears apart
- A light crust that doesn’t feel tough or dry
- A pillowy bite that doesn’t crumble under pressure
That signature fluffiness comes from proper gluten development, yeast fermentation, and balanced hydration. When those three elements work together, your dough transforms into something magical.
Why Homemade Always Wins Over Store-Bought
Once you make your own loaf, you’ll notice the difference immediately:
- No chemical preservatives or artificial softness agents
- Fresher taste with real buttery notes
- Full control over sweetness and richness
- Better aroma and natural texture
You’re not just baking bread—you’re creating something clean, fresh, and fully in your control.
Ingredients for Fluffy White Sandwich Bread Recipe Made Simple
Everything You Need in One Place
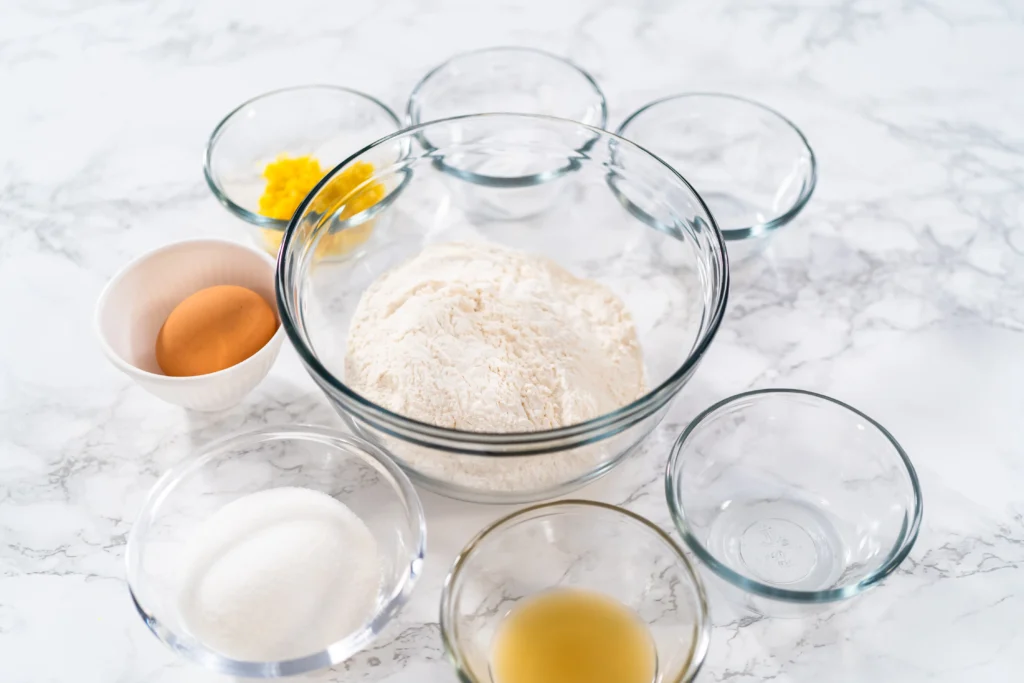
You don’t need complicated ingredients. Most of what you need is probably already in your kitchen.
Ingredient Table
| Ingredient | Quantity | Why You Need It |
|---|---|---|
| All-purpose flour | 4 cups | Builds structure and softness |
| Warm milk | 1 cup | Adds tenderness and flavor |
| Warm water | ½ cup | Helps activate yeast |
| Sugar | 2 tbsp | Feeds yeast and adds mild sweetness |
| Instant yeast | 2¼ tsp | Makes the dough rise |
| Salt | 1½ tsp | Enhances flavor balance |
| Unsalted butter | 3 tbsp | Creates richness and softness |
Ingredient Tips You Shouldn’t Ignore
- Warm liquids should feel like bathwater, not hot
- Butter should be soft but not melted
- Use fresh yeast for best rise
- If you prefer, replace milk with plant-based alternatives, but expect a slightly different texture
Step-by-Step Fluffy White Sandwich Bread Recipe Made Simple
Step 1 – Wake Up the Yeast
Start by combining:
- Warm water
- Sugar
- Yeast
Let it sit for 5–10 minutes. You’ll know it’s ready when it turns foamy and slightly bubbly. That foam is a sign your bread is going to rise properly.
If nothing happens, your yeast may be inactive, and it’s better to start again before wasting ingredients.
Step 2 – Build the Dough Base
In a large bowl, combine:
- Flour
- Salt
- Milk
- Activated yeast mixture
- Butter
Stir until the dough starts coming together. At this stage, it will look rough and slightly sticky. That’s exactly what you want.
Step 3 – Kneading for That Soft, Fluffy Texture
This is where the transformation happens.
Knead your dough for about 8–10 minutes:
- Push the dough forward with your palm
- Fold it back toward you
- Rotate and repeat
You’re aiming for a dough that becomes:
- Smooth
- Elastic
- Slightly springy when pressed
This process develops gluten, which traps air and creates that fluffy structure.
Step 4 – First Rise (Let the Magic Happen)
Place your dough in a lightly greased bowl and cover it with a cloth or plastic wrap.
Let it rest for 1 to 2 hours in a warm spot. During this time:
- The dough should double in size
- It will become soft and airy
- Yeast will produce gas bubbles inside the dough
This is where flavor and texture truly develop.
Step 5 – Shaping Your Sandwich Loaf
Once the dough has risen:
- Gently press it down to release air
- Shape it into a rectangle
- Roll it tightly into a loaf shape
Place it into a greased loaf pan, making sure it sits evenly.
Step 6 – Second Rise for Maximum Fluffiness
Cover the pan and let the dough rise again for 30–60 minutes.
This step is crucial because:
- It improves final texture
- It ensures a taller, lighter loaf
- It prevents dense bread
The dough should rise slightly above the pan before baking.
Step 7 – Baking to Golden Perfection
Preheat your oven to 180°C (350°F).
Bake your bread for:
- 25 to 35 minutes
You’ll know it’s done when:
- The top is golden brown
- The loaf sounds hollow when tapped
- The kitchen smells rich and buttery
For precision, the internal temperature should reach about 190°F.
Step 8 – Cooling Without Ruining Texture
Once baked:
- Remove the bread from the pan after 10 minutes
- Place it on a wire rack
- Let it cool completely before slicing
This step prevents a gummy texture inside the loaf.
Expert Tips for Ultra-Fluffy White Sandwich Bread
What Makes the Biggest Difference
If you want bakery-style softness, focus on:
- Proper kneading (don’t rush it)
- Correct proofing time
- Fresh yeast
- Balanced hydration
Common Mistakes You Should Avoid
- Using water that is too hot (kills yeast)
- Adding too much flour while kneading
- Cutting bread while still warm
- Skipping the second rise
Delicious Variations You Can Try
Soft Milk Bread Version
Add extra milk and butter for an even richer, more tender crumb.
Whole Wheat Blend
Replace up to 50% of flour with whole wheat for a slightly nutty flavor and denser texture.
Slightly Sweet Sandwich Bread
Increase sugar slightly for a soft, dessert-like loaf perfect for jam or peanut butter.
How to Store Your Homemade Bread
Short-Term Storage
- Keep in an airtight bag or container
- Store at room temperature for up to 3 days
Freezing for Long-Term Use
- Slice before freezing for convenience
- Store in freezer-safe bags
- Lasts up to 2 months
When needed, toast directly from frozen or let it thaw naturally.
Nutritional Overview (Approximate Per Slice)
| Nutrient | Amount |
|---|---|
| Calories | 120–150 kcal |
| Carbohydrates | 22–25 g |
| Protein | 3–4 g |
| Fat | 2–3 g |
These values vary depending on butter and milk usage.
Frequently Asked Questions
Why didn’t my fluffy white sandwich bread rise properly?
Most likely your yeast was inactive or your liquid was too hot or too cold.
Can I make this bread without milk?
Yes, you can replace milk with water, but the bread will be slightly less soft and rich.
How do I get extra fluffy bread every time?
Focus on kneading, allow enough rising time, and avoid overloading the dough with flour.
Can I use only all-purpose flour?
Yes, it works perfectly, though bread flour gives a slightly chewier structure.
How long does homemade sandwich bread last?
About 2–3 days at room temperature, or up to 2 months frozen.
Conclusion: Your Homemade Bread Journey Starts Here
Now you have everything you need to create your own fluffy white sandwich bread made simple right in your kitchen. It’s not just about following steps—it’s about enjoying the process of turning basic ingredients into something warm, soft, and deeply satisfying.
Once you slice into your first homemade loaf, you’ll understand why so many people never go back to store-bought bread. The freshness, the aroma, and the texture are on another level.
So go ahead—preheat your oven, gather your ingredients, and bake your first perfect loaf. And when you do, don’t just make one… because it won’t last long.
Ready to bake your best bread yet? Your kitchen is waiting.
Table of Contents
This Hashbrown Casserole Disappears in Minutes! – labelrecipes.com