
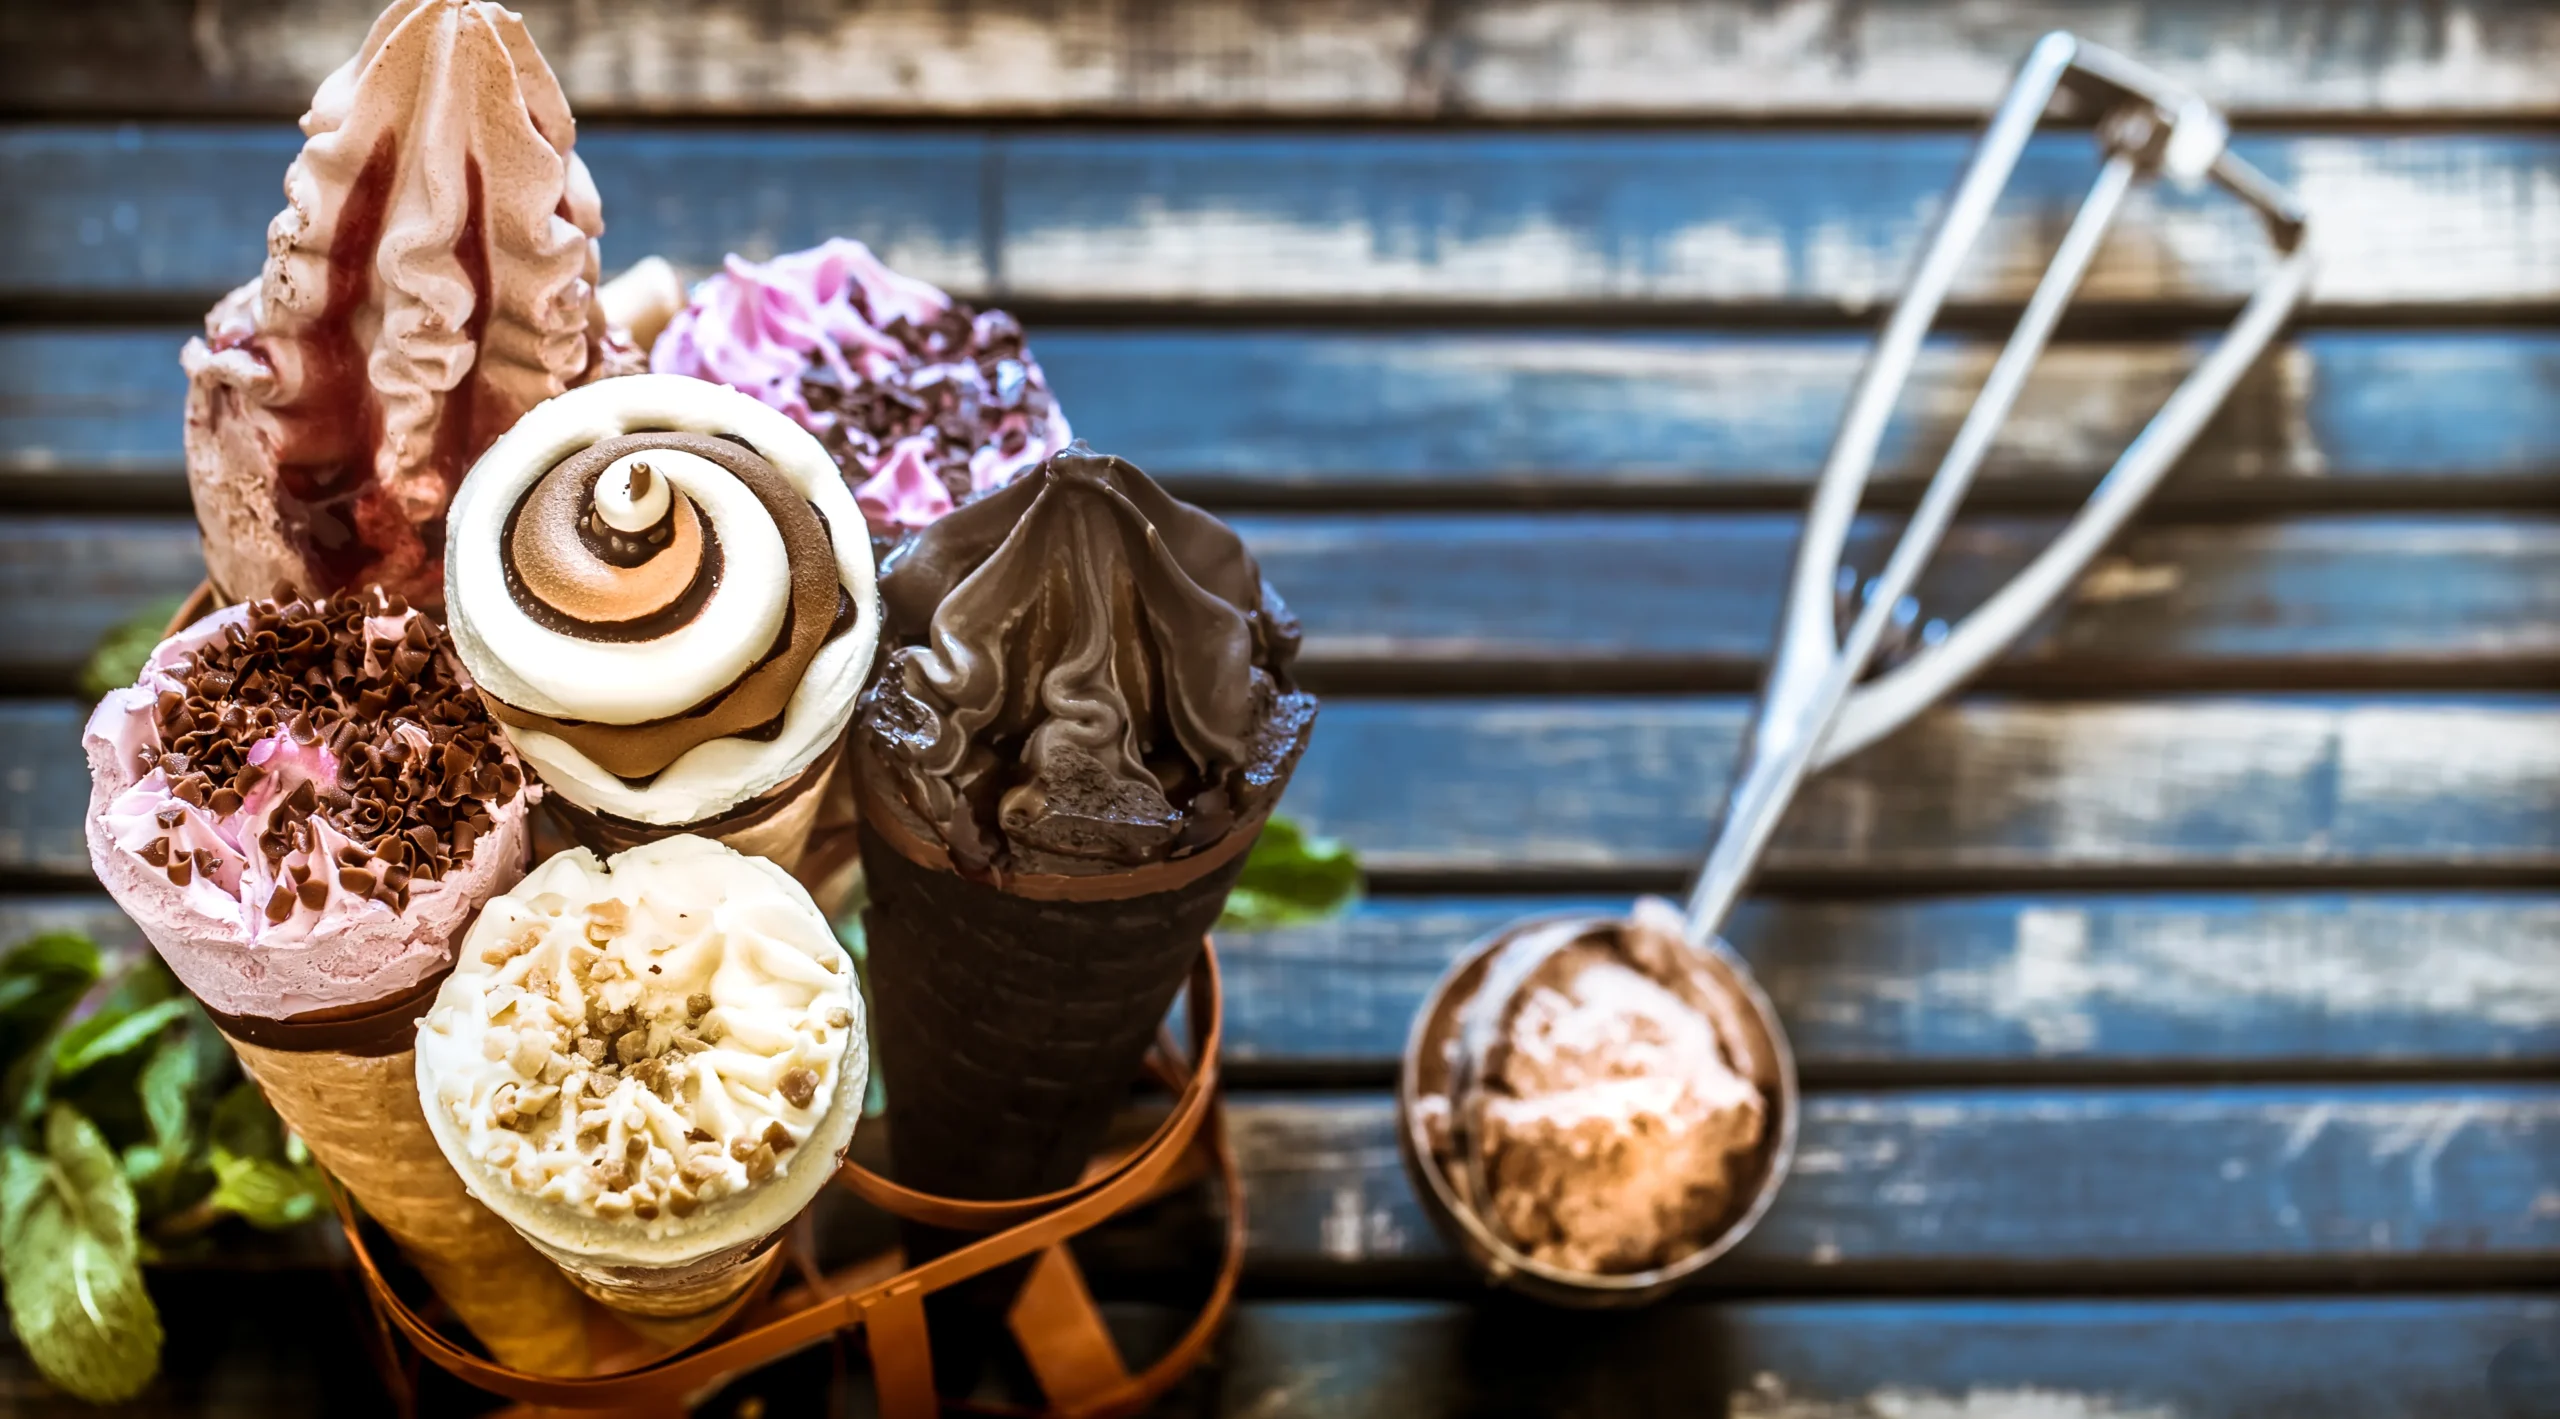
There’s something truly magical about the first spoonful of homemade ice cream—the way it melts effortlessly on your tongue, the creamy texture that feels almost indulgent, and the burst of flavor that store-bought versions can never replicate. Making ice cream at home is more than just a culinary task; it’s an experience that connects you with your creativity, nostalgia, and pure culinary joy.
When you craft your own ice cream, every choice—from the creaminess of the milk to the sweetness of the sugar—is in your hands. This article will guide you, step by step, to create the creamiest homemade ice cream possible, whether you have an ice cream maker or prefer a no-churn method.
Why Homemade Ice Cream Tastes Better Than Store-Bought
Fresh Ingredients Make All the Difference
When you make ice cream at home, you control every ingredient. Unlike commercial brands, you can skip preservatives, artificial flavors, and stabilizers. Using fresh, high-quality milk, cream, and flavorings not only enhances taste but also delivers a richer texture. Your ice cream isn’t just dessert—it’s a wholesome treat that you can feel good about enjoying.
Customize Your Flavor and Texture
Ever bought ice cream that’s too icy or overly sweet? Homemade ice cream lets you control both flavor and consistency. Want a silky custard base or a lighter, fluffier no-churn version? The choice is yours. You can add chocolate chunks, fruit swirls, or cookie pieces, creating a dessert tailored perfectly to your tastes.
Essential Tools for Making Homemade Ice Cream
Ice Cream Maker vs. No-Churn Method
- Ice Cream Maker: Ideal for smooth, custard-like ice cream. Requires churning but yields professional results.
- No-Churn Method: Quick, easy, and requires no special equipment. Perfect for beginners or when time is limited.
Other Useful Tools
To achieve the creamiest texture and perfect flavor, consider having these tools on hand:
- Mixing bowls
- Whisks or electric mixers
- Spatulas for folding in mix-ins
- Measuring cups and spoons
- Freezer-safe containers for storage
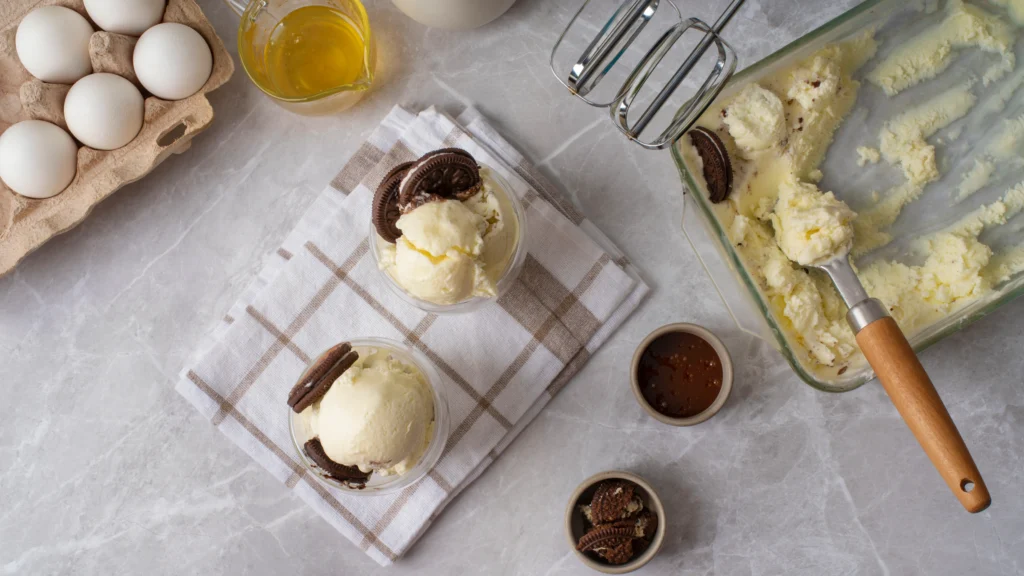
Ingredients for the Creamiest Homemade Ice Cream
Basic Ingredients Table
| Ingredient | Quantity | Notes |
|---|---|---|
| Heavy cream | 2 cups | Ensures rich creaminess |
| Whole milk | 1 cup | Balances texture |
| Sugar | 3/4 cup | Adjust sweetness to taste |
| Egg yolks | 4 | Optional for custard-style richness |
| Vanilla extract | 2 tsp | Enhances natural flavors |
Optional Mix-Ins & Flavor Enhancers
- Chocolate chips or chunks
- Fruit purees or chopped fresh fruit
- Cookie pieces, brownie chunks, or caramel swirls
- Nuts like pistachios or almonds
Tip: Fold mix-ins gently after churning to maintain creamy texture.
Step-by-Step Homemade Ice Cream Recipe
Custard Base Method (Classic Creamy Ice Cream)
- Heat the Milk and Cream
In a medium saucepan, combine your milk and heavy cream. Heat gently until steaming, but not boiling. - Whisk Egg Yolks and Sugar
In a separate bowl, whisk your egg yolks with sugar until pale and smooth. This step ensures a rich, silky custard. - Temper the Egg Mixture
Slowly add hot milk to the egg yolks while whisking constantly. Return the mixture to the saucepan and cook on low heat until thickened. - Cool and Add Flavorings
Remove from heat, stir in vanilla extract, and allow the custard to cool to room temperature. - Chill the Mixture
Refrigerate for at least 4 hours. Chilling improves texture and enhances flavor. - Churn in Ice Cream Maker
Pour chilled custard into your ice cream maker and churn according to manufacturer instructions until soft-serve consistency is achieved. - Freeze for Firm Texture
Transfer to a freezer-safe container and freeze for 2–4 hours for the perfect firm, creamy ice cream.
No-Churn Method (Quick & Easy)
- Whip the Cream
Whip heavy cream until stiff peaks form. - Fold in Sweetened Condensed Milk
Gently combine with a can of sweetened condensed milk and vanilla extract. - Add Flavorings and Mix-Ins
Incorporate fruit, chocolate, or other favorite flavors. - Freeze
Pour mixture into a container, cover, and freeze for 6 hours or overnight.
Tips for Perfect Texture:
- Chill mixture thoroughly before freezing
- Fold in mix-ins gently to avoid deflating whipped cream
- Use airtight containers to prevent ice crystals
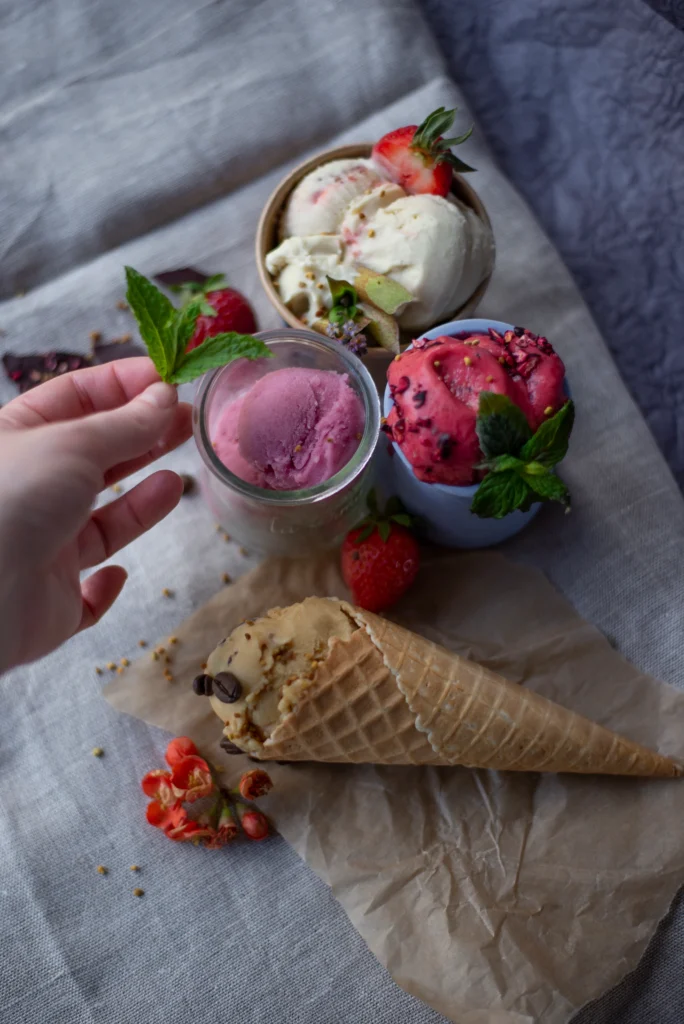
Creative Homemade Ice Cream Flavors
Classic Favorites
- Vanilla
- Chocolate
- Strawberry
- Cookies & Cream
Gourmet & Seasonal Options
- Salted caramel
- Pistachio
- Mango sorbet
- Pumpkin spice
Unique DIY Combos
- Coffee chocolate chip
- Lavender honey
- Peanut butter swirl with chocolate chunks
Flavor Pairing Tip: Complement textures and sweetness levels. For example, caramel pairs well with nuts, and chocolate balances fruit flavors.
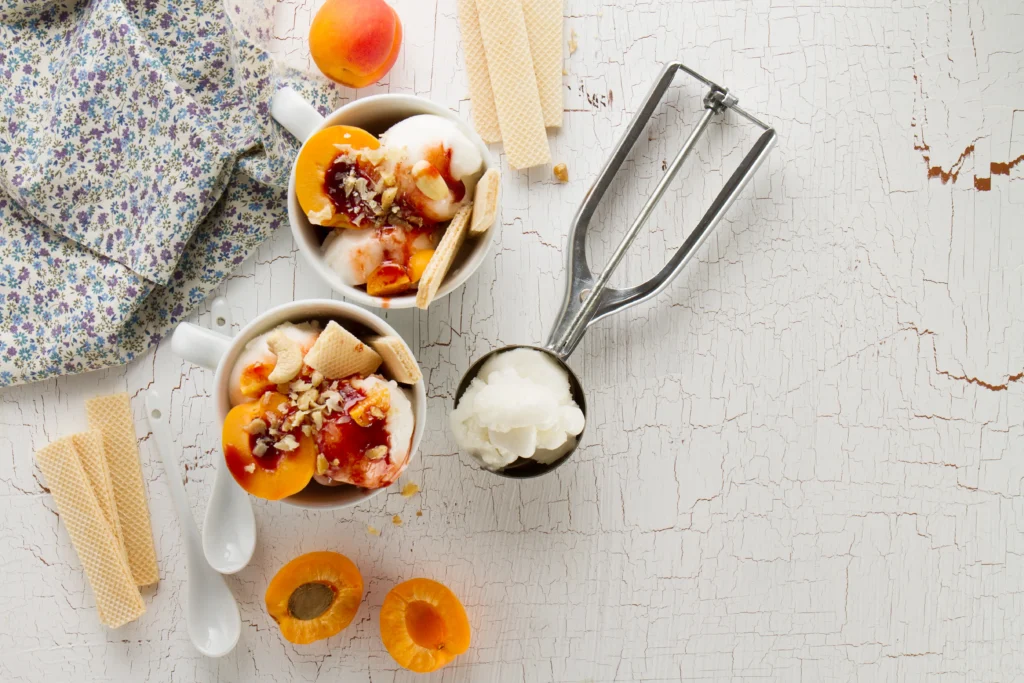
Serving & Storing Your Homemade Ice Cream
Presentation Tips
- Use an ice cream scoop for round, professional-looking servings.
- Serve in cones, bowls, or as part of a sundae with toppings like caramel sauce, chocolate shavings, or fresh fruit.
Storage Guidelines
- Store in airtight containers to prevent freezer burn.
- Best consumed within two weeks for optimal creaminess.
- Allow 5–10 minutes at room temperature before scooping if overly firm.
Troubleshooting Common Ice Cream Problems
Ice Crystals Forming
- Cause: Mixture wasn’t chilled properly or wasn’t churned adequately.
- Solution: Chill mixture thoroughly and use an ice cream maker or no-churn method carefully.
Too Soft or Runny Texture
- Cause: Incorrect cream-to-milk ratio or insufficient freezing.
- Solution: Adjust ratios, ensure mixture is cold before freezing.
Flavor Issues
- Cause: Weak flavorings or over-dilution.
- Solution: Use high-quality extracts, add fresh ingredients, or intensify flavor with mix-ins.
FAQ About Homemade Ice Cream
How long does homemade ice cream last in the freezer?
Up to two weeks for the best creamy texture. After that, ice crystals may form, affecting taste and consistency.
Can I make dairy-free or vegan ice cream at home?
Absolutely! Use coconut milk, almond milk, or oat milk as a base. These alternatives can yield creamy and delicious results.
Do I need an ice cream maker?
Not at all. The no-churn method allows anyone to make ice cream without specialized equipment.
How do I prevent ice crystals?
Chill your mixture thoroughly before freezing, fold in mix-ins gently, and store in airtight containers.
Conclusion: Start Your Homemade Ice Cream Adventure Today
Making homemade ice cream is not just about dessert—it’s about creating a treat that’s as unique as your taste buds. From creamy custard bases to quick no-churn methods, the possibilities are endless. By following these steps, you can craft ice cream that’s rich, smooth, and bursting with flavor—better than anything you’ll find in stores.
So grab your mixing bowl, select your favorite ingredients, and start experimenting. Your creamy homemade ice cream adventure awaits, and every spoonful promises joy, nostalgia, and satisfaction.
Call-to-Action: Share your ice cream creations with friends and family or try creating a new flavor each week. Tag us on social media and show the world how delicious homemade ice cream can be!
Table of Contents
https://en.wikipedia.org/wiki/Ice_cream
https://labelrecipes.com/philly-cheesesteak-recipe-with-melty-cheese-tende/