
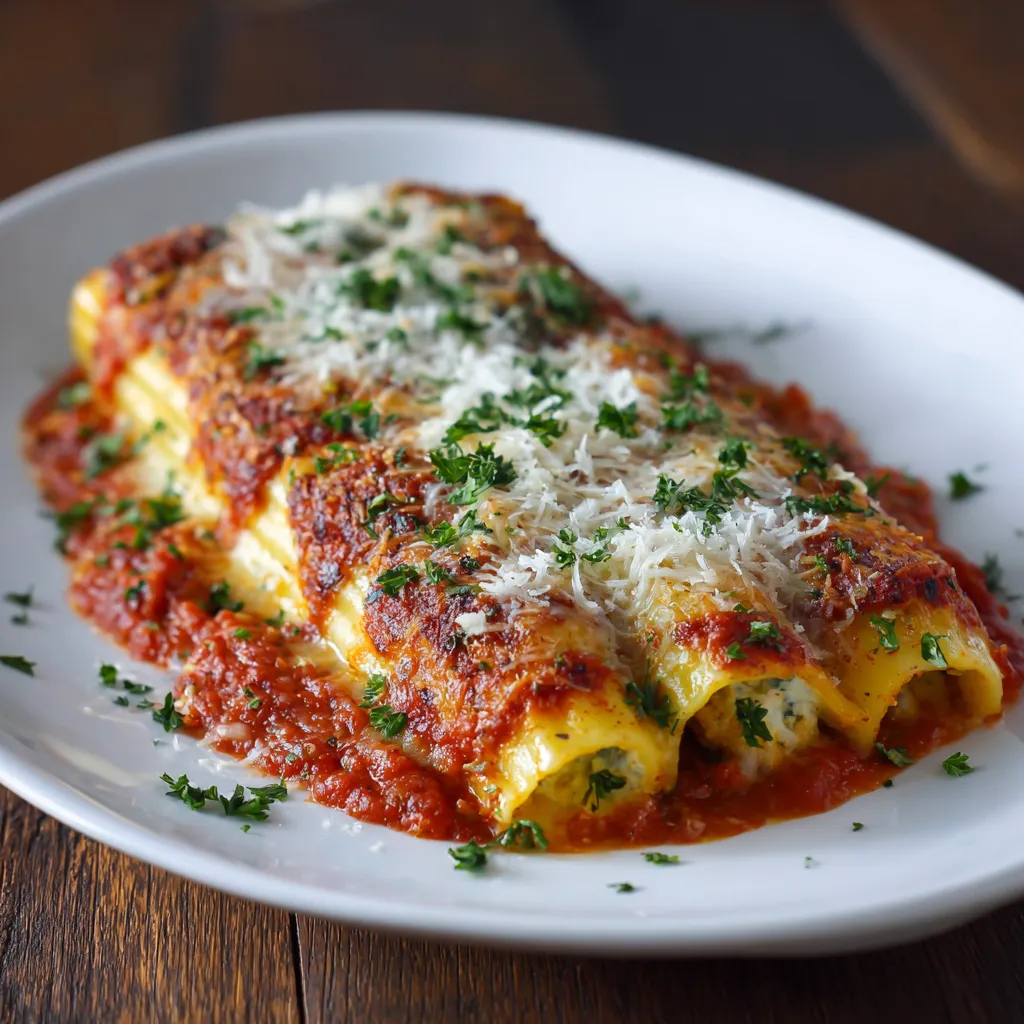
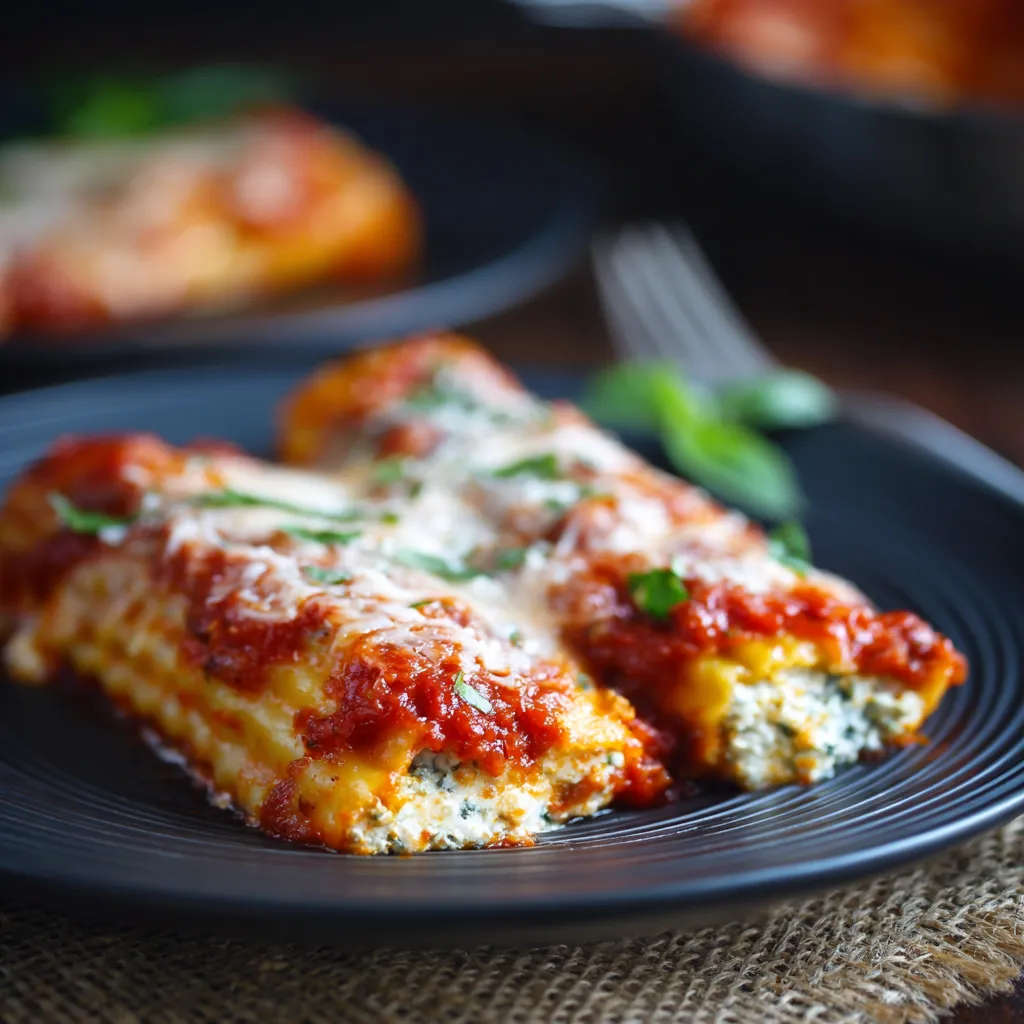
There’s something timeless about a bubbling dish of manicotti emerging from the oven. The sauce simmers along the edges, the cheese melts into a golden crust, and the aroma fills your kitchen with comfort and anticipation. You can almost picture everyone gathering around the table — plates ready, appetites eager. But here’s the truth: getting that perfect manicotti every time isn’t just luck. It’s a blend of careful choices, small details, and a little Italian heart.
If you’ve ever ended up with torn pasta shells, runny cheese filling, or dry sauce, you’re not alone. This guide walks you through the entire process — from picking ingredients to serving your masterpiece — so you can finally create manicotti that tastes like it came straight from a Tuscan kitchen.
What Makes Manicotti “Perfect”?
Perfect manicotti is more than just pasta stuffed with cheese and baked in tomato sauce — it’s a balance of flavor, texture, and technique.
Here’s what separates a good manicotti from a truly perfect one:
- The pasta should be tender but firm enough to hold its shape.
- The filling should be creamy and flavorful, not grainy or watery.
- The sauce should complement the filling without overpowering it.
- The baking should create a golden, bubbly top while keeping the inside moist.
When all four elements come together, you get a dish that’s light, rich, and deeply satisfying — the kind of comfort food that keeps people asking for seconds.
Choosing the Right Ingredients for Perfect Manicotti
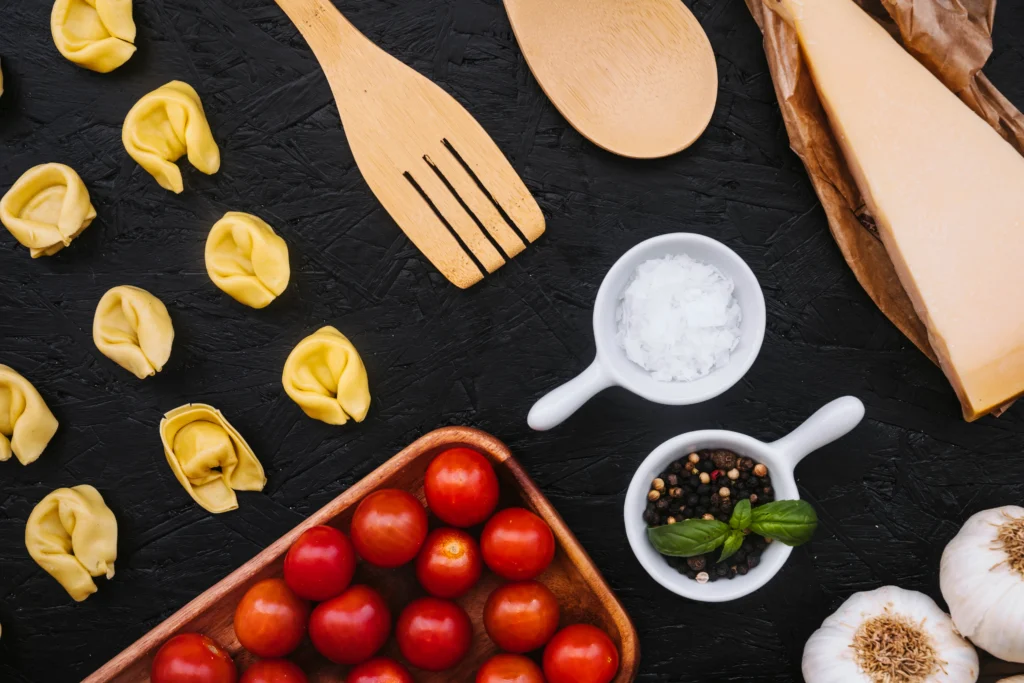
Every great manicotti begins with the right ingredients. You don’t need a long shopping list, but you do need quality and balance. Here’s what to gather before you start.
Ingredient Table for Perfect Manicotti
| Ingredient | Quantity | Notes / Tips |
|---|---|---|
| Manicotti shells | 12–14 pieces | Cook al dente; don’t overboil |
| Ricotta cheese | 2 cups | Use full-fat for creaminess |
| Mozzarella cheese | 1 cup (shredded) | Freshly shredded melts better |
| Parmesan cheese | ½ cup | Adds nutty depth |
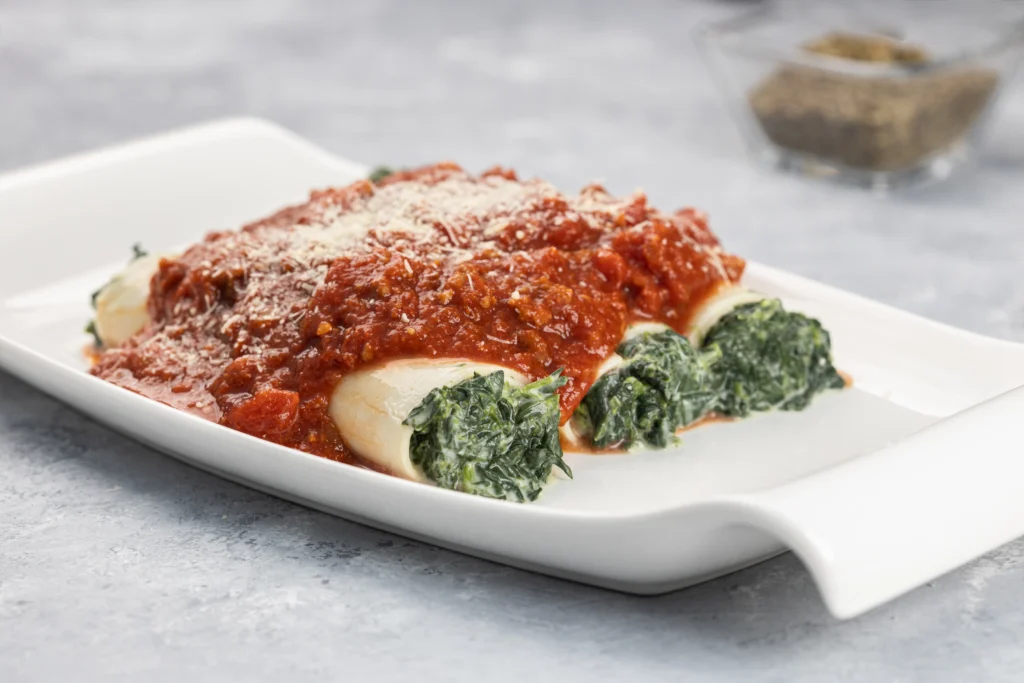
| Spinach (optional) | 1 cup (chopped) | Sauté and drain before mixing |
| Eggs | 2 large | Bind filling for structure |
| Marinara sauce | 3 cups | Homemade or high-quality store brand |
| Garlic, basil, oregano | To taste | Fresh herbs elevate flavor |
Ingredient Secrets You Should Know
- Ricotta: Always drain ricotta through cheesecloth for at least 30 minutes. This prevents the filling from becoming watery.
- Mozzarella: Buy a block and shred it yourself — pre-shredded versions often contain anti-caking agents that affect melting.
- Herbs: Fresh basil and oregano give a much brighter flavor than dried ones.
When you start with quality ingredients, you’re already halfway to mastering perfect manicotti.
Step-by-Step Guide to Making Perfect Manicotti
Step 1 – Prepare the Filling
Start by mixing the ricotta, eggs, parmesan, and mozzarella in a large bowl. Add chopped spinach if you like a hint of freshness. Season the mixture with salt, pepper, and finely minced garlic. Stir until smooth, but don’t overmix — you want a light, fluffy texture that will stay creamy after baking.
Step 2 – Cook the Pasta Properly
Boil the manicotti shells just until al dente — about one minute less than the package suggests. Overcooking makes them too soft and more likely to tear when filled. Once drained, rinse the shells with cool water and lay them flat on a towel to prevent sticking.
Step 3 – Assemble with Care
Line the bottom of your baking dish with a thin layer of marinara sauce. This keeps the pasta from sticking and adds flavor from below.
Fill a piping bag (or a zip-top bag with a corner cut off) with the ricotta mixture and gently pipe it into each manicotti shell. Arrange the filled shells in a single layer in your baking dish.
Step 4 – Layer and Bake
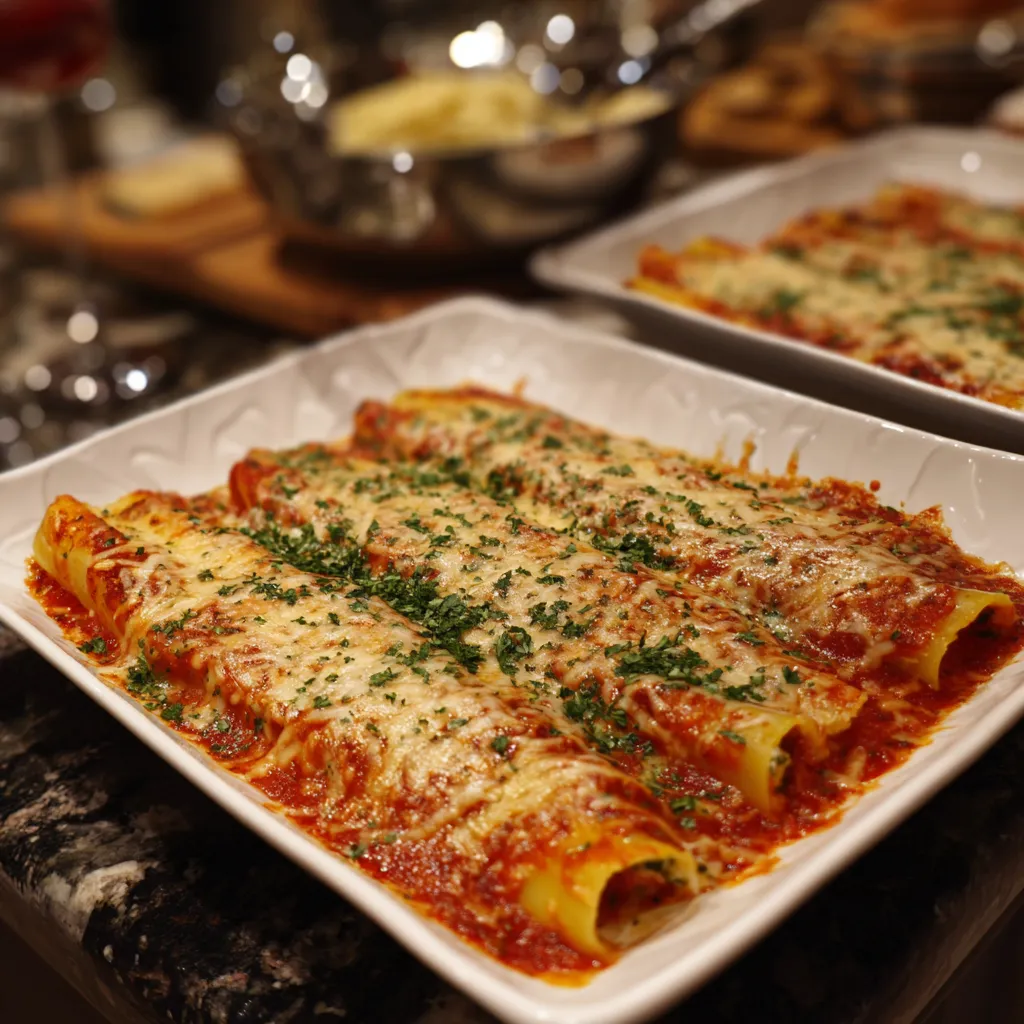
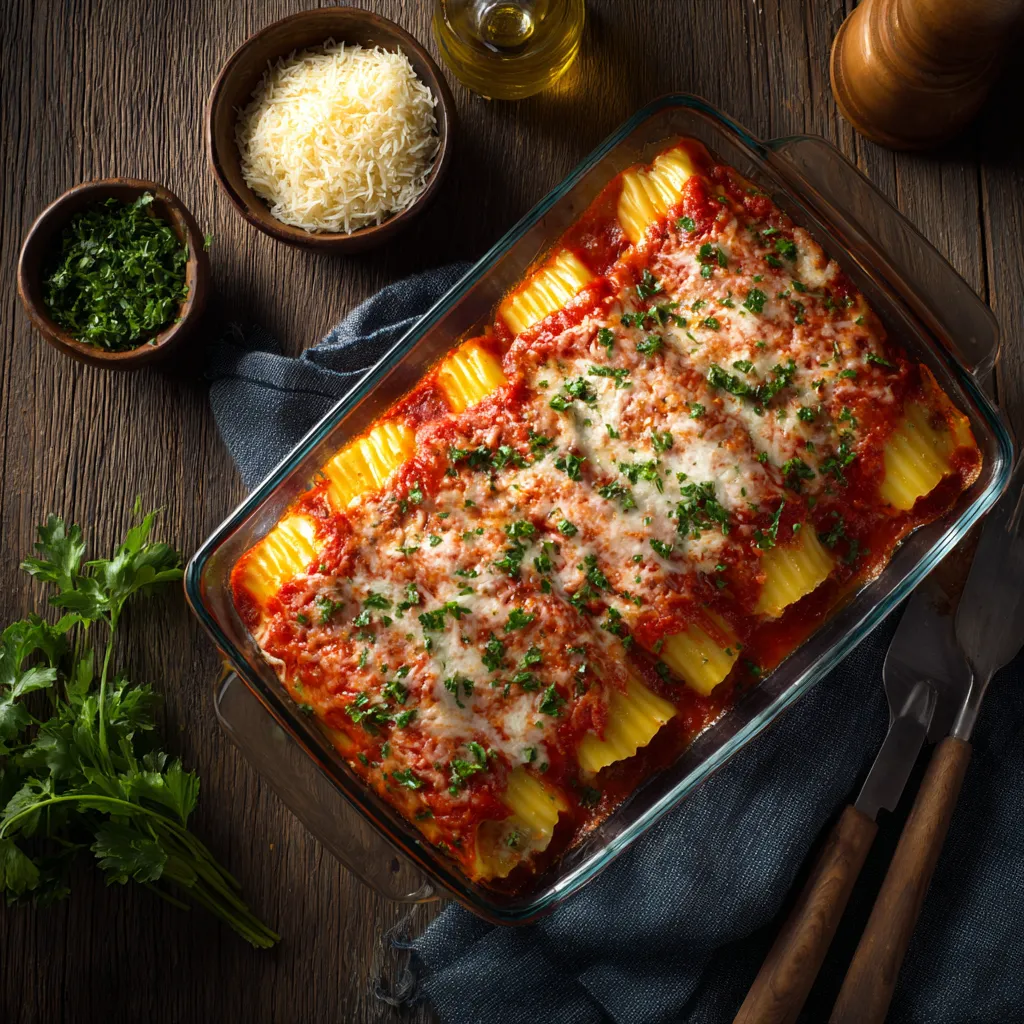
Pour the remaining marinara sauce evenly over the filled shells. Sprinkle mozzarella and parmesan on top.
Cover the dish with foil and bake at 375°F (190°C) for 25 minutes. Then, uncover and bake for another 10 minutes to get that beautiful golden-brown top.
Let the manicotti rest for about 10 minutes before serving — this allows the filling to set and makes slicing easier.
Pro Tips & Chef Secrets for Perfect Manicotti Every Time
You’ve followed the steps, but there’s always room for perfection. These little secrets from Italian home cooks and restaurant chefs make a huge difference.
Common Mistakes to Avoid
- Overcooked shells: Cook al dente so they hold their shape.
- Watery ricotta: Drain thoroughly before mixing.
- Too much sauce: Use just enough to coat — too much makes the dish soggy.
- Skipping the rest time: Letting the manicotti sit after baking ensures the filling sets properly.
Chef’s Secret Touches
- Add a pinch of nutmeg to the ricotta mixture — it enhances the creamy flavor.
- Use a mix of mozzarella and provolone for a richer, more complex melt.
- If you love a crisp top, broil for 1–2 minutes at the end (but keep a close eye on it).
Each of these tricks refines your technique, turning your manicotti from “great” to unforgettable.
Creative Variations of the Perfect Manicotti Recipe
Perfect manicotti doesn’t have to be traditional every time. Once you master the base, you can get creative.
Vegetarian Manicotti
- Add sautéed mushrooms, zucchini, or roasted red peppers.
- Mix in a touch of pesto for an herby, fragrant twist.
Meat Lovers’ Manicotti
- Brown Italian sausage or ground beef and mix it into the ricotta filling.
- Use a meat-based tomato sauce for a heartier version.
Gluten-Free or Low-Carb Options
- Substitute traditional shells with gluten-free manicotti or zucchini ribbons.
- Layer the filling and sauce in a casserole dish for a “deconstructed” version.
Cooking is creativity — once you know the rules, you can bend them your way.
Serving and Storing Your Perfect Manicotti
You’ve baked your masterpiece — now it’s time to serve it like a pro.
Serving Ideas
- Pair your manicotti with garlic bread, Caesar salad, or roasted vegetables.
- Garnish with a sprinkle of fresh basil or shaved parmesan for a restaurant-style finish.
Storing and Reheating
- Refrigerate: Store leftovers in an airtight container for up to 3 days.
- Freeze: Wrap tightly with foil and freeze for up to 2 months.
- Reheat: Cover with foil and bake at 350°F until warmed through.
This dish reheats beautifully, making it perfect for meal prep or family gatherings.
Frequently Asked Questions About Perfect Manicotti
What’s the secret to keeping manicotti from falling apart?
Cook the shells just until al dente, and let them cool completely before filling. Filling while warm makes them fragile and likely to tear.
Can I make manicotti ahead of time?
Yes — you can assemble it a day ahead and refrigerate it. When ready to bake, simply let it sit at room temperature for 20 minutes first.
How do I make manicotti without ricotta?
Use cottage cheese or a mix of mascarpone and spinach for a rich, creamy alternative.
What’s the best sauce for perfect manicotti?
A classic marinara sauce works beautifully, but you can also combine tomato and béchamel for a creamier texture.
Can I add vegetables or meat to the filling?
Absolutely! Try spinach, mushrooms, or sausage for added flavor and nutrition.
Conclusion — The Joy of Perfect Manicotti Every Time
When you make manicotti the right way, it’s more than just dinner — it’s an experience. The smell of tomato and basil filling your kitchen, the creamy ricotta melting inside the tender pasta, the laughter around the table… these are the moments that food is really about.
With the right ingredients, careful technique, and a few insider tips, you can create a manicotti that’s perfectly balanced, delicious, and deeply comforting — every single time.
So the next time you’re craving something warm and satisfying, roll up your sleeves and make it happen. Your perfect manicotti is waiting.
Call to Action
If this recipe brings a little joy to your table, share it with someone who loves Italian food as much as you do. Try it this weekend, tweak it with your favorite flavors, and don’t forget to let me know how your perfect manicotti turned out — because the secret ingredient is always you.
Table of Contents
Smoky Chili Seasoning Recipe with Paprika & Cumin – labelrecipes.com