
A Sweet Taste of Nostalgia: Why Dirt Pudding Never Fades Away
There’s something about certain desserts that instantly pull you back in time — maybe it’s the smell of cocoa, the crunch of crushed cookies, or that familiar creamy sweetness melting on your tongue. If you grew up in a home where dessert meant laughter, family, and messy spoons, then dirt pudding probably holds a special place in your heart.
This easy dirt pudding recipe isn’t just about mixing pudding and cookies. It’s about recreating a little piece of childhood joy — that carefree moment when you could scoop “dirt” with a gummy worm and grin at the silliness of it all. Whether you’re whipping it up for your kids, hosting a potluck, or simply craving a comforting, no-bake dessert, this recipe will bring a smile to your face with every creamy, chocolatey bite.
Let’s dive into the delicious layers of this simple yet irresistible dessert.
What Is Dirt Pudding? A Fun, Family-Friendly Classic
You might have heard dirt pudding go by other names — dirt cake, Oreo dirt dessert, or even mud pudding — but whatever you call it, the magic stays the same. Dirt pudding is a no-bake dessert made from layers of creamy chocolate pudding, fluffy whipped topping, and crushed chocolate cookies that resemble soil.
It’s usually served in large bowls or individual cups and decorated with gummy worms or candy flowers to give it that playful “garden” look. It’s perfect for themed parties, birthdays, or any occasion that could use a little fun and chocolate.
Why it’s loved:
- Quick and easy – No baking, no stress.
- Kid-approved – Fun to make and even more fun to eat.
- Customizable – You can change flavors, toppings, and even make it healthier.
- Visually appealing – Those layers of dark crumbs and silky pudding are irresistible.
When you serve dirt pudding, you’re not just serving dessert — you’re serving a conversation piece, a shared memory, and a reason to smile.
Ingredients You’ll Need for Easy Dirt Pudding
Here’s everything you’ll need to make your dirt pudding a success. Keep it simple — that’s the beauty of this recipe.
| Ingredient | Quantity | Notes |
|---|---|---|
| Instant chocolate pudding mix | 2 boxes (3.9 oz each) | Choose your favorite brand for the best flavor |
| Cold milk | 3 ½ cups | Use whole milk for richer texture |
| Cream cheese (softened) | 1 package (8 oz) | Brings creamy tang to balance sweetness |
| Butter (softened) | ¼ cup | Helps create a smooth, rich layer |
| Powdered sugar | 1 cup | Adds sweetness and structure |
| Whipped topping (Cool Whip) | 16 oz | Gives that light, fluffy texture |
| Oreo cookies | 1 package | Crushed for your “dirt” topping |
| Gummy worms | Optional | Fun for decoration, especially for kids |
Ingredient Tips
- Crush the cookies using a food processor or a sealed bag and rolling pin for a mix of fine crumbs and small chunks.
- For a gluten-free option, use gluten-free sandwich cookies.
- Want to cut calories? Use light whipped topping and sugar-free pudding mix.
- Try experimenting with flavored Oreos — mint, peanut butter, or double chocolate add a delicious twist.
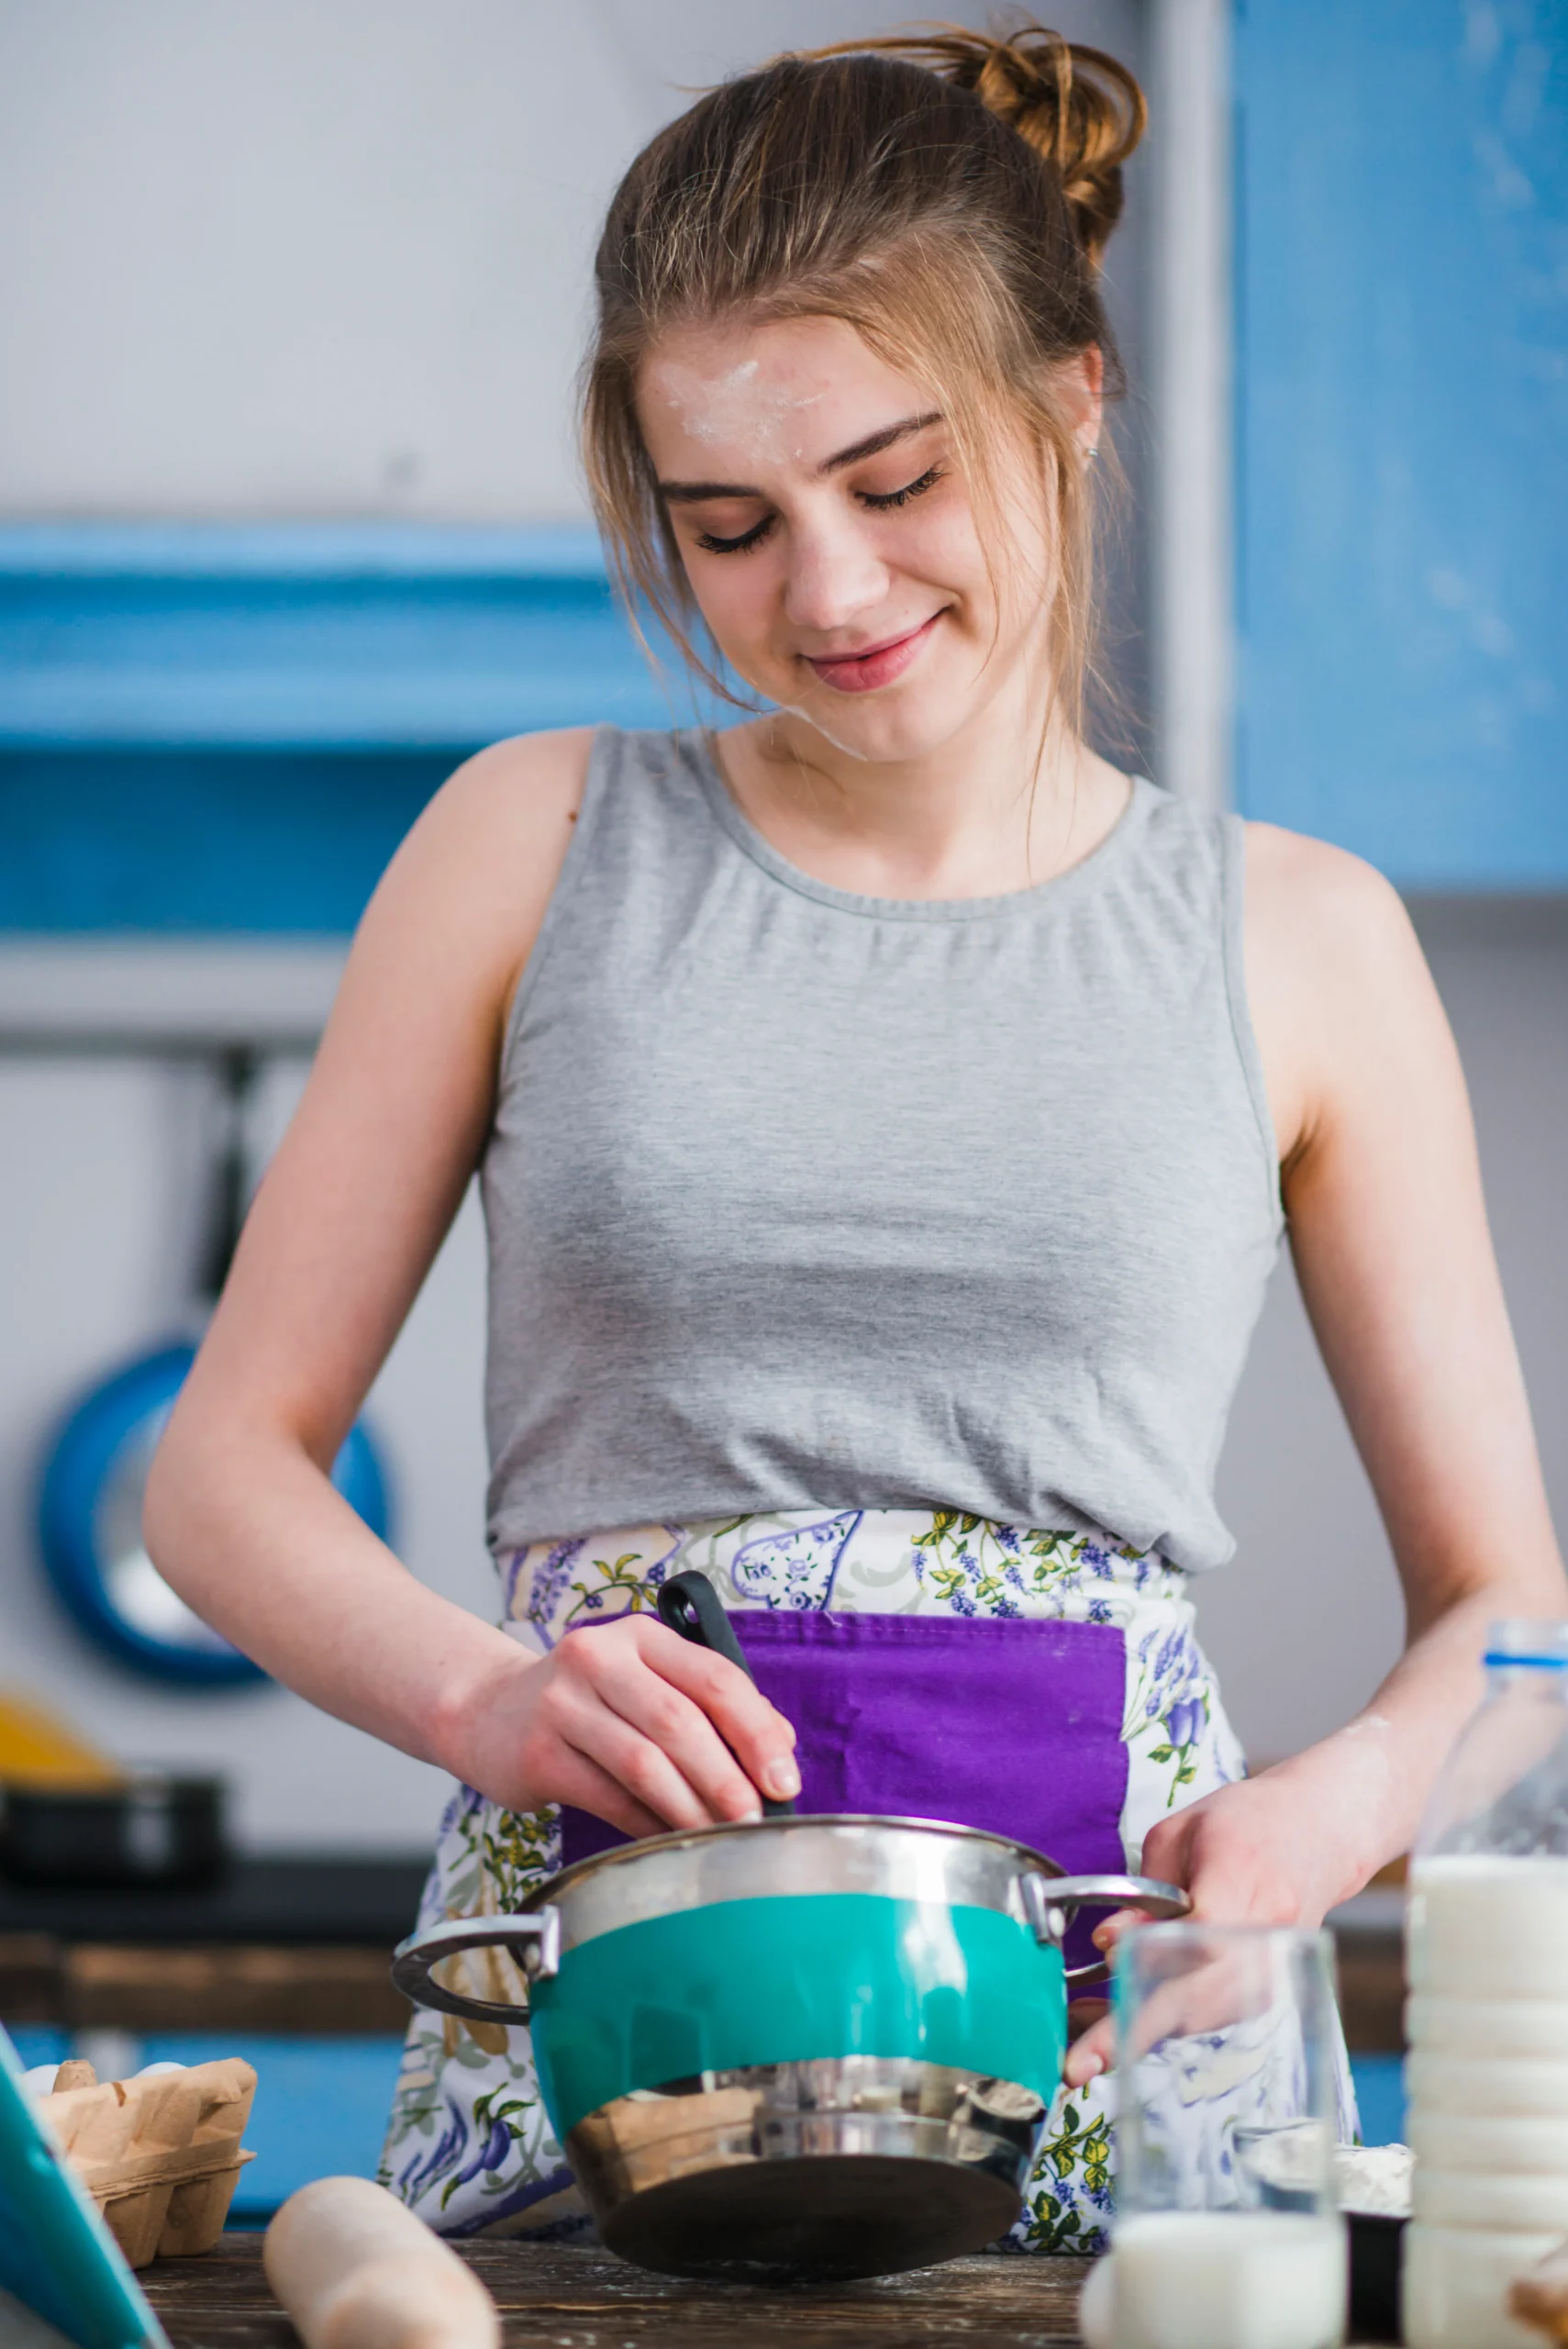
Step-by-Step Directions: How to Make Dirt Pudding
Step 1 – Prepare the Pudding Base
Start by whisking the chocolate pudding mix with cold milk in a large bowl. Continue whisking for about two minutes until the mixture thickens. Set it aside to let it set while you work on the next layer.
Step 2 – Make the Creamy Layer
In another bowl, beat together cream cheese, butter, and powdered sugar until the mixture turns smooth and fluffy. This step creates the luscious, velvety base that sets your dirt pudding apart. Once it’s light and creamy, gently fold in the whipped topping to add airiness and volume.
Step 3 – Combine the Chocolate and Creamy Layers
Now comes the best part — blend your thick chocolate pudding into the cream cheese mixture. Stir gently until it’s completely combined and smooth. You’ll end up with a decadent, mousse-like filling that’s both rich and light.
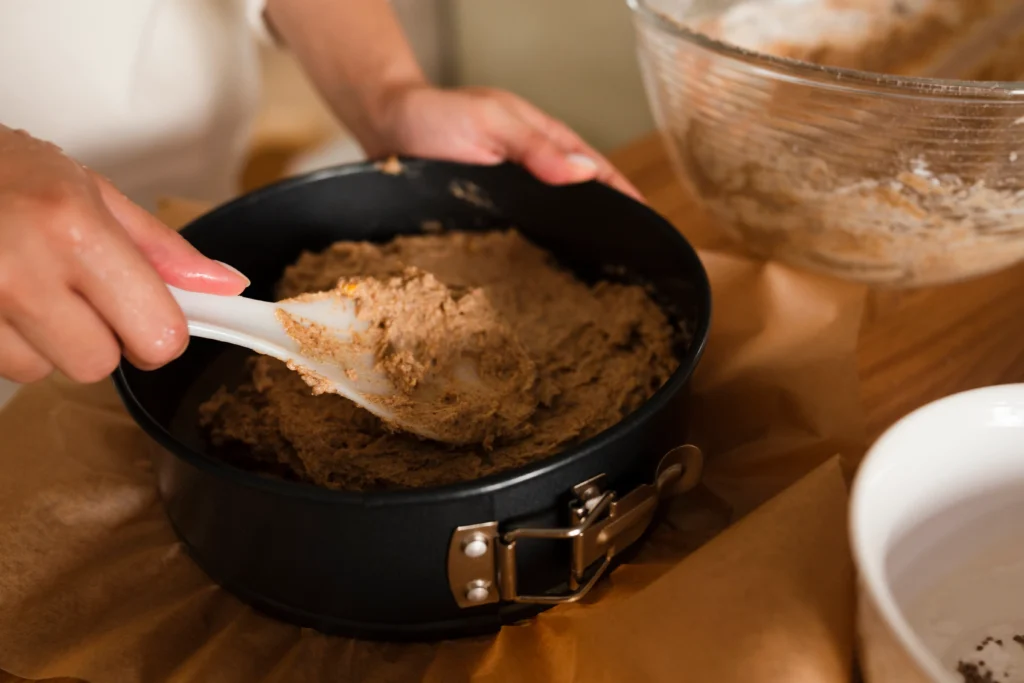
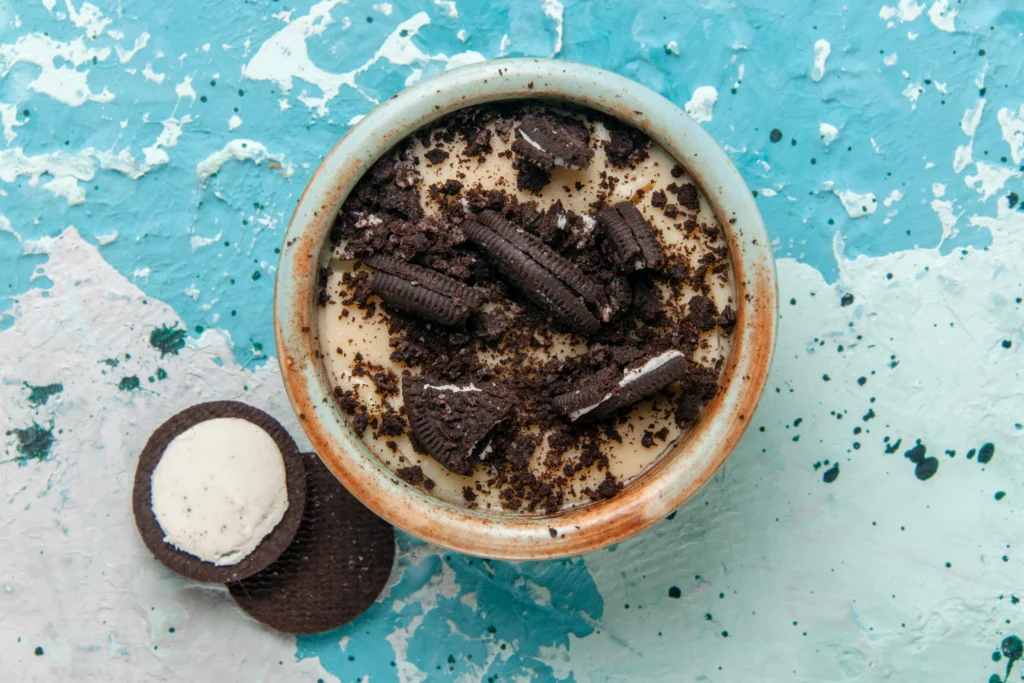
Step 4 – Crush and Layer the “Dirt”
Take your Oreo cookies, remove the filling if you like (or leave it in for extra sweetness), and crush them. You’ll want a mix of textures — fine crumbs and small chunks. These will be your “dirt.”
In a glass trifle dish, large bowl, or individual cups, start layering:
- A layer of cookie crumbs on the bottom.
- A generous layer of pudding mixture.
- Repeat until the dish is full, finishing with a thick “dirt” topping.
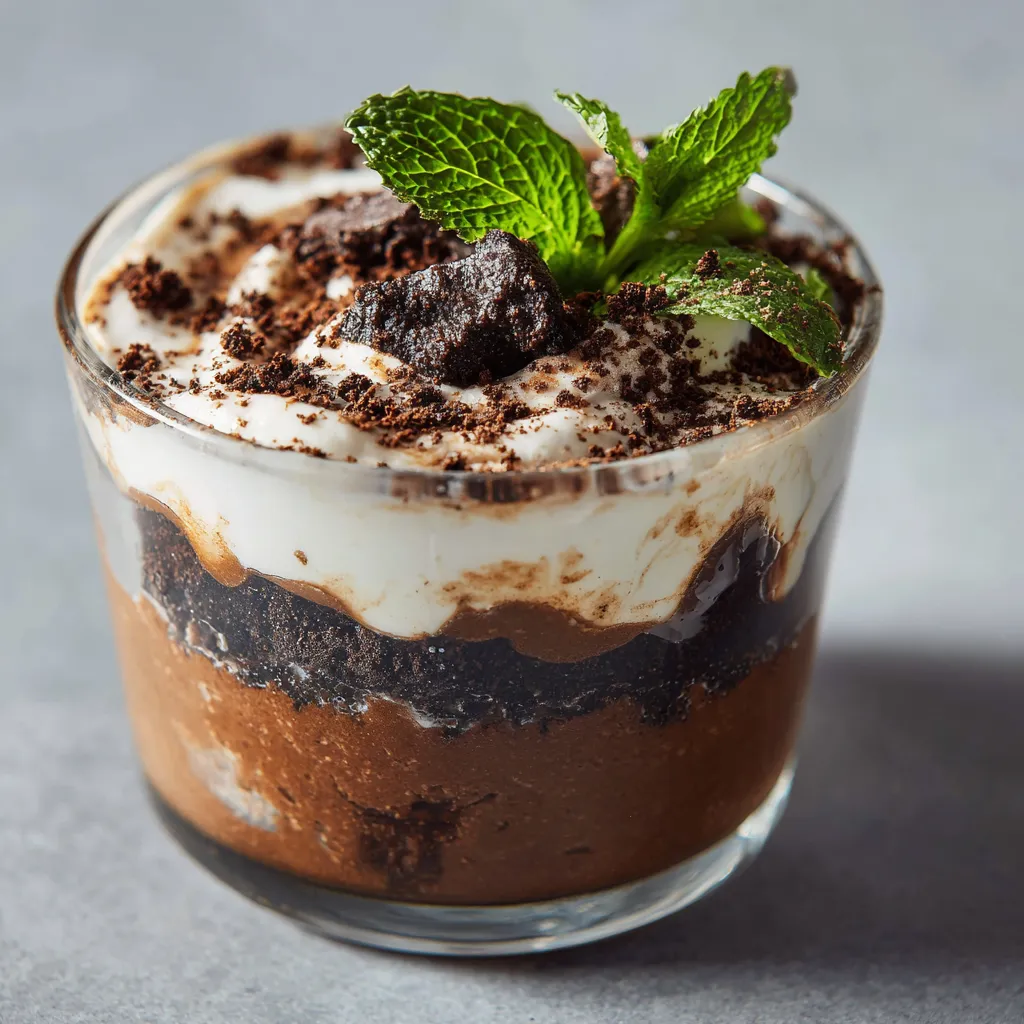
Step 5 – Decorate and Chill
Once your layers are complete, top the dessert with gummy worms, mint leaves, or even candy flowers for a whimsical garden look. Then, cover and refrigerate for at least 2–3 hours (or overnight). The longer it chills, the better it sets — and the flavors blend beautifully.
Dirt Pudding Variations: Get Creative with Flavors
The traditional version is fantastic, but if you love experimenting, here are some fun twists you can try:
Mint Chocolate Dirt Pudding
- Use mint-flavored Oreos.
- Add a drop of peppermint extract to the pudding mixture.
- Garnish with mini chocolate chips or green sprinkles for color.
Peanut Butter Dirt Pudding
- Stir a few spoonfuls of creamy peanut butter into your pudding mixture.
- Top with chopped Reese’s cups for an indulgent touch.
Halloween Dirt Cups
- Make individual servings in clear cups.
- Add candy pumpkins, candy corn, or spooky gummy creatures.
- Perfect for Halloween parties or themed events.
Birthday Cake Dirt Pudding
- Swap chocolate pudding for vanilla or birthday cake pudding.
- Add rainbow sprinkles between layers.
- Decorate with colorful gummy candies or candles.
Each variation brings a unique flavor and personality, making dirt pudding endlessly customizable to your taste and occasion.
Tips for Making the Best Dirt Pudding Dessert
Even though dirt pudding is simple, a few pro tips can make yours stand out:
- Chill adequately. Let your pudding rest for at least a few hours to allow the flavors to meld and the texture to firm up.
- Don’t over-crush the cookies. A little crunch adds contrast and makes each bite interesting.
- Layer carefully. Use clear glass dishes to show off the beautiful layers — it adds a professional touch.
- Use a spatula for smooth layers. It makes your presentation neat and visually appealing.
- Make it personal. Add toppings that fit your mood — crushed candy bars, caramel drizzle, or chocolate shavings.
Serving and Storage Tips
When to Serve Dirt Pudding
Dirt pudding is incredibly versatile. You can serve it almost anywhere:
- Birthday parties: Fun, colorful, and crowd-pleasing.
- Family get-togethers: Nostalgic and easy to make ahead.
- Picnics or BBQs: Refreshing and travel-friendly when kept cool.
- Holiday gatherings: Dress it up with themed toppings for any season.
How to Store
- Refrigerate: Keep covered and refrigerate for up to 3 days.
- Avoid freezing: The pudding and whipped topping can separate when thawed.
- Make ahead: Prepare a day in advance, but add cookie crumbs and toppings just before serving to keep them crunchy.
Nutritional Breakdown (Approximate Per Serving)
| Nutrient | Amount |
|---|---|
| Calories | ~320 kcal |
| Carbohydrates | 40g |
| Protein | 4g |
| Fat | 16g |
| Sugar | 28g |
Note: Nutritional values can vary based on brand choices and portion size.
FAQ – Easy Dirt Pudding Recipe
Can I make dirt pudding ahead of time?
Absolutely! Making it a day before serving actually enhances the flavor as the layers meld together. Just keep it refrigerated and add decorations right before serving.
What if I don’t have instant pudding mix?
You can use homemade chocolate pudding, but make sure it’s completely cooled before layering it with whipped topping and cookies.
Can I make a lighter version of dirt pudding?
Yes! Opt for low-fat cream cheese, light whipped topping, and sugar-free pudding to cut down on calories. It will still taste amazing.
Can I make dirt pudding without cream cheese?
You can, though it will be lighter in texture. Replace cream cheese with additional whipped topping or a bit of Greek yogurt for creaminess.
How long does dirt pudding last in the fridge?
You can safely store it in the fridge for up to three days. Just make sure it’s tightly covered to prevent it from drying out.
Conclusion: A Layered Treat That Brings Smiles Every Time
There’s something special about this easy dirt pudding recipe that never goes out of style. It’s playful, nostalgic, and incredibly satisfying — a dessert that brings people together no matter the occasion. From the first spoonful of chocolatey pudding to the final bite of crumbly cookie “dirt,” it’s a simple indulgence that always hits the spot.
So next time you’re looking for a dessert that’s fun to make, easy to serve, and guaranteed to please, reach for your mixing bowl and whip up this layered chocolate goodness. It’s quick, customizable, and pure joy in every bite.
Your Turn!
Now that you know how to make the ultimate dirt pudding, it’s time to bring it to life in your kitchen. Try one of the creative variations, share it with friends or family, and see how fast it disappears!
👉 Share your version of this dirt pudding recipe in the comments or tag your photos online — we’d love to see how you layered your chocolate goodness!
Table of Contents
https://labelrecipes.com/the-secret-to-perfect-manicotti-every-time/