
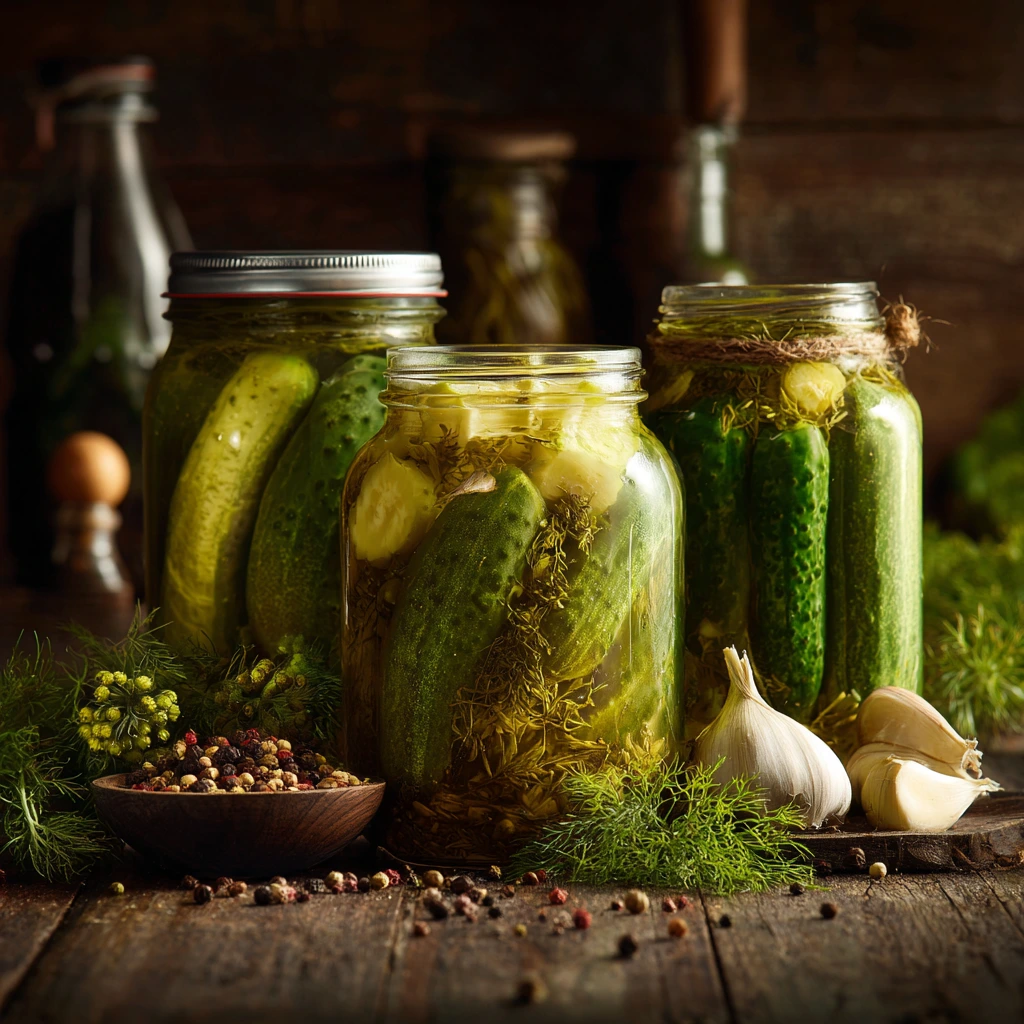
Few things in the kitchen are as satisfying as opening a jar of homemade pickles you canned yourself. That first crunch, the burst of garlic and dill, and the tangy brine are rewards for just a little bit of work in the summer months. Canning dill pickles is a time-honored tradition, passed down through generations, and for good reason: it’s a reliable way to preserve cucumbers at their peak and enjoy them all year round.
If you’ve ever been disappointed by soggy or bland pickles, don’t worry—this recipe is foolproof. By following a few simple steps and tips, you’ll have crisp, flavorful canned dill pickles that rival (or beat!) any store-bought brand.
Why You’ll Love This Recipe
Homemade canned dill pickles are special for so many reasons, but here’s what makes this recipe stand out:
- Crunch factor: Nothing’s worse than a soggy pickle. With the right cucumbers and a few tricks, this recipe ensures you get that satisfying snap every time.
- Balanced flavor: The vinegar brine is sharp but not overpowering, the dill adds a fresh herbal note, and garlic gives it depth.
- Customizable heat: Want spicy pickles? Toss in some red pepper flakes or sliced jalapeños. Prefer classic? Keep it simple.
- Shelf-stable: With proper canning, these pickles will last up to a year in your pantry—making them an easy grab-and-go snack or side.
- Beginner-friendly: The method is straightforward, so even if this is your first canning project, you’ll succeed.
Pickling is as much about preserving memories as it is about preserving food. Once you try this recipe, you’ll find yourself making it year after year.
Ingredients You’ll Need
Before diving in, gather your supplies. Having everything ready makes the process smoother and more enjoyable.
For the Pickles
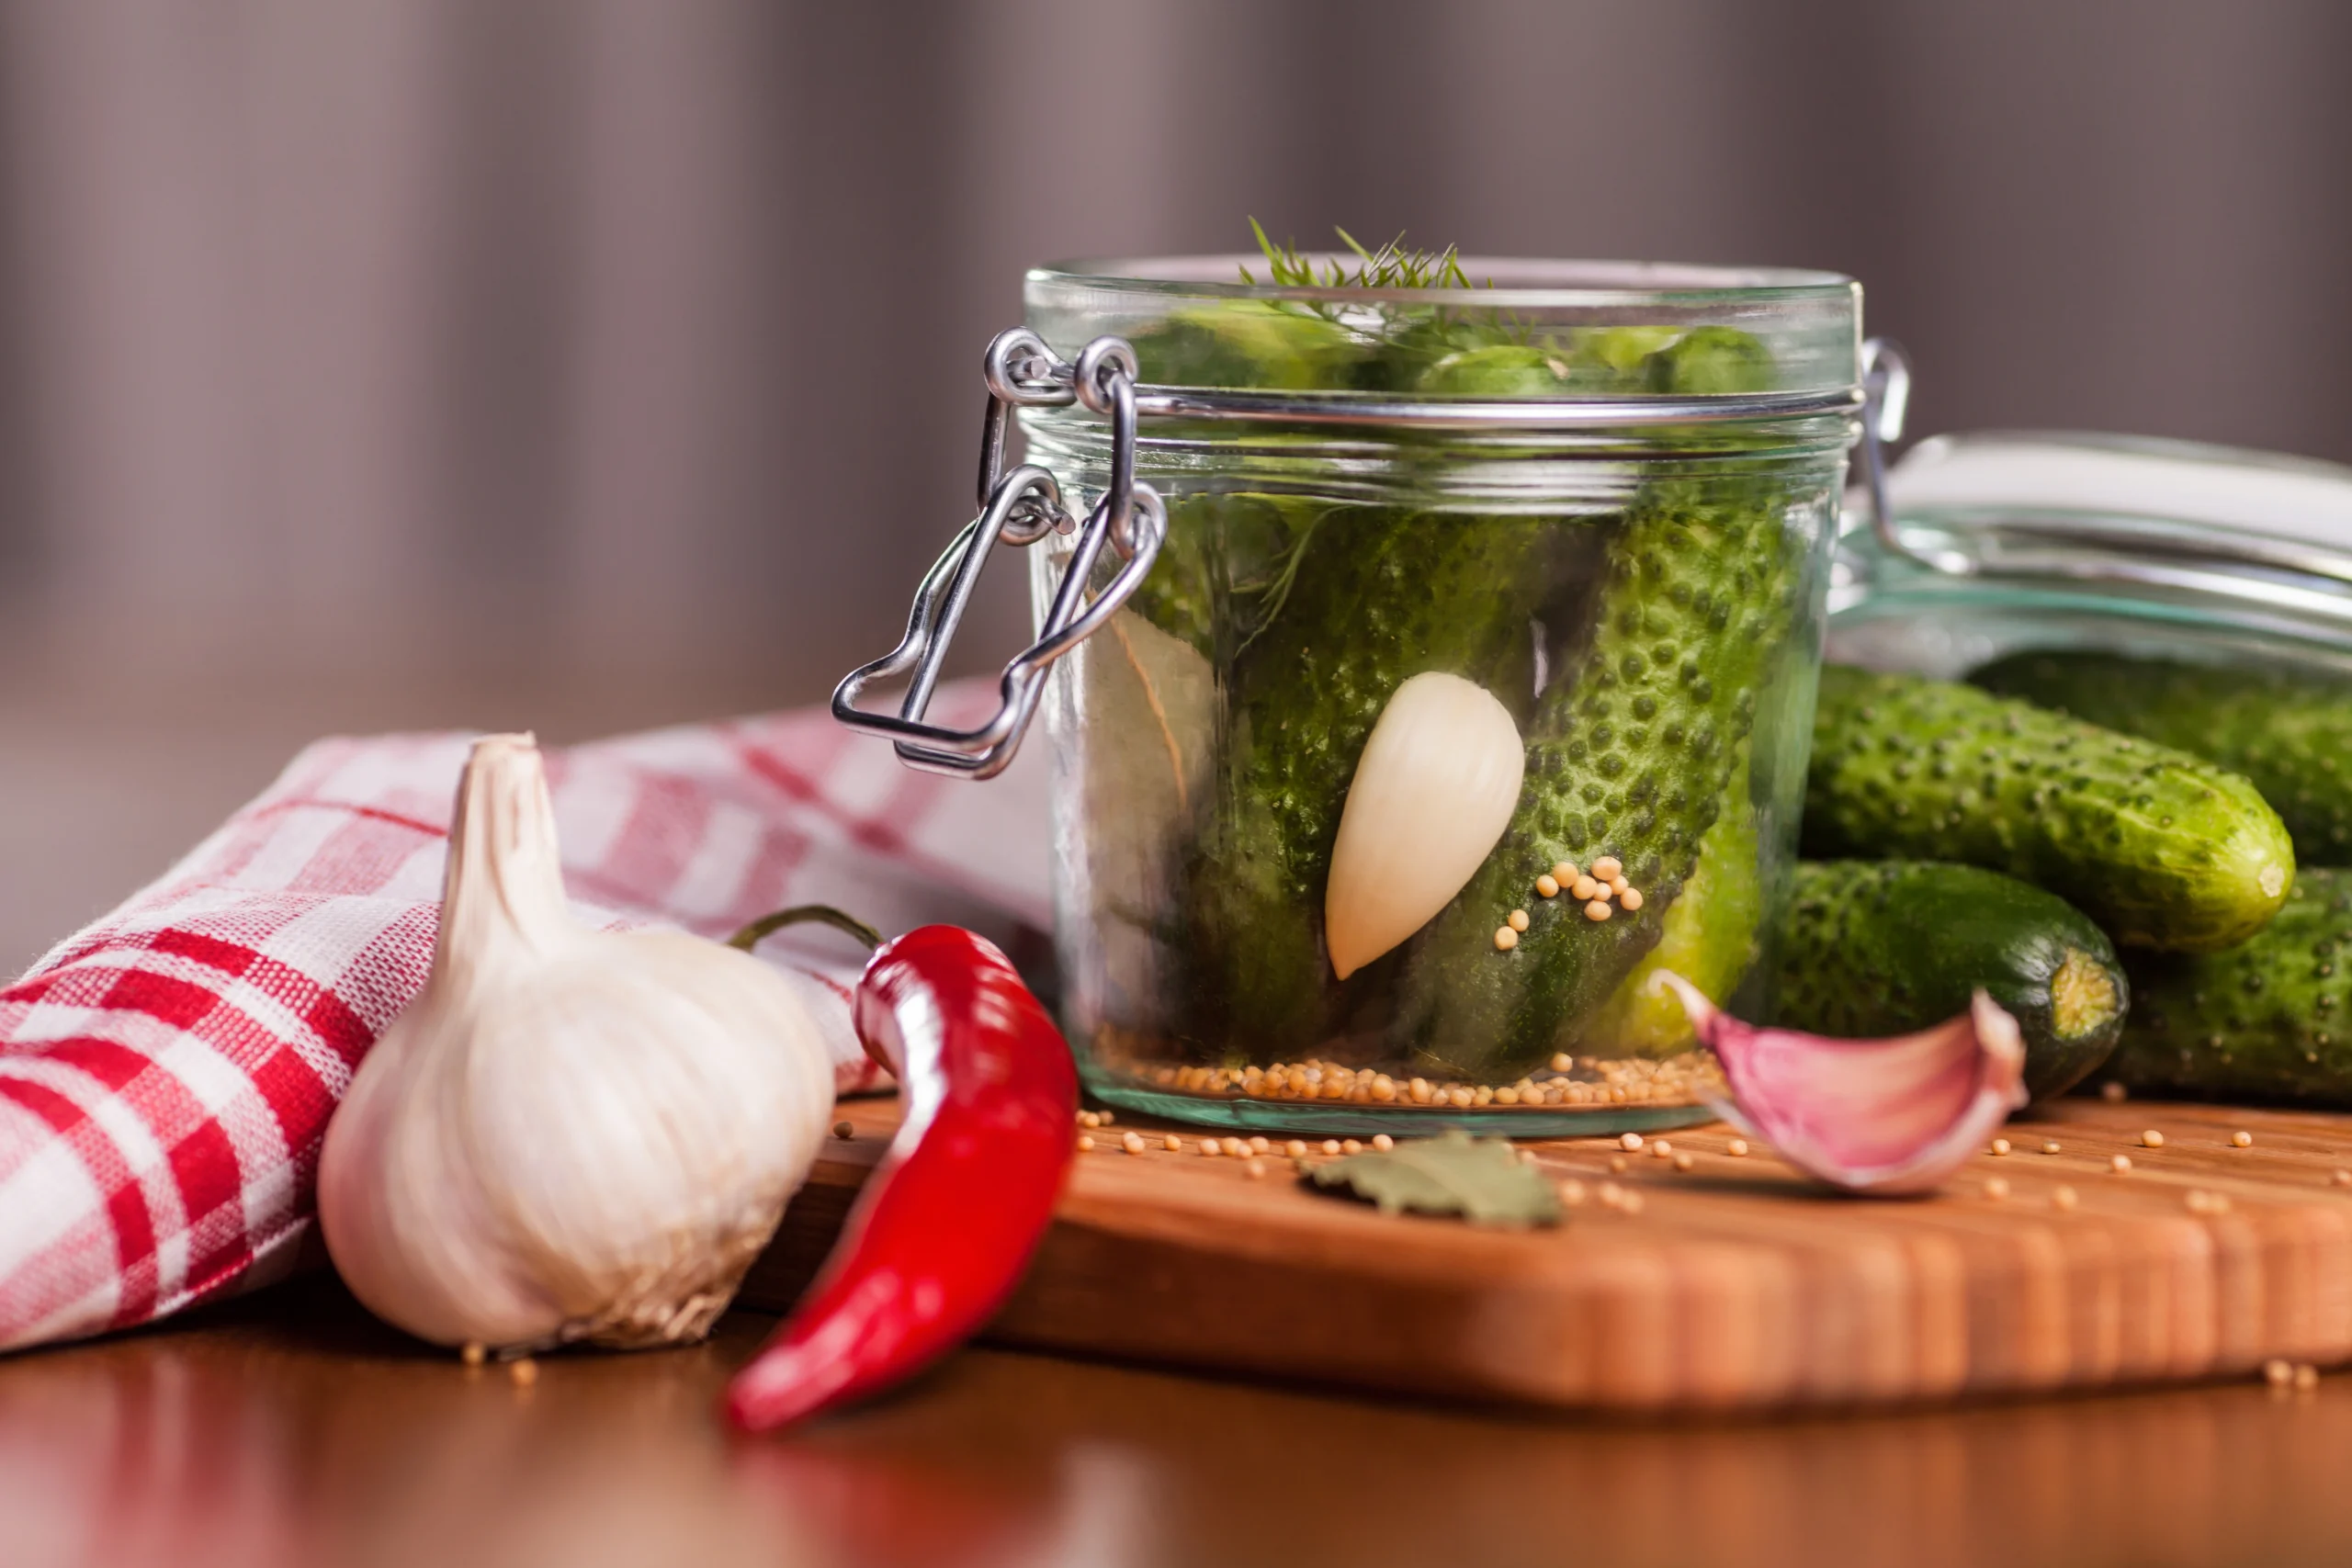
- 3–4 pounds pickling cucumbers (small, firm, and freshly picked)
- 6–7 fresh dill heads or sprigs
- 6–7 cloves garlic, peeled and halved
- 1 tablespoon black peppercorns
- 1 tablespoon mustard seeds
- Optional: 1 teaspoon red pepper flakes (for spicy pickles)
For the Brine
- 5 cups water
- 5 cups white vinegar
- ½ cup pickling salt (not table salt—additives will cloud your brine)
💡 Pro tip: Always use pickling cucumbers. Slicing cucumbers (the long, waxy grocery-store kind) tend to get soft and slimy once canned.
Step-by-Step Instructions
Canning pickles might feel like a big task, but when broken down, it’s really a rhythm: sterilize, pack, brine, process, and cool. Here’s exactly how to do it:
- Sterilize your jars and lids
Wash jars, lids, and bands in hot, soapy water. Place jars in a large pot of boiling water for 10 minutes to sterilize. Keep them hot until you’re ready to fill them. - Prepare the cucumbers
Wash thoroughly and cut ¼ inch off the blossom end (enzymes in this part can soften pickles). Leave them whole, slice into spears, or cut into chips depending on your preference. - Make the brine
In a large pot, bring vinegar, water, and salt to a boil. Stir until the salt dissolves, then keep the brine hot. - Pack the jars
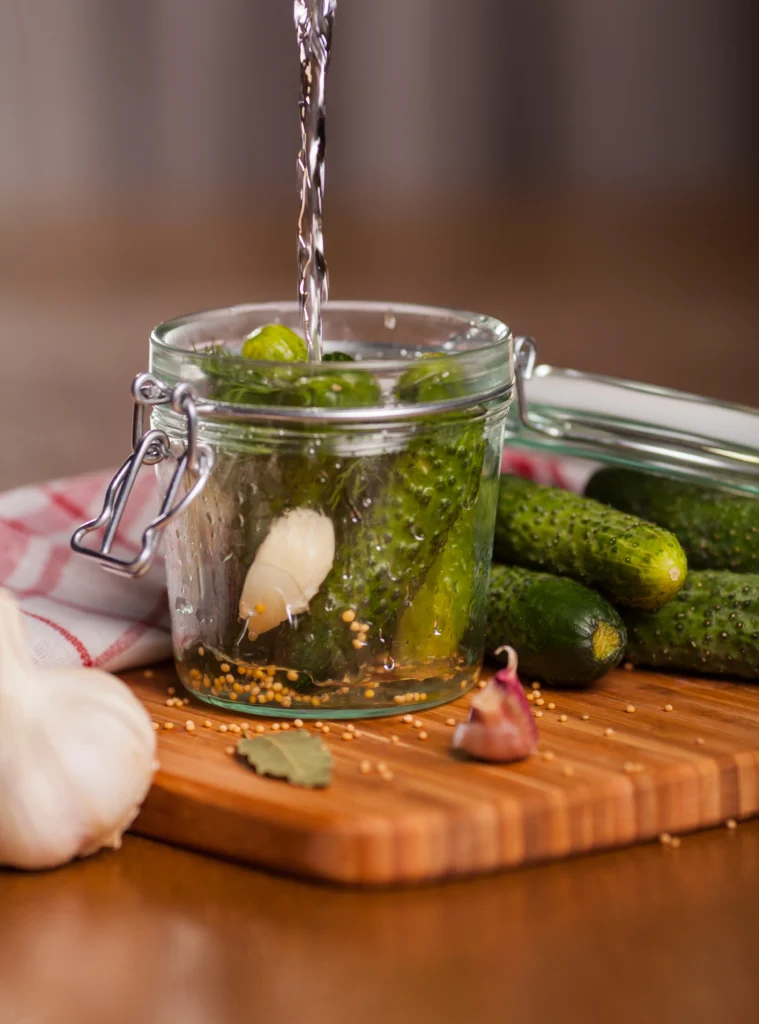
Place 1 clove of garlic, 1 dill head, and a pinch of peppercorns/mustard seeds into each jar. Tightly pack in cucumbers, leaving about ½ inch of headspace. - Pour the brine
Carefully ladle the hot brine over cucumbers, making sure they are fully submerged. Release trapped air bubbles by sliding a chopstick or utensil along the inside. Adjust brine level if needed. - Seal and process
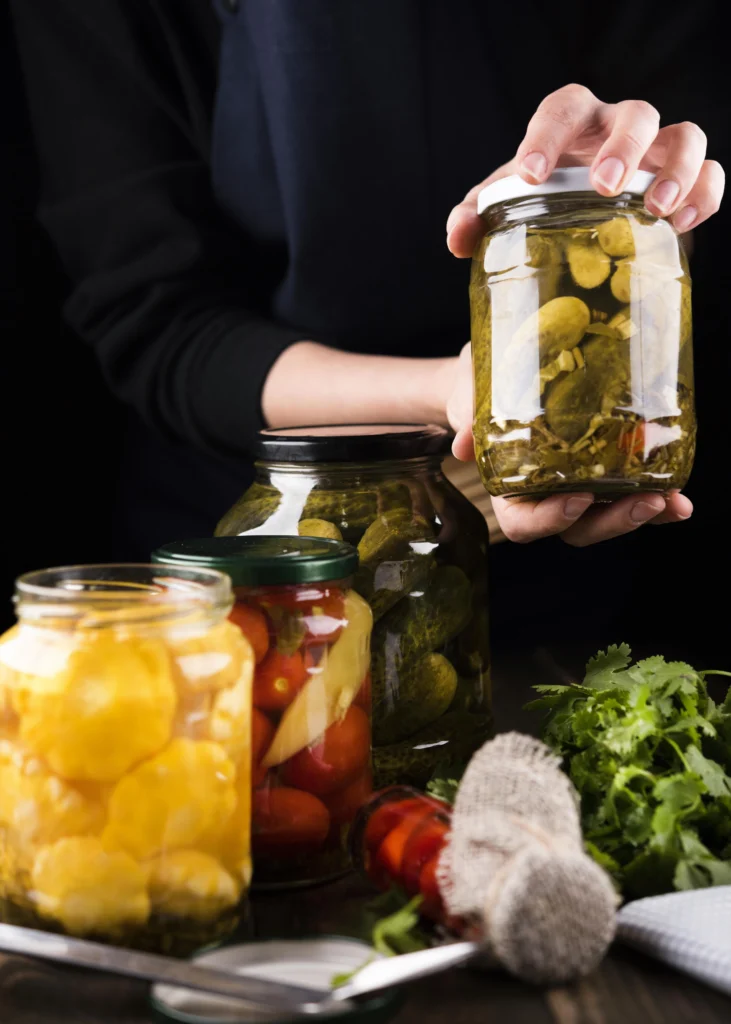
Wipe jar rims with a clean cloth, place lids on, and screw bands until fingertip-tight. Process jars in a boiling water bath for 10 minutes (adjust for altitude if necessary). - Cool and check seals
Remove jars and let them cool undisturbed for 12–24 hours. You’ll hear the “pop” of seals forming—music to a canner’s ears! Press lids to check: they should not flex up and down. - Wait before enjoying
As tempting as it is to try them right away, let the pickles sit for at least 2 weeks so the flavors fully develop.
Tips for Perfect Dill Pickles
If you want truly crave-worthy pickles, a few extra tricks will take you from good to great:
- Soak before canning: A 2–3 hour ice-water bath keeps cucumbers firm and crunchy.
- Use fresh produce: Cucumbers should be firm and picked within 24 hours of canning.
- Skip iodized salt: Always use pickling or kosher salt to prevent cloudiness.
- Experiment with flavors: Add bay leaves, coriander seeds, or even a slice of jalapeño for variety.
- Label everything: Date your jars—homemade pickles are best within a year.
Serving Suggestions & Pairings
Pickles are endlessly versatile. Here are some of the best ways to enjoy your homemade canned dill pickles:
- On burgers and sandwiches: A tangy crunch takes any sandwich from good to unforgettable.
- With charcuterie: The acidity of pickles cuts through rich cheeses and cured meats beautifully.
- As a side: A pickle spear next to barbecue, fried chicken, or even pizza is always a hit.
- Chopped into salads: Add diced pickles to potato salad, egg salad, or tuna salad for extra zip.
- As a snack: Sometimes the best way is straight from the jar, fork in hand.
Troubleshooting Common Pickle Problems
Even the best canners run into hiccups. Here’s how to fix the most common issues:
- Soft pickles: Usually caused by overripe cucumbers, not trimming the blossom end, or improper brining. Always use fresh pickling cucumbers.
- Cloudy brine: Often from table salt or impure water. Stick with pickling salt and filtered water.
- Floating cucumbers: This can happen if cucumbers weren’t tightly packed. Don’t worry—they’re still safe to eat.
- Weak seals: If jars don’t seal after 24 hours, refrigerate and eat within a month.
Frequently Asked Questions
How long do homemade canned dill pickles last?
If properly processed and stored in a cool, dark place, canned dill pickles last up to 12 months. Once opened, keep them in the fridge and use within 2–3 months.
Can I reuse pickle brine?
It’s best not to reuse canning brine for another batch—it can lose its acidity and may not be safe for long-term preservation. However, leftover brine from an opened jar can be used for salad dressings, marinades, or even as a zingy cocktail addition.
Do I need to use fresh dill, or can I substitute dried?
Fresh dill gives the best flavor and appearance, but you can substitute dried dill weed (about 1 teaspoon per jar). Avoid dill seed as the only option—it changes the flavor profile.
Why do I have to wait before eating them?
Pickles need at least 2 weeks to fully develop their flavor. The brine needs time to penetrate the cucumbers and balance the flavors of vinegar, garlic, and dill.
Can I make these pickles without a water bath canner?
Yes, but they won’t be shelf-stable. You can make refrigerator dill pickles by skipping the processing step and simply storing the jars in the fridge. They’ll last about 2–3 months.
Can I cut the recipe in half?
Absolutely. You can scale this recipe up or down depending on how many cucumbers you have. Just keep the vinegar-to-water-to-salt ratio the same.
Canning dill pickles is both an art and a science, but once you’ve got the basics down, it becomes second nature. Every time you hear the pop of a jar sealing, you’ll feel that mix of pride and anticipation for the delicious crunch to come.
So, gather your cucumbers, fresh dill, and a few simple ingredients—you’re about to create the best canned dill pickles you’ve ever had.
Table of Contents
https://iwashyoudry.com/homemade-canned-dill-pickles/
https://labelrecipes.com/holiday-favorite-party-potatoes-recipe-for/